English
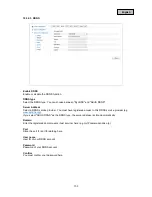
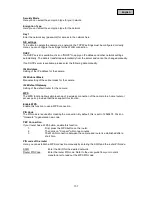
Security Mode
Here you can select the encryption type for your network.
Encryption Type:
Here you can select the encryption type for the network.
Key 1
Enter the network key (password) for access to the network here.
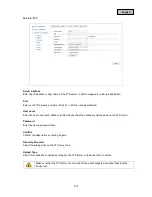
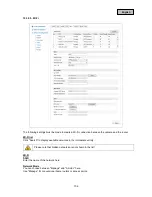
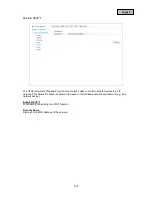
NIC settings
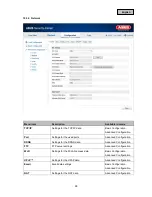
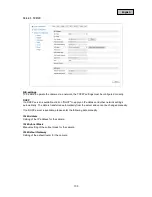
To be able to operate the camera via a network, the TCP/IP settings must be configured correctly.
Here, you can configure the settings for the WLAN connection.
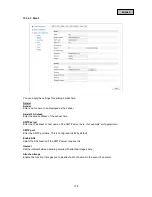
DHCP
If a DHCP server is available, click on "DHCP" to apply an IP address and other network settings
automatically. The data is transferred automatically from the server and cannot be changed manually.
If no DHCP server is available, please enter the following data manually.
IPv4 Address
Setting of the IP address for the camera
IPv4 Subnet Mask
Manual setting of the subnet mask for the camera
IPv4 Default Gateway
Setting of the default router for the camera
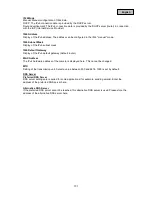
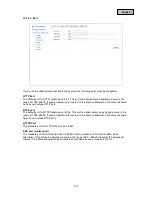
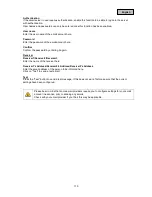
WPS
The WPS function allows simple set-up of a wireless connection of the camera to a home router or
access point, provided that these support this function.
Enable WPS
Enable this function to use a WPS connection.
PIN Code
The PIN code is required for creating the connection. By default, this is set to 12345678. Click on
"Generate" to generate a new code.
PBC Connection
If your router has a WPS button, enable this function.
1.
First, press the WPS button on the router.
2.
Then click on "Connect" within two minutes.
3.
The WLAN connection between the camera and router is established after a
short time.
PIN code of the router
Here, you can establish a WPS connection manually by entering the SSID and the router PIN code.
SSID:
Enter the SSID for the desired network.
Router PIN Code:
Enter the router PIN code. Refer to the user guide from your router's
manufacturer to read out the WPS PIN code.
107

