50
3.7 Putting into operation
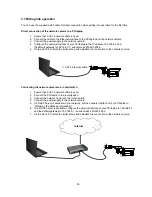
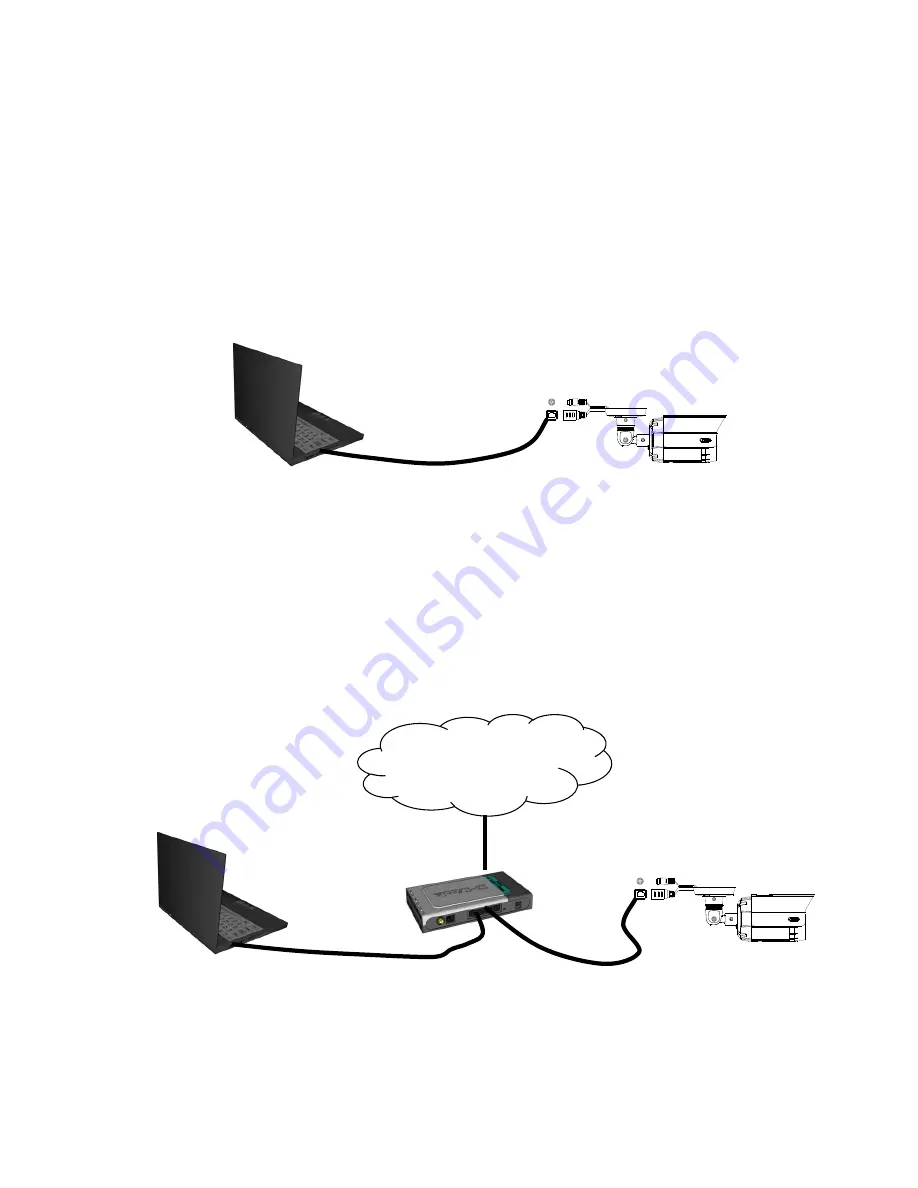
You can use the supplied patch cable for direct connection when putting into operation for the first time.
Direct connection of the network camera to a PC/laptop
1. Ensure that a CAT 5 network cable is used.
2. Connect the cable to the Ethernet interface of the PC/laptop and the network camera.
3. Connect the power supply to the network camera.
4. Configure the network interface of your PC/laptop to the IP address 192.168.0.2 and
the default gateway to 192.168.0.1 / subnet mask 255.255.255.0.
5. Go to point 3.8 to finish the initial set-up and establish the connection to the network camera.
Connecting the network camera to a router/switch
1. Ensure that a CAT 5 network cable is used.
2. Connect the PC/laptop to the router/switch.
3. Connect the network camera to the router/switch.
4. Connect the power supply to the network camera.
5. If a DHCP server is available in your network, set the network interface of your PC/laptop to
“Obtain an IP address automatically”.
6. If no DHCP server is available, configure the network interface of your PC/laptop to 192.168.0.2
and the default gateway to 192.168.0.1 / subnet mask 255.255.255.0.
7. Go to point 3.8 to finish the initial set-up and establish the connection to the network camera.
CAT 5 Ethernet cable
Internet
Summary of Contents for TVIP62500
Page 34: ...34 ...
Page 54: ...54 You are now connected with the network camera and can see a video stream ...
Page 71: ...71 ...
Page 90: ...90 La connexion à la caméra réseau est alors établie et le système visualise un flux vidéo ...
Page 107: ...107 ...
Page 126: ...126 U bent nu met de netwerkcamera verbonden en ziet al een videostream ...
Page 143: ...143 ...
Page 163: ...163 Du er nu forbundet med netværkskameraet og ser allerede en videostream ...
Page 181: ...181 ...
Page 201: ...201 Jesteś teraz połączony z kamerą sieciową i wyświetlany jest strumień wideo ...
Page 211: ...211 ...
Page 219: ...219 ...


