Ʒ
•
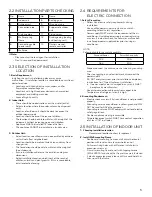
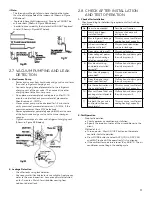
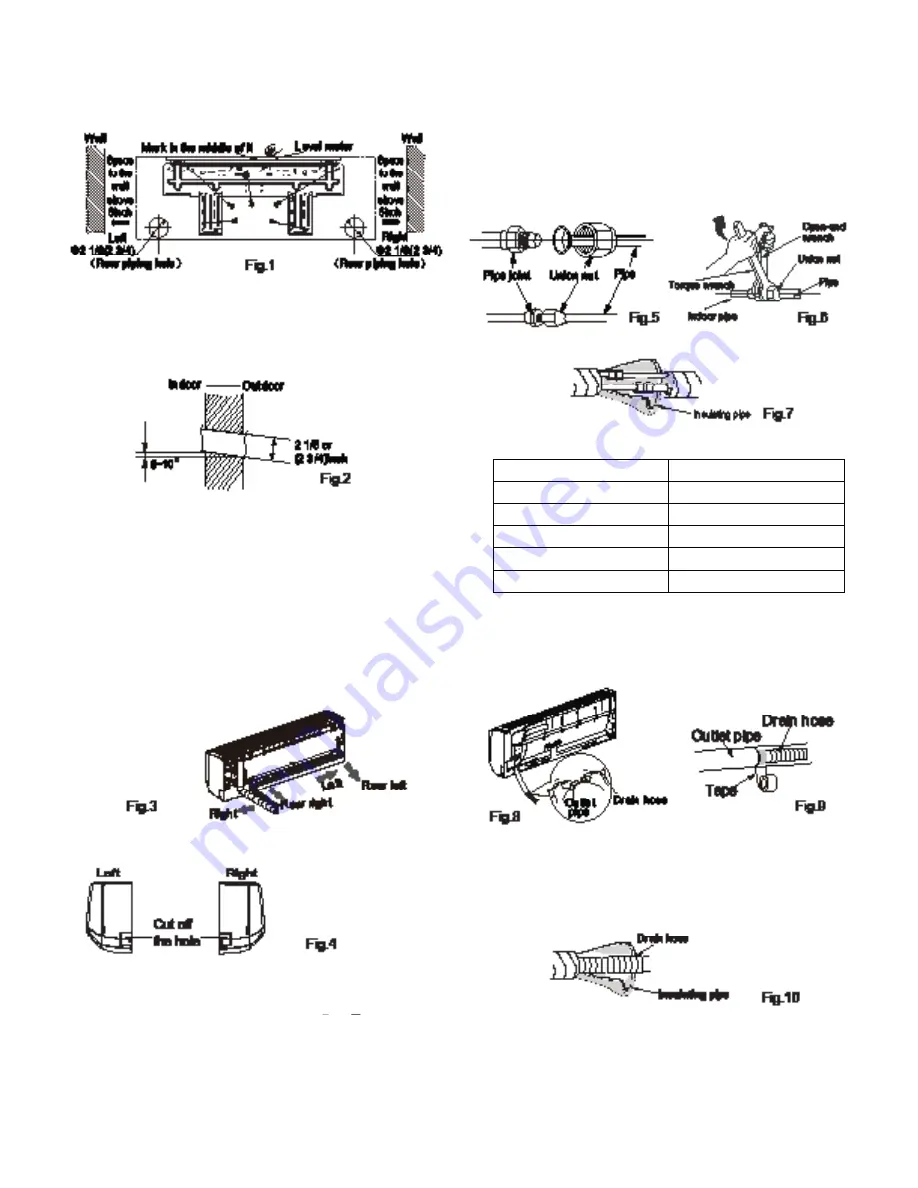
Choose position of piping hole according to the direction of
the outlet pipe. The position of the piping hole should be
just slightly lower than the wall-mounted frame. (Shown in
figure #1).
•
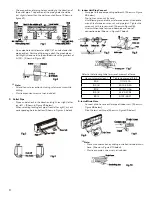
Open pipe hole with diameter of
݊
2 1/6” on selected outlet
pipe position. For smooth drainage, pitch the pipe hole on
wall slightly downward to the outdoor side with a gradient of
5-10O – (Shown in Figure #2).
!
Ì
Note:
•
Attend to dust prevention by taking safety measure while
drilling.
•
Plastic expansion screw set not included.
3. Outlet
Pipe
•
Pipe can be led out in the direction of right, rear right, left or
rear left – (Shown in Figure #3 below).
•
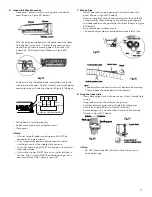
When selecting leading out pipe (from left or right), cut out
corresponding hole on bottom (Shown in Figures 4 below).
5. Indoor Unit Pipe Connect
•
Aim pipe to the corresponding bellmouth (Shown in Figure
#5 below).
•
Pre-tighten union nut by hand.
•
Use following torque table as reference below. Use double
wrench technique on union nut and pipe joint. Tighten the
union nut with torque wrench (Shown in Figure #6).
•
Use insulation tape to wrap indoor pipe and joint of
connection pipe (Shown in Figure #7 below).
Refer to the following table for wrench moment of force:
Hex nut diameter(inch)
Tightening torque(ft·Ibf)
ĭ
1/4
11.10~14.75
ĭ
3/8
20.12~29.50
ĭ
1/2
33.19~40.56
ĭ
5/8
44.24~47.94
ĭ
3/4
51.32~55.31
5. Install Drain Hose
•
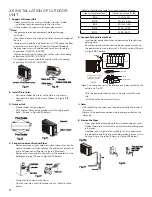
Connect drain hose to outlet pipe of indoor unit. (Shown in
Figure #8 below).
•
Bind the joint with tape (Shown in Figure #9 below).
!
Ì
Note:
• Prevent condensation by adding insulation to indoor drain
hose. (Shown in Figure #10 below).
• Plastic expansion screw set not included.


