22
Need help or have any questions? Call us at 1-714-963-0329 or send us an Email at service@globalhobby.net
❑
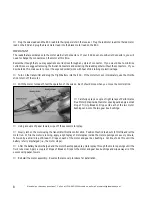
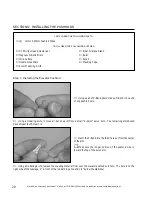
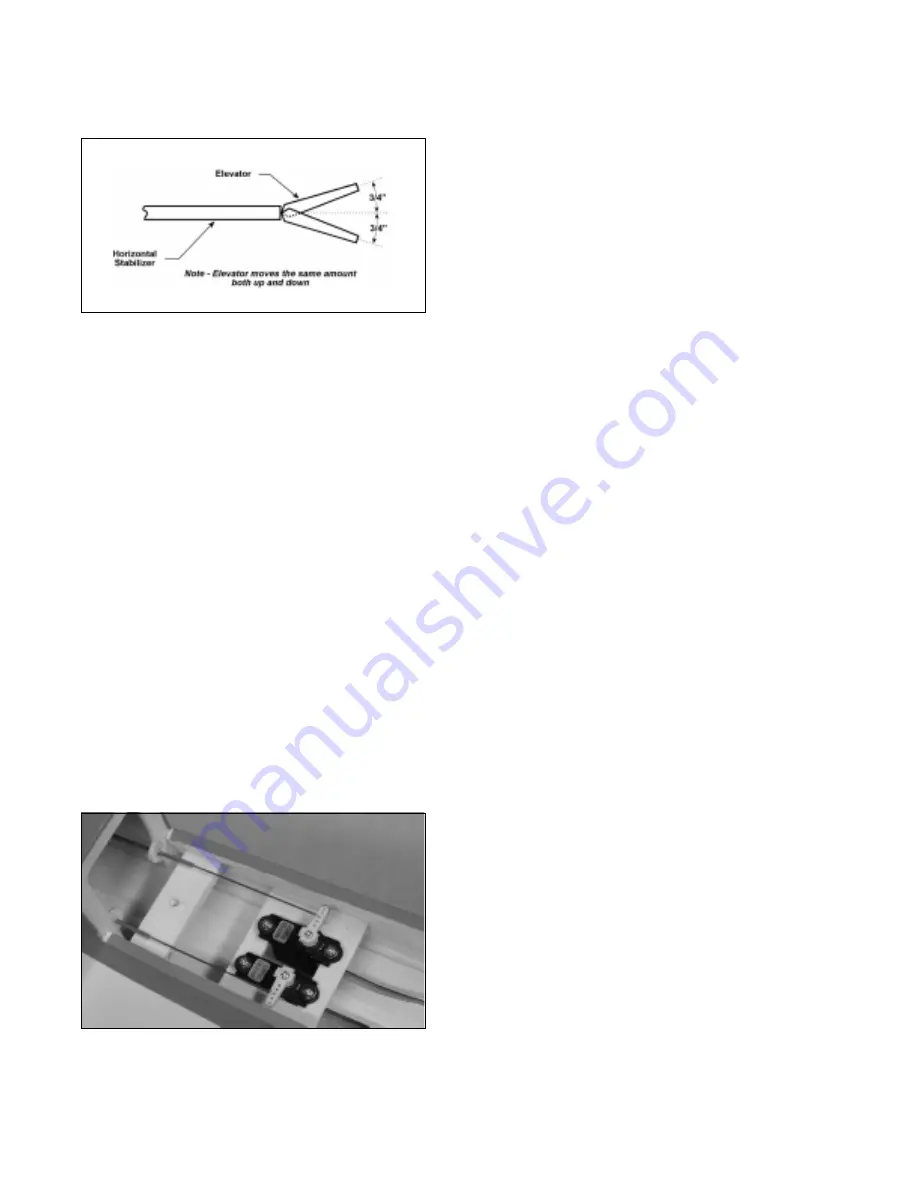
Check the control surface throw by measuring from the
widest point of the control surface. The elevator should move
both up and down 3/4".
IMPORTANT
Remember, you can adjust the control throws by moving the ends of the pushrods in and out on both the control horn and
the servo arm. Moving the pushrod toward the control surface will increase the control throw. Moving it away will
decrease the throw. Moving the pushrod toward the center of the servo arm will decrease the control throw and moving
it away from the center will increase the throw.
Step 3: Installing the Rudder Pushrod
IMPORTANT
The rudder pushrod is installed using the same technique as the elevator pushrod.
❑
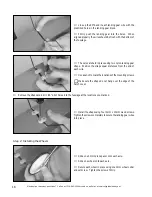
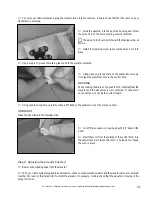
Using a pair of Z-Bend pliers, make a Z-Bend in one end of the pushrod wire.
❑
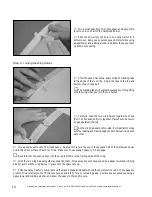
Using a modeling knife, remove all but one arm from a small "4-point" servo horn. The remaining arm should
have at least four holes in it.
❑
Insert the Z-Bend into the third hole out from the center of the arm.
☛
Make sure the longer portion of the pushrod wire is toward the top of the servo arm.
❑
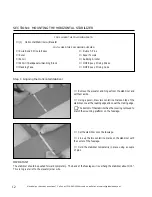
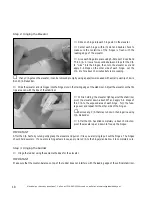
Using a modeling knife, remove the covering from over the rudder pushrod exit hole. The hole is on the left side of
the fuselage, 2" in front of the rudder hinge line and 1/2" below the stabilizer.
❑
Connect your radio system and plug the rudder servo into the receiver. Double check that the trim lever on your
transmitter is centered.
❑
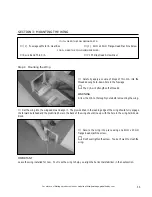
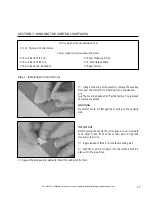
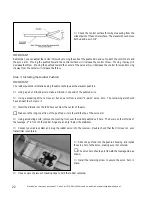
Slide the pushrod into the pushrod housing and install
the servo horn to the servo, making sure it's centered.
☛
The servo horn should point toward the fuselage side, as
shown.
❑
Install the retaining screw to secure the servo horn in
place.
❑
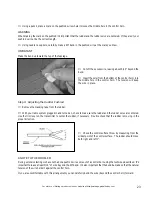
Use a couple of pieces of masking tape to hold the rudder centered.

