25
For more cool Wattage products visit our website at http://watt-age.globalhobby.com
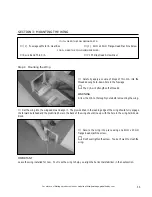
Step 2: Installing the Cowl
❑
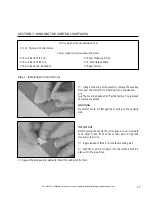
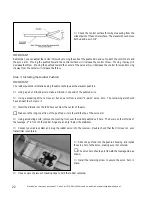
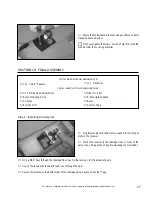
Test fit the cowl into place. To align it properly, the cowl
should be centered over the fuselage and there should be about
a 1/4" space between the front of the cowl and the propeller.
❑
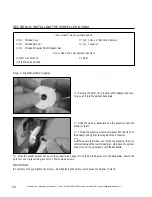
When satisfied with the alignment, remove the cowl.
❑
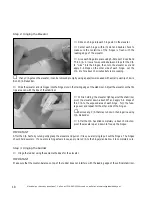
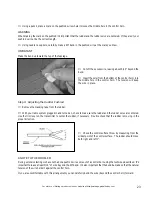
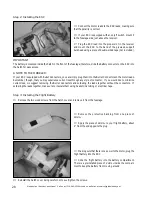
Carefully peel away the protective layer from the piece of double-sided tape preinstalled inside the cowl.
❑
Set the cowl back into place and realign it. Press firmly around the top of the cowl to secure it to the fuselage.
❑
Kwik Bond Thick C/A
❑
# 1 Phillips Head Screwdriver
❑
Excel Modeling Knife
❑
Electric Drill
YOU'LL NEED THE FOLLOWING PARTS:
❑
{1} Cockpit Deck
❑
{1} Plywood Cockpit Mounting Block
❑
{1} Pilot Figure
SECTION 11: INSTALLING THE COCKPIT DECK
❑
{1} Machine Gun
❑
{1} 3mm x 16mm Flange-Head Wood Screw
YOU'LL NEED THE FOLLOWING SUPPLIES:
❑
1/16" Drill Bit
❑
Ernst Airplane Stand
❑
Ruler
❑
Masking Tap
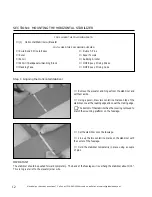
Step 1: Installing the Pilot Figure
❑
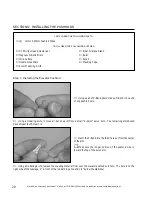
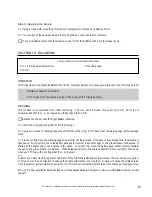
Remove the protective layer from the double-sided tape
on the bottom of the pilot figure.
❑
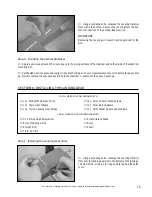
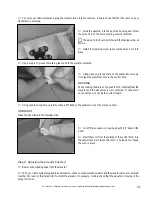
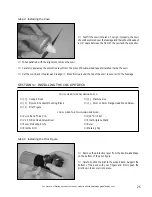
Carefully stick the pilot to the cockpit deck. Support the
bottom of the deck with your fingers and firmly push the
pilot down to secure it into place.

