28
Need help or have any questions? Call us at 1-714-963-0329 or send us an Email at service@globalhobby.net
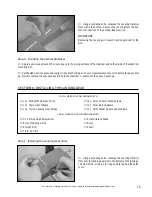
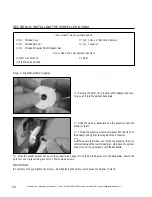
Step 2: Installing the ESC
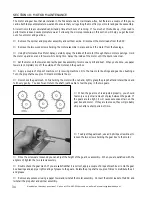
❑
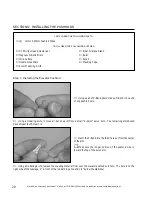
Connect the motor leads to the ESC leads, making sure
that the polarity is correct.
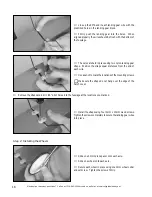
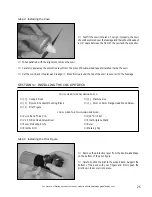
❑
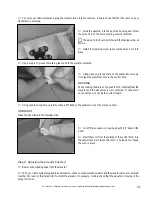
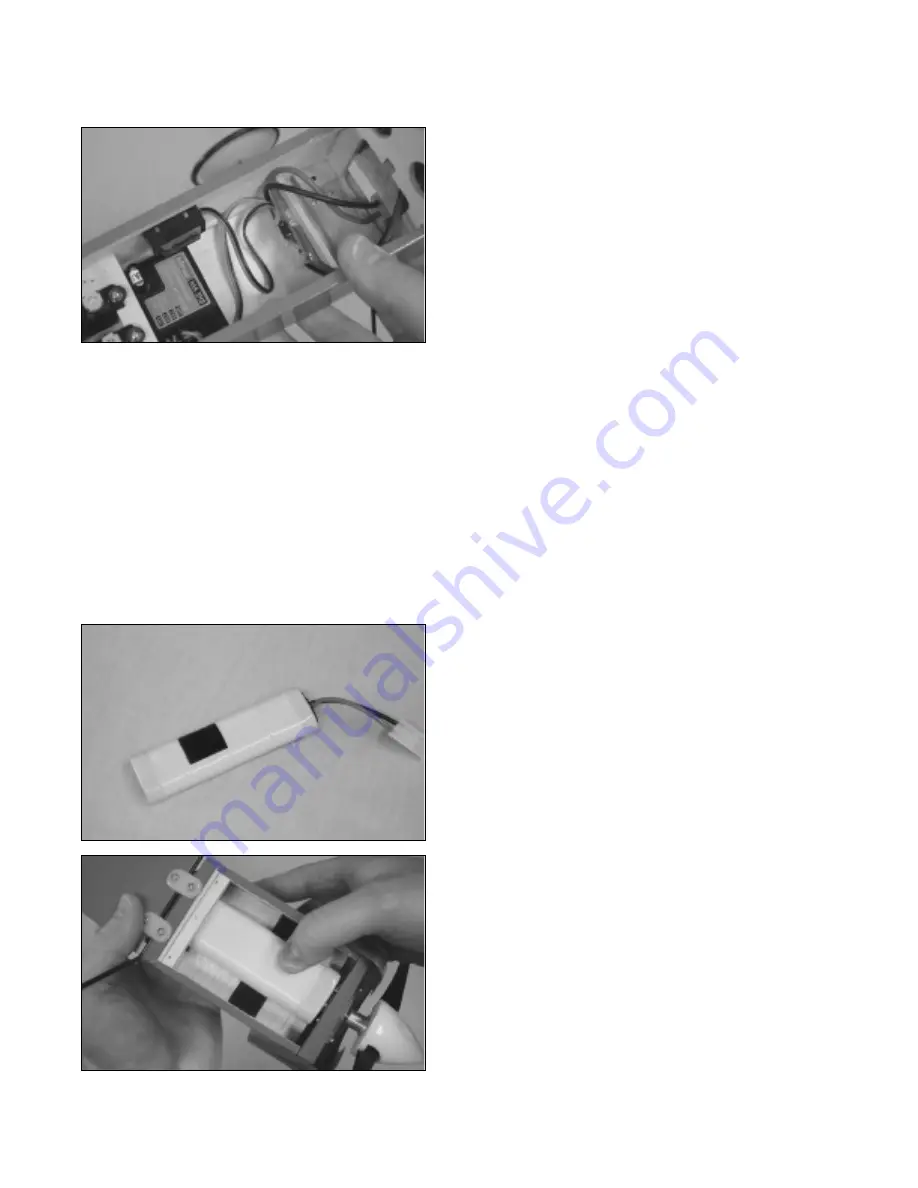
If your ESC is equipped with an on/off switch, mount it
to the fuselage side, just above the receiver.
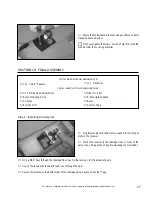
❑
Plug the ESC lead into the proper slot in the receiver
and mount the ESC to the back of the plywood support
bulkhead using a piece of double-sided tape (not included).
IMPORTANT
The battery is mounted inside the hatch in the front of the fuselage; therefore, slide the battery connector on the ESC into
the hatch for easy access.
A NOTE TO THE MODELER:
If your ESC is equipped with Bullet Connectors, you can simply plug them into the Bullet Connectors on the motor leads.
Remember, though, that you may experience current loss through any style of connector. If you would like to minimize
current loss, we suggest removing the Bullet Connectors and soldering the leads together without the connectors. If
soldering the leads together, make sure to insulate them using heat-shrink tubing or electrical tape.
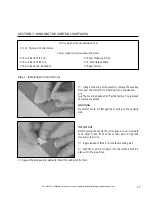
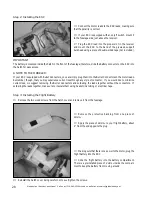
Step 3: Installing the Flight Battery
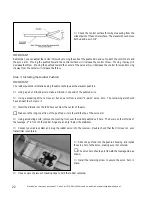
❑
Remove the two wood screws from the hatch cover and remove it from the fuselage.
❑
Remove the protective backing from one piece of
Velcro
®
.
❑
Apply the piece of Velcro
®
to your flight battery, about
2" from the end
opposite
the plug.
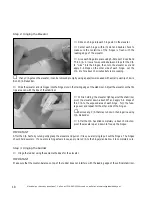
❑
Making sure that there is no power to the motor, plug the
flight battery into the ESC
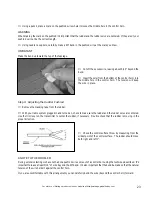
❑
Slide the flight battery into the battery compartment.
There is a preinstalled piece of Velcro
®
inside the compart-
ment to keep the battery from moving around.
❑
Reinstall the hatch cover being careful not to overtighten the screws.


