8
Need help or have any questions? Call us at 1-714-963-0329 or send us an Email at service@globalhobby.net
❑
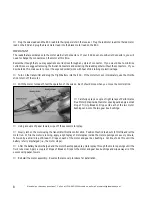
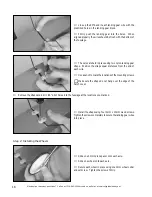
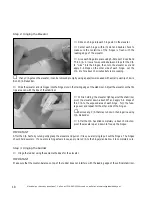
Plug the servo leads and the ESC lead into their proper slots in the receiver. Plug the red motor lead into the red motor
lead on the ESC and plug the black motor lead into the black motor lead on the ESC.
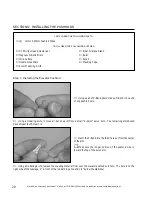
IMPORTANT
The leads that are soldered onto the motor are Bullet Connectors. If your ESC does not use Bullet Connectors, you will
need to change the connectors on the motor at this time.
Remember though that you may experience current loss through any style of connector. If you would like to minimize
current loss, we suggest removing the Bullet Connectors and soldering the leads together without the connectors. If you
decide to do this, make sure to cover the exposed solder joints with heat shrink tubing or electrical tape.
❑
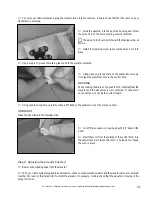
Turn on the transmitter and plug the flight battery into the ESC. If the motor turns on immediately, use the throttle
stick to turn off the motor.
❑
With the motor turned off, test the operation of the servos. Each should move when you move the control stick.
❑
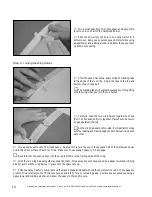
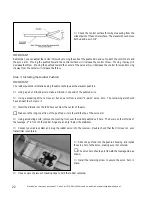
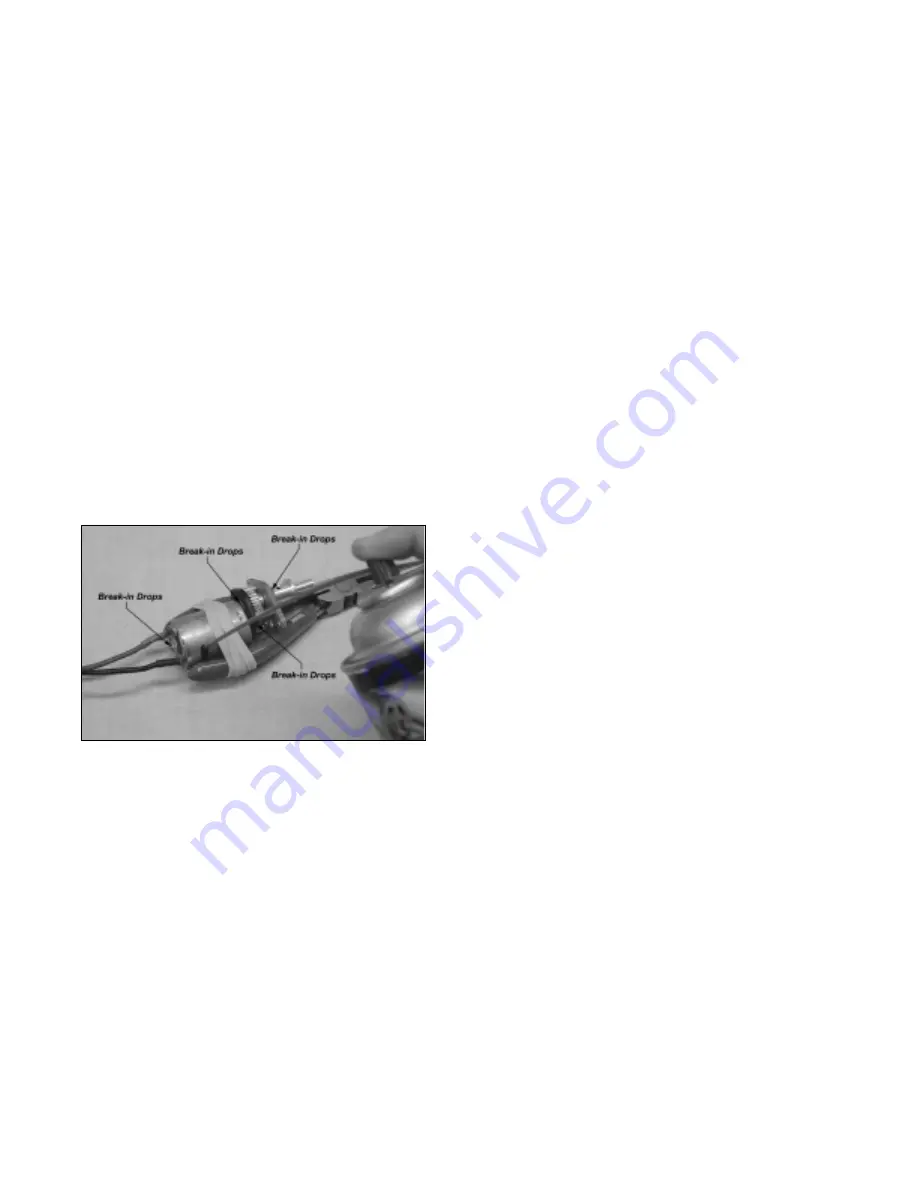
Carefully spray a couple of light sprays of Performance
Plus Motor Spray inside the motor openings and apply a small
drop of Trinity Break-In Drops onto each of the two motor
bushings and onto the two gear box bushings.
❑
Using a couple of paper towels, wipe off the excess motor spray.
❑
Slowly turn on the motor using the transmitter throttle control stick. Position the stick to about 1/3 throttle and let the
motor run. While the motor is running, apply a light spray of motor spray inside the motor openings once every minute,
followed by a small drop of Break-In Drops on each of the motor and gear box bushings. Continue to do this until the
battery is fully discharged (i.e., the motor stops).
❑
After the battery has discharged and the motor has stopped, spray motor spray through the motor openings until the
fluid runs clear. Apply a couple of drops of Break-In Drops to the motor and gear box bushings and wipe away all of the
excess using paper towels.
❑
Reinstall the motor assembly. Reverse the removal procedure for installation.


