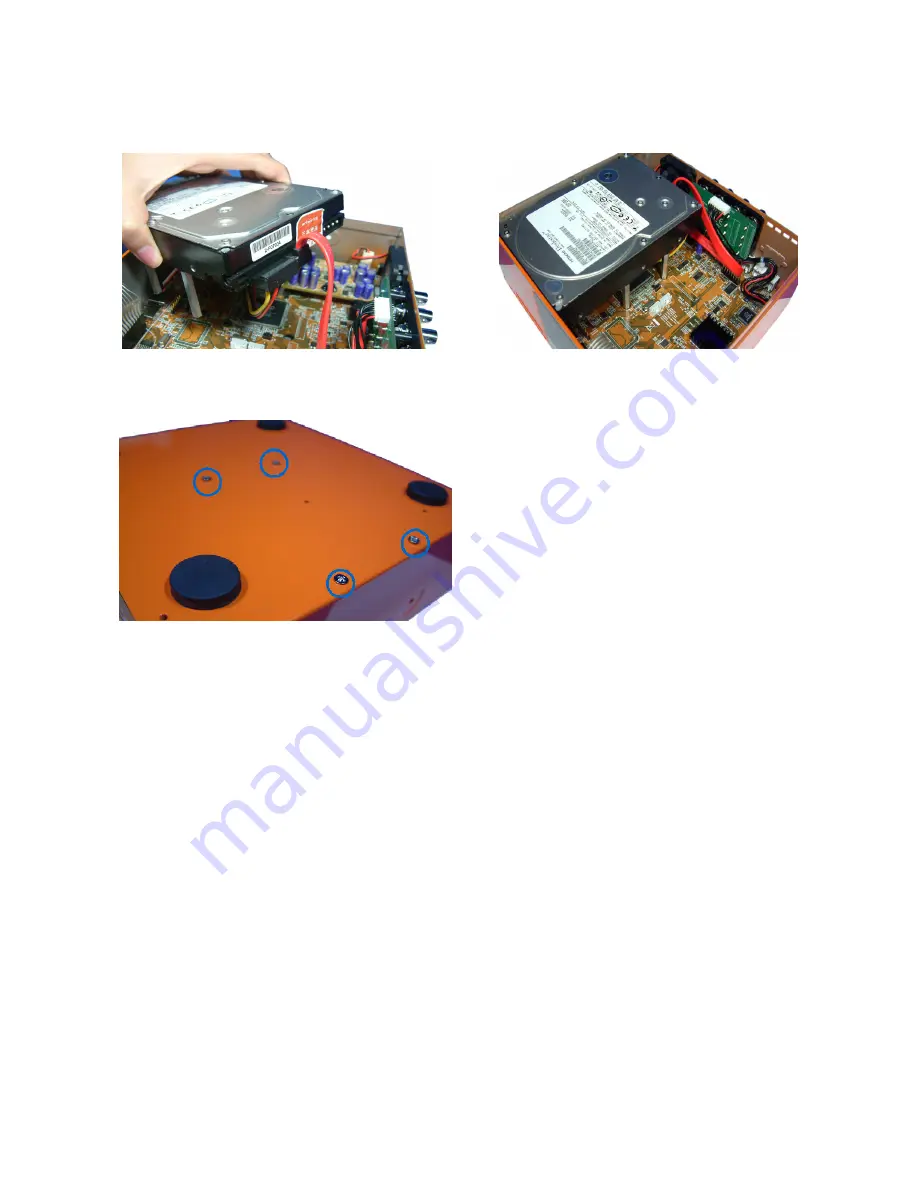
4. Connect the SATA Cable and power cables to the SATA HDD and then lower the HDD
slowly into the chassis. Align the four standoffs with the four reserved screw holes.
5. While holding the HDD in place, turn-over the chassis as upside-down. Use the four
screws included in the screw bag to screw the four standoffs shown as below.
6.
Turn the upside back and close the upper casing. Tighten the four screws previously
removed back into the DVR. HDD Installation is now finished.
13
Summary of Contents for ADR-7604H
Page 1: ...User Manual Version 1 3 4CH H 264 Standalone DVR ADR 7604S H...
Page 2: ......
Page 26: ...26...
Page 36: ...36...
Page 41: ...41...


