Quick Reference Guide
Page 10 of 12
Revised: October 21, 2004 @ 9:55 AM
How to BROWSE Clips
.
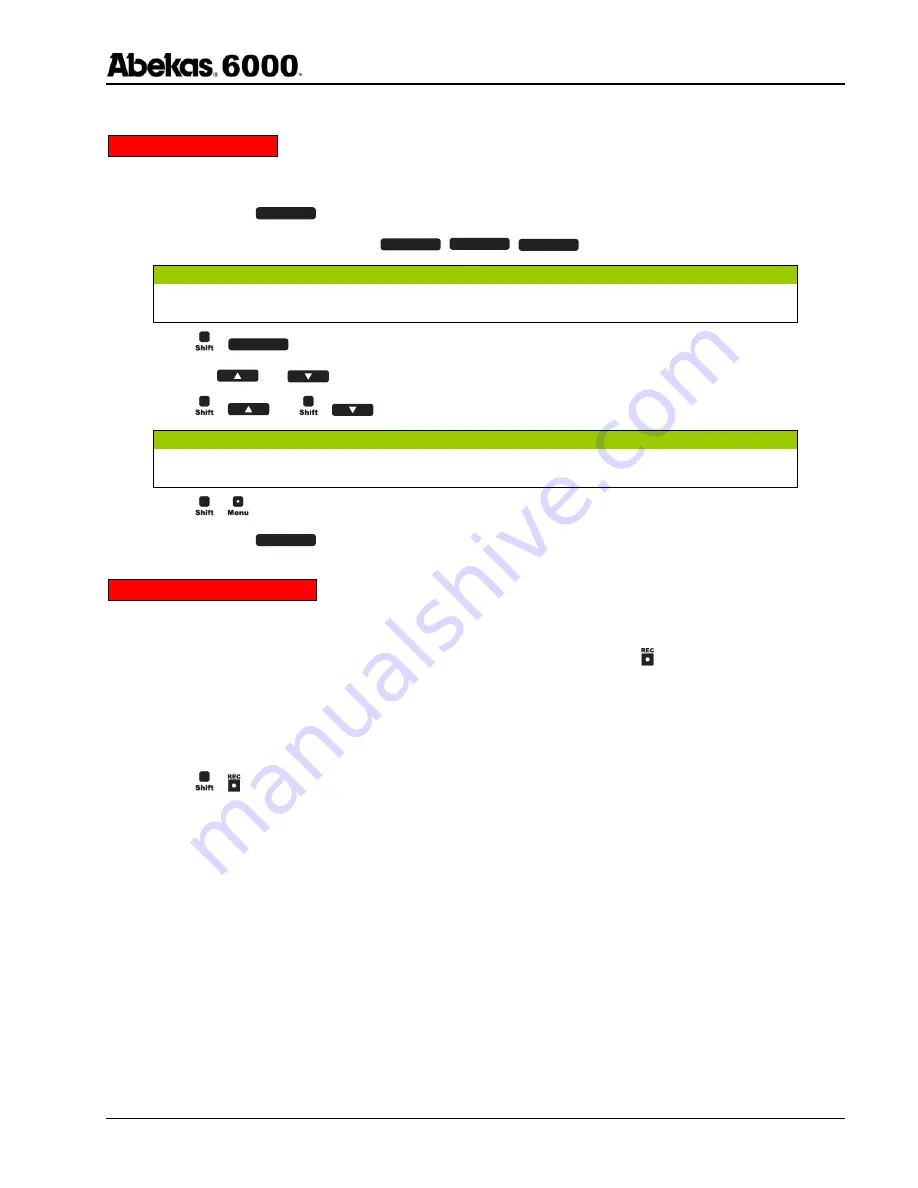
This procedure allows you to BROWSE multiple CLIP ID’s using the STATUS OVERLAY analog video output monitor.
1. Press
the
green
C L I P P L A Y
button (this is necessary only if the lamp below the button is not already illuminated).
2. Press the desired CHANNEL button (
C h A
,
C h B
,
C h C
, etc.) you wish to BROWSE on.
N O T E
BROWSING clips will CUE each clip over the desired video CHANNEL. Be sure to use a CHANNEL that is not on-air or otherwise in use!
3. Press +
C L I P P L A Y
to activate BROWSE.
4. Press
the
and
buttons to scroll through the CLIP ID’s one CLIP at a time.
5. Press +
and +
to scroll through the CLIP ID’s one PAGE at a time.
N O T E
As you scroll up or down, the CLIP ID’s will CUE on the video CHANNEL.
6. Press +
to toggle between the BROWSE display categories (CLIP LENGTH, COMPRESSION, etc.).
7. Press
the
green
C L I P P L A Y
button to EXIT the BROWSE function.
Locking / Unlocking a ClipID
.
A given Clip that’s already recorded can be locked so that the clip cannot be accidentally deleted, moved or altered in any
way. To confirm if a clip is LOCKED or UNLOCKED, load the desired clip ID into the active video channel. If the given clip
is LOCKED, the RED warning light titled “Clip ID Locked” (located directly below the red button) will illuminate.
If the “Clip ID Locked” RED warning light is not illuminated, then the clip is not locked.
To LOCK or UNLOCK a given clip follow this procedure:
1. Load the given clip ID. Refer to the procedure “How to Load Clips” on page 6.
2. Press + . This will LOCK the clip ID, and the “Clip ID Locked” lamp will illuminate.
3. To UNLOCK the clip ID, repeat step #2. The “Clip ID Locked” lamp will turn OFF.


