background image

Quick Reference Guide 


Revised: October 21, 2004 @ 9:55 AM                                                        


Page 11 of 12 

 How to TRIM Clips

.


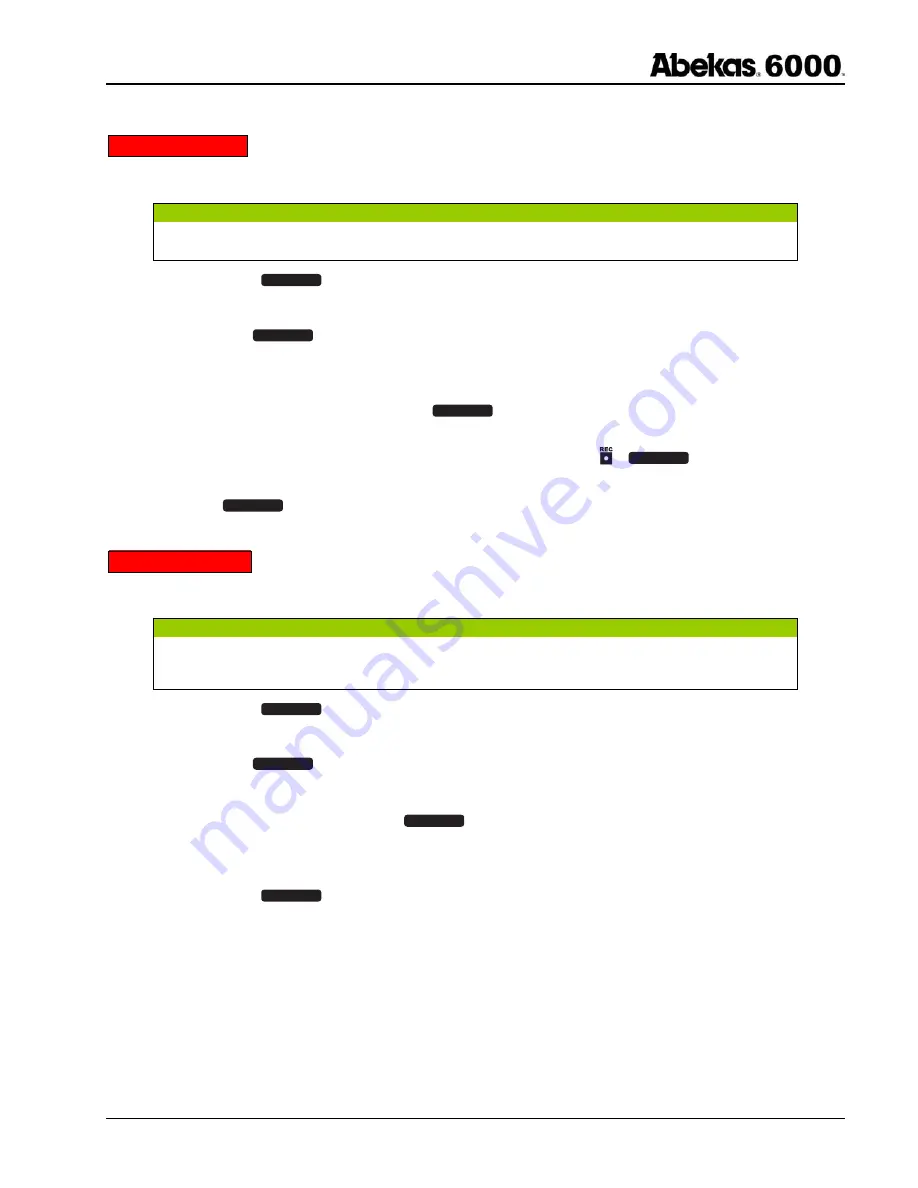
This feature allows you to TRIM the “head” and “tail” portions of clips using the MODIFY (TRIM) function. 

W A R N I N G !  

This is a destructive process and material trimmed from any CLIP will be permanently lost.   
 

1. Press 

the 

green 

C L I P   P L A Y

 button (this is necessary only if the lamp below the button is not already illuminated). 

2.  Load the CLIP ID you wish to TRIM in the channel you desire. 
3. Press 

the 

blue 

M O D I F Y

 button (CLIP TRIM). 

4.  PLAY, JOG or SHUTTLE the CLIP to the point you wish to TRIM.  If this is the new IN point you desire, press 

MARK IN.  If this is the new OUT point, press MARK OUT. 

5.  To preview the new TRIM point(s), press the 

T A K E

 button.  This will PLAY the CLIP within the new mark IN 

and OUT points. 

6.  If you are satisfied with the new mark IN and OUT points, press and hold   + 

M O D I F Y

 buttons to execute the 

TRIM.  A confirm prompt will appear in the LCD display before the clip is finally TRIMMED.   

7. Press 

the 

E N T E R

 button to execute the TRIM. 

 How to TITLE Clips

.


You may TITLE clips that are allocated to be recorded, are in record or have already been recorded.   

N O T E  

You must have a QWERTY keyboard connected to the Abekas 6000 control panel of which you are using in order to TITLE clips.  You may also 
TITLE clips via PC or MAC, if the Abekas 6000 Content Management Panel (CMP) is connected. 
 

1. Press 

the 

green 

C L I P   P L A Y

 button (this is necessary only if the lamp below the button is not already illuminated). 

2.  Cue the CLIP you wish to TITLE in the channel you desire. 
3. Press 

the 

blue 

T I T L E

 button. 

4.  Begin to TITLE the clip by using the QWERTY keyboard attached to the Abekas 6000 control panel. 
5.  Once the TITLE is completed, press the 

E N T E R

 button. 

6.  You may also CUE and TITLE multiple CLIPS, while remaining in the TITLE mode.  Repeat steps 4-6, once you 

have CUED another CLIP to TITLE. 

7. Press 

the 

green 

C L I P   P L A Y

 button to exit the TITLE mode. 

Summary of Contents for Abekas MultiFlex 6000

Page 1: ...is you may power ON either of the two redundant power supplies first in a given chassis All power supplies are located in the front of the chassis near the bottom the power switch is located on the fa...

Page 2: ...the button is not already illuminated 2 To ACQUIRE a given video channel be sure the lamp below the channel button that you wish to ACQUIRE is NOT illuminated If the lamp is RED you must first RELEASE...

Page 3: ...NU position you will see a list of SUBMENUS with a title ABEKAS 6000 HOME MENU on the menu display 5 From the HOME MENU select the SYSTEM SETUP submenu using the rotary knob on the Abekas 6000 control...

Page 4: ...rotary knob select SAVE SETTINGS and then press the T A K E button 10 A confirm prompt will appear in the control panel asking if you wish to SAVE SETTINGS under the USER memory you have chosen If yo...

Page 5: ...n you wish to RECORD on for example press the C h A button The lamp below the CHANNEL button should be illuminated GREEN if not follow the procedure To ACQUIRE a Video Channel starting on page 2 above...

Page 6: ...video channel Alternative Method 1 Press the green C L I P P L A Y button this is necessary only if the lamp below the button is not already illuminated 2 Press the specific CHANNEL button C h A C h B...

Page 7: ...e eight video channel buttons C h A C h B C h C etc and verify the clip ID s are not cued or to be really sure just load clip ID 0 BLACK into each of the video channels before performing DELETE see Ho...

Page 8: ...initiated within a single Abekas 6000 chassis the process will be performed rather quickly since the CLIP ID is only being change to a new CLIP ID MOVE The clip s video audio and key material is not p...

Page 9: ...utton 5 Using the numeric keypad type the clip ID that you wish to COPY this clip TO 6 Press the button 7 Press the E N T E R button to start the clip COPY operation COPYING a RANGE of Clips 1 Press t...

Page 10: ...the CLIP ID s will CUE on the video CHANNEL 6 Press to toggle between the BROWSE display categories CLIP LENGTH COMPRESSION etc 7 Press the green C L I P P L A Y button to EXIT the BROWSE function Loc...

Page 11: ...F Y buttons to execute the TRIM A confirm prompt will appear in the LCD display before the clip is finally TRIMMED 7 Press the E N T E R button to execute the TRIM How to TITLE Clips You may TITLE cli...

Page 12: ...of 100 play speed For example for one quarter play speed type 25 4 Press the button 5 To return PLAYING a CLIP at 100 NORMAL play speed press the button How to LOOP Clips This will allow you to LOOP s...

Reviews: