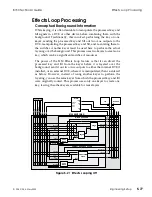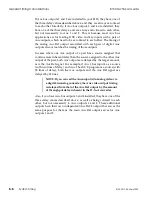
NOTE: Because the input timing window for an entire
Input module is changed, the DVE video and key inputs
must be connected to the same Input module for effects
looping to work properly.
STEP 5:
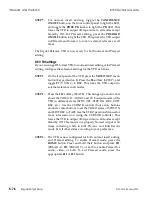
This completes the connection and setup for a single external
DVE (for two external DVEs, see step 12). To check for proper
operation, set up a key on M/E Keyer 1. See Section 4 –
Keying, in the 8150 Operations Manual, for information on
setting up a key.
STEP 6:
After setting up the key, bring up the Aux Buses submenu in
the Miscellaneous menu. Press the
Effects Loop Inputs
softkey, then turn the
DVE Select
pushknob to select
EXT 1
.
(To use the internal DVE, if installed, you can select
Internal
to use that DVE.)
STEP 7:
Use the
Loop Select
pushknob to select
M/E Key 1
, then press
the
Press to Assign
pushknob to activate the loop. (The
Press
to Assign
display reads
DVE 1 – M/E Key 1
to indicate that
a loop is active; if you are using the internal DVE, the display
reads
DVE I – M/E Key 1
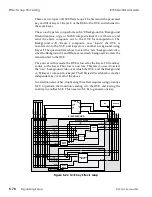
.) The processed fill and key signals
from Keyer 1 are now routed via the DVE to the keyer. (Make
sure that the DVE key channel is turned on.) You can now
reposition and otherwise transform the key over the
background, and still have the other two keyers available.
You can perform an Effects Loop for any of the three keyers,
one at a time, by performing a key on Keyer 1, Keyer 2, or the
DSK, and selecting
M/E Key 1
,
M/E Key 2
, or
DSK
(respectively) with the
Loop Select
pushknob, followed by
pressing the
Press to Assign
pushknob to activate the loop.
STEP 8:
Set
Loop Select
back to
Off
and press
Press to Assign
,
changing its display
to DVE Loop Off.
Turn KEY 1 on and
select a background for it on the Background A bus.
STEP 9:
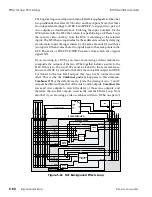
Select
M/E Bgnd
with the
Loop Select
pushknob and press
Press to Assign
. (Make sure the DVE key channel is turned
off.) Press the
BGND
transition select button and perform a
partial transition of Background A and B. The transition, with
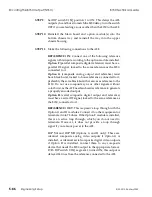
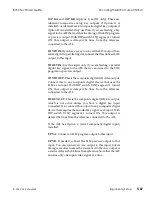
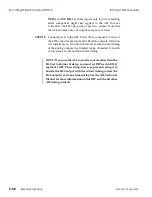
Keyer 1 composited over it, should appear "inside" the DVE.
The DVE is visible because it is returning via Keyer 2, which
is forced on; you cannot turn Keyer 2 off in this mode. If you
"squeeze" the DVE image size down, you can see it keyed over
Effects Loop Processing
8150 Technical Guide
5-82
Engineering Setup
9100-0212-04 - May 2000
Summary of Contents for ASWR8150
Page 12: ...Table of Contents 8150 Technical Guide X Contents 9100 0212 04 May 2000...
Page 39: ......
Page 80: ...Control Panel Connector Detail 8150 Technical Guide 2 40 Installation 9100 0212 04 May 2000...
Page 109: ...Option Installation 8150 Technical Guide 3 30 Option Installation 9100 0212 04 May 2000...
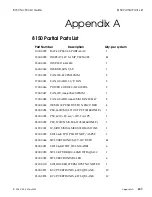
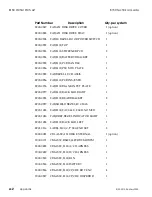
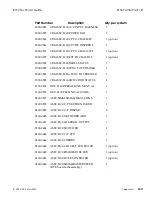
Page 236: ...8150 Partial Parts List 8150 Technical Guide A 6 Appendix 9100 0212 04 May 2000...

