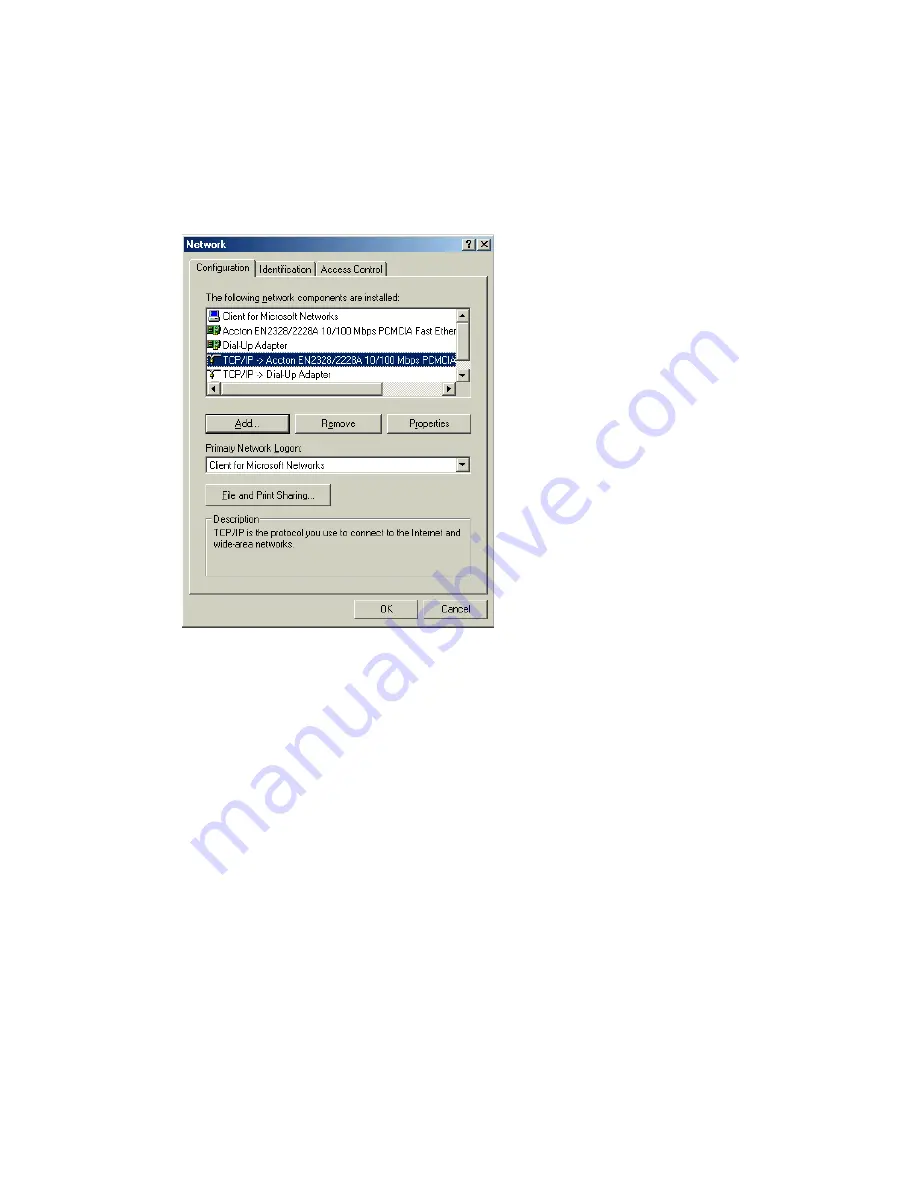
Configuring Client TCP/IP
5-2
Setting TCP/IP to Work with the CheetahAccess Internet Gateway
1.
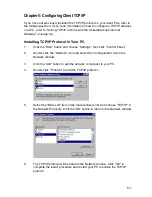
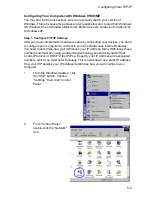
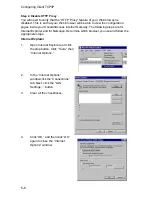
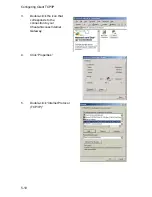
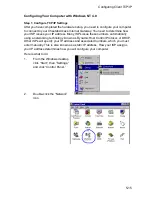
Click the “Start” button and choose “Settings,” then click “Control Panel.”
2.
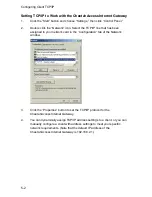
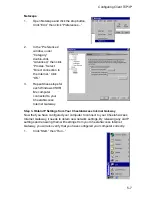
Double click the “Network” icon. Select the TCP/IP line that has been
assigned to your network card in the “Configuration” tab of the Network
window.
3.
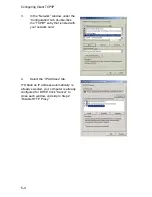
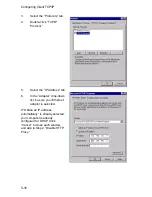
Click the “Properties” button to set the TCP/IP protocol for the
CheetahAccess Internet Gateway.
4.
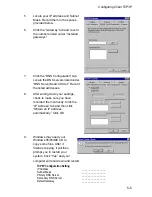
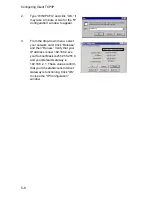
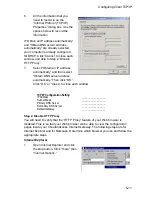
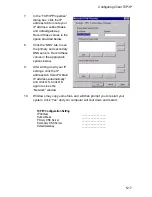
You can dynamically assign TCP/IP address settings to a client, or you can
manually configure a client with address settings to meet your specific
network requirements. (Note that the default IP address of the
CheetahAccess Internet Gateway is 192.168.2.1.)
Summary of Contents for CheetahAccess AC-IG1004
Page 1: ...CheetahAccessTM Internet Gateway AC IG1004 AC IG1008 User Guide...
Page 2: ......
Page 10: ...Contents iv...
Page 14: ...Introduction 1 4...
Page 22: ...Installation 2 8...
Page 24: ...Configuring Client PCs 3 2...
Page 42: ...Configuring the CheetahAccess Internet Gateway 4 18...
Page 77: ...Configuring Printer Services 6 7 7 Select Properties option and click Configure Port...
Page 82: ...Configuring Printer Services 6 12...
Page 94: ...Ordering Information D 2...
Page 95: ......
Page 96: ...AC IG0004 AC IG0008 E022002 R01 P N 650 10551...

