Configuring Client TCP/IP
5-11
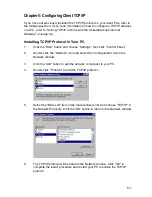
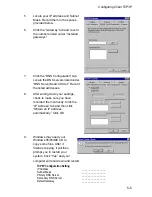
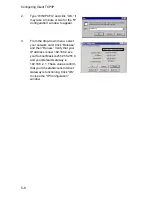
6.
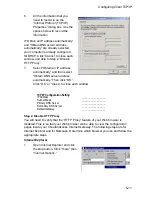
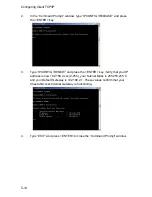
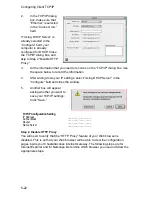
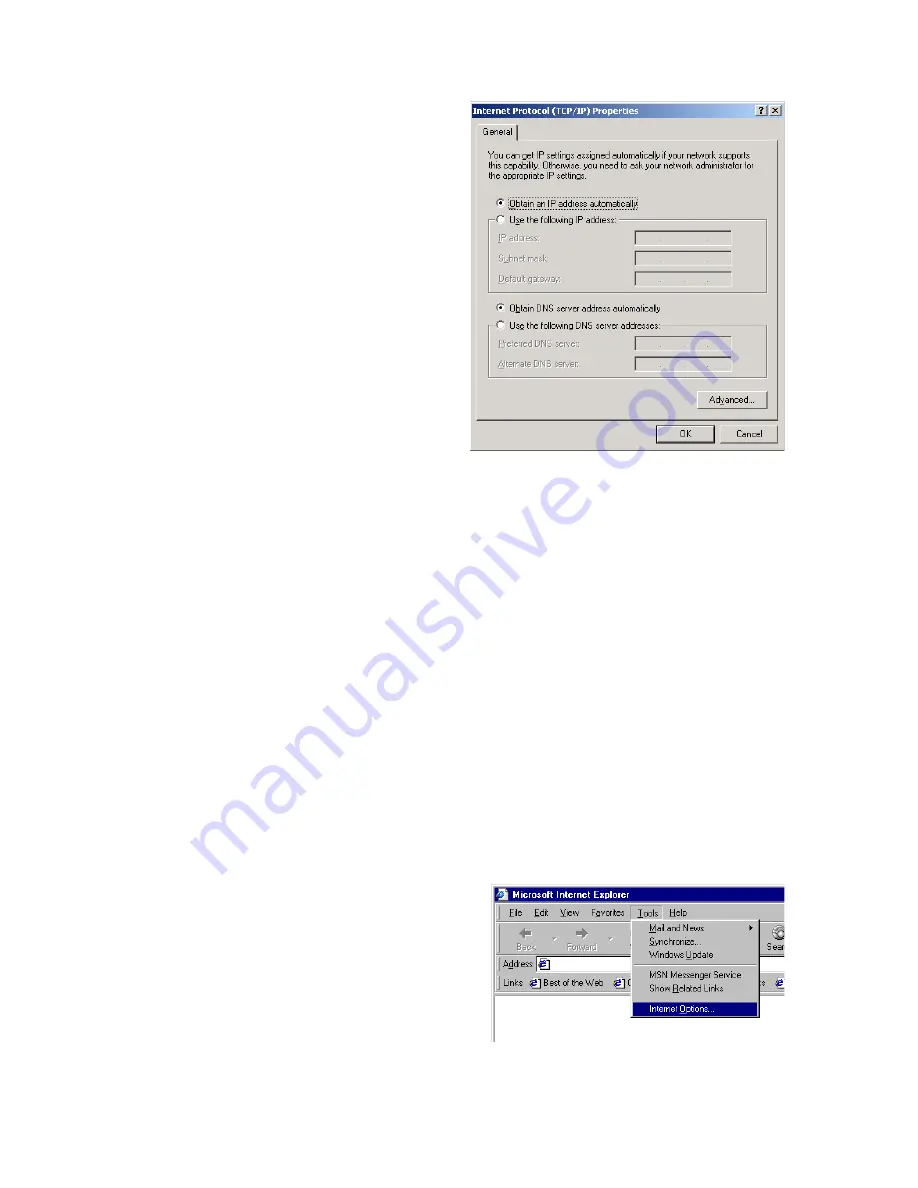
All the information that you
need to record is on the
“Internet Protocol (TCP/IP)
Properties” dialog box. Use the
spaces below to record the
information.
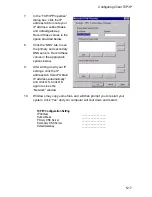
If “Obtain an IP address automatically”
and “Obtain DNS server address
automatically” are already selected,
your computer is already configured
for DHCP. Click “Cancel” to close each
window, and skip to Step 2 “Disable
HTTP Proxy.”
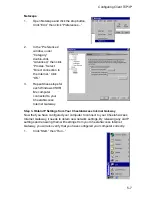
7.
Select “Obtain an IP address
automatically” and then select
“Obtain DNS server address
automatically.” Then click “OK.”
Click “OK” or “Close” to close each window.
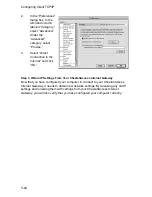
Step 2. Disable HTTP Proxy
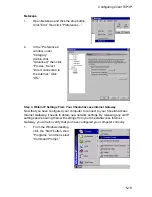
You will need to verify that the “HTTP Proxy” feature of your Web browser is
disabled. This is so that your Web browser will be able to view the configuration
pages inside your CheetahAccess Internet Gateway. The following steps are for
Internet Explorer and for Netscape. Determine which browser you use and follow the
appropriate steps.
Internet Explorer
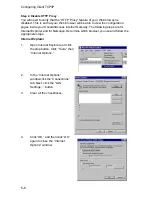
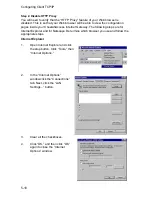
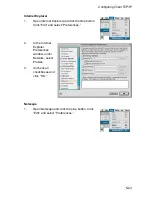
1.
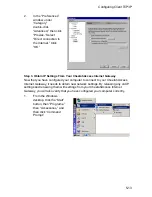
Open Internet Explorer and click
the stop button. Click “Tools,” then
“Internet Options.”
TCP/IP Configuration Setting
IP Address
____.____.____.____
Subnet Mask
____.____.____.____
Primary DNS Server
____.____.____.____
Secondary DNS Server
____.____.____.____
Default Gateway
____.____.____.____
Summary of Contents for CheetahAccess AC-IG1004
Page 1: ...CheetahAccessTM Internet Gateway AC IG1004 AC IG1008 User Guide...
Page 2: ......
Page 10: ...Contents iv...
Page 14: ...Introduction 1 4...
Page 22: ...Installation 2 8...
Page 24: ...Configuring Client PCs 3 2...
Page 42: ...Configuring the CheetahAccess Internet Gateway 4 18...
Page 77: ...Configuring Printer Services 6 7 7 Select Properties option and click Configure Port...
Page 82: ...Configuring Printer Services 6 12...
Page 94: ...Ordering Information D 2...
Page 95: ......
Page 96: ...AC IG0004 AC IG0008 E022002 R01 P N 650 10551...

