Configuring Client TCP/IP
5-27
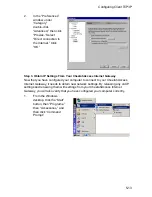
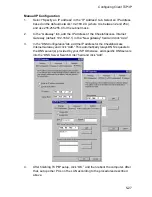
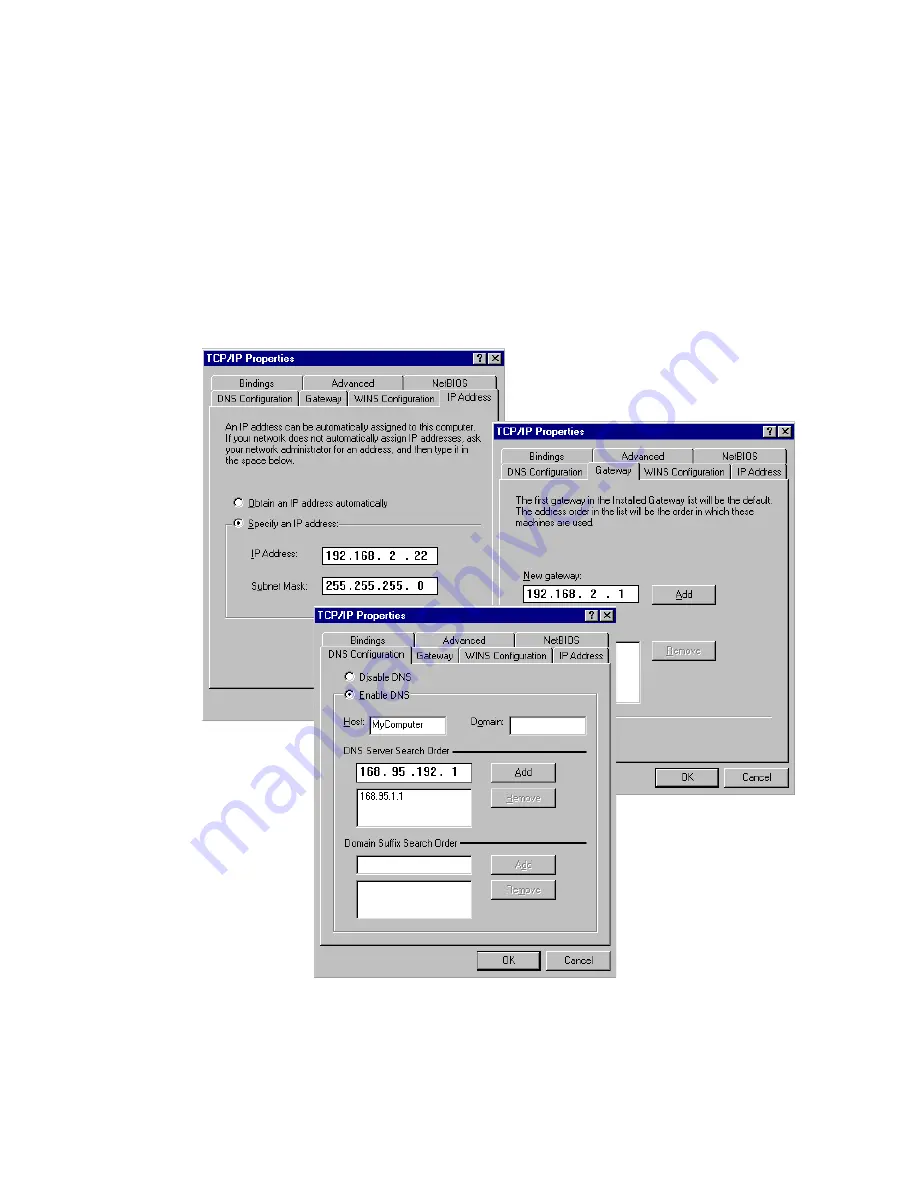
Manual IP Configuration
1.
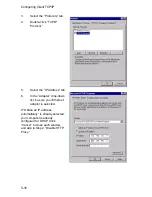
Select “Specify an IP address” in the “IP Address” tab. Select an IP address
based on the default network 192.168.2.X (where X is between 2 and 254),
and use 255.255.255.0 for the subnet mask.
2.
In the “Gateway” tab, add the IP address of the CheetahAccess Internet
Gateway (default: 192.168.2.1) in the “New gateway” field and click “Add.”
3.
In the “DNS Configuration” tab, add the IP address for the CheetahAccess
Internet Gateway and click “Add.” This automatically relays DNS requests to
the DNS server(s) provided by your ISP. Otherwise, add specific DNS servers
into the “DNS Server Search Order” field and click “Add.”
4.
After finishing TCP/IP setup, click “OK,” and then reboot the computer. After
that, set up other PCs on the LAN according to the procedures described
above.
Summary of Contents for CheetahAccess AC-IG1004
Page 1: ...CheetahAccessTM Internet Gateway AC IG1004 AC IG1008 User Guide...
Page 2: ......
Page 10: ...Contents iv...
Page 14: ...Introduction 1 4...
Page 22: ...Installation 2 8...
Page 24: ...Configuring Client PCs 3 2...
Page 42: ...Configuring the CheetahAccess Internet Gateway 4 18...
Page 77: ...Configuring Printer Services 6 7 7 Select Properties option and click Configure Port...
Page 82: ...Configuring Printer Services 6 12...
Page 94: ...Ordering Information D 2...
Page 95: ......
Page 96: ...AC IG0004 AC IG0008 E022002 R01 P N 650 10551...

