Novell NetWare
15
(b)
Select
Print Server Configuration.
(c)
Select
Printer Configuration.
(d)
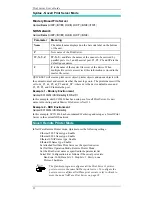
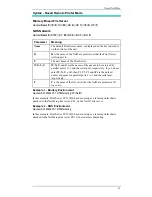
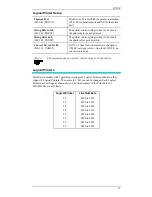
Select the print number, using the printer numbers shown on page 14
(e)
Press [Esc].
(f)
Select YES.
(g)
Repeat steps (d), (e) and (f) for each printer port.
4. Associate printers with print queues
Follow the steps below to associate print queues with the printer(s) attached to
the Print Server.
(a)
Select
Queues Serviced by Printer from the Print Server Configuration Menu.
(b)
Select a printer you want to assign a print queue to.
(c)
Press [Ins].
(d)
Select the queue that you want the printer to service.
(e)
Press [Enter] twice.
(f)
Repeat steps (a) to (e) until all printer and queue associations are configured
completely.
(g)
Exit PCONSOLE
5. Configure the Print Server
(a)
Run the PSCONFIG program.
(b)
Select your Print Server.
(c)
Select
Set to NetWare Print Server Mode.
(d)
Enter the file server you are logged onto, to be the master file server to the
Print Server.
(e)
Replace
Print Server name with the name used in step 2.(c).
(f)
Select
Execute Setup.
Print Server Mode in NetWare 4.x (Bindery Emulation)
This procedure configures the Print Server as a NetWare Print Server under
NetWare 4.x Bindery Emulation Mode.
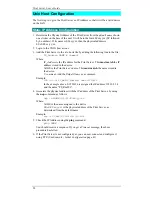
1.
Quick Setup on a File Server
(a)
Login as ADMIN. or a user with Admin. rights.
(b)
Run the PCONSOLE program and press [F4] to switch to bindery mode.
(c)
Select
Quick Setup
(d)
Enter the desired names in the following fields:
Print server
New printer
New print queue
(e)
Press [F10] to save.
(f)
If necessary, repeat steps (b) to (e) for parallel ports 2 and 3 or the serial port.
If the desired print server name already exists, you need to delete
that object first.
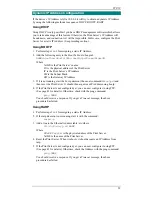
2. Configure the Print Server
(a)
Run the PSCONFIG program
(b)
Select your Print Server.

