Print Server User’s Guide
46
1.
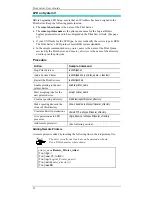
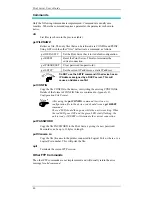
Connect your default printer to the InterNet Printing Port.
2.
Check that “Reply Notification Mail” in the InterNet Printing Port is ON.
3.
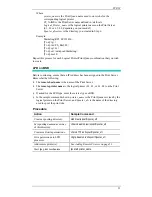
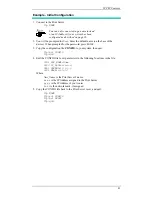
From Notepad or another text editor, print a short message (e.g. “This is a test
print”) to the Internet Printer.
You will receive a reply E Mail containing the “Printer ID” which will identify
the printer attached to the Print Server. If this does not match the printer driver
you are using, install the correct printer driver.
Printing
1.
Create or open the document you wish to print.
2.
Select the Printer connected to the InterNet Printing Port.
3.
If you do not have a permanent Internet connection, establish a connection now.
(Note: The InterNet Printing Port will NOT establish a dial-up connection, but it
will send the E Mail the next time you are connected.)
4.
Print the document.
5.
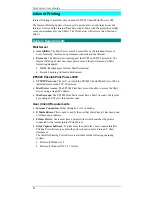
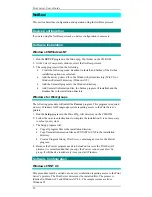
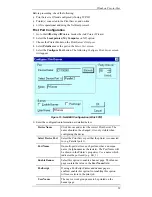
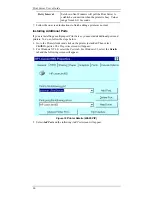
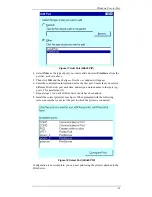
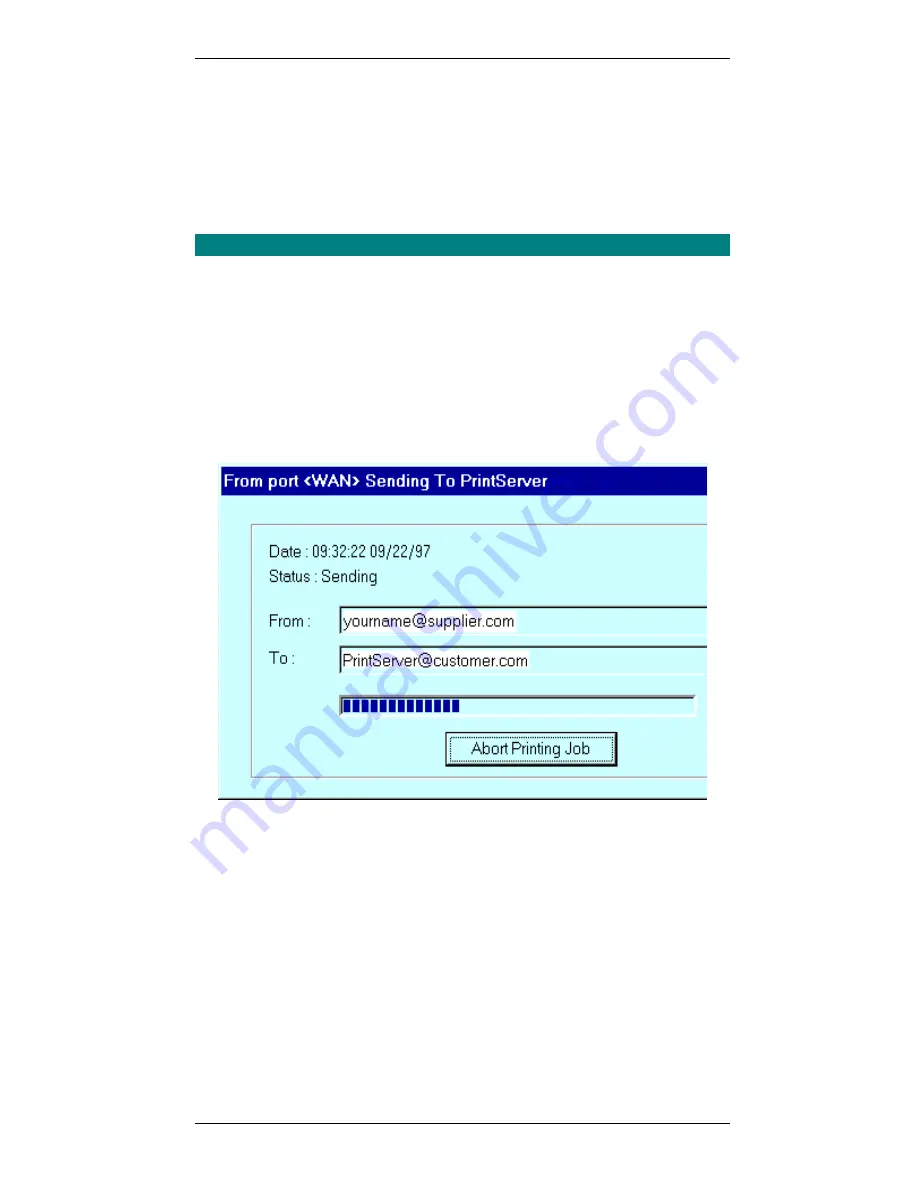
The InterNet Printing Port will generate an E Mail and send it to the remote
printer. The document will be encoded and sent as an attachment to the E Mail.
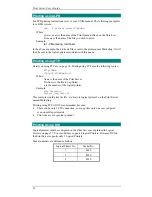
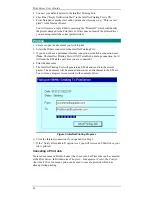
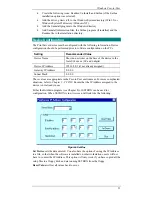
You will see a progress screen similar to the example below:
Figure 5 InterNet Printing Progress
6.
Close the Internet connection if you opened it in Step 3.
7.
If the “Notify after print job” option is set, you will receive an E Mail when your
job is printed.
Canceling a Print Job
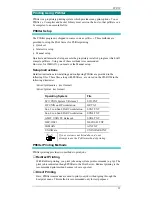
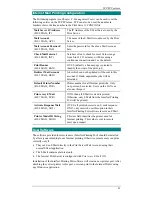
Users cannot cancel a Print Job once it has been sent, but Print Jobs can be canceled
at the Print Server. In BiAdmin (see
Chapter 8 - Management Tools), the Control -
Abort Mail Print Job menu option can be used to cancel a print job which has
already started printing.

