Windows Peer-to-Peer
71
This command will redirect print jobs from the parallel port to the Print Server
port.
Using only port 1 with the SMB protocol is strongly
recommended.
2.
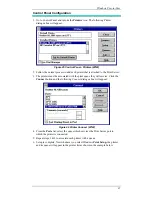
Return to Windows and double-click the
Printer icon in the Control Panel.
3.
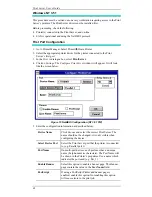
Select the printer driver for the printer attached to the Print Server from the list of
Installed Printers (or click Add>> to install a new driver).
4.
Click "Set As Default Printer".
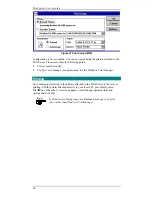
5.
Click "Connect…" to open the Connect dialog box.
6.
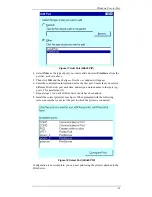
Click "Network…
7.
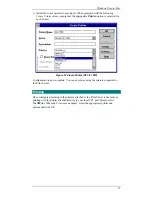
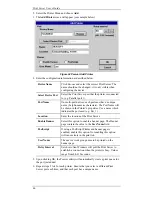
From the
Device Name list, select the local port (LPT1 - LPT3) which you
redirected to the Print Server in step 1.
8.
In the
Path field, select the print server that was entered in step 1. For example,
select \\SC123456\P1.
9.
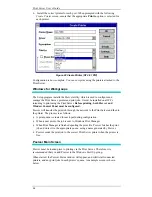
Check the Reconnect at Startup box, then click OK to close the Connect
Network Printer dialog box.
10.
Click "OK" to close the Connect dialog box and "Close" to close the Printer
Dialog.
Configuration is now complete. You will be able to print to the printer attached to
the Print Server by selecting the printer you just installed.
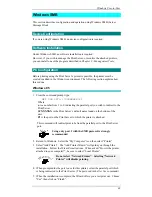
Printing
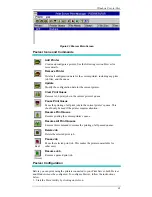
Once configured, printing to the printers attached to the Print Server is the same as
printing with the printer attached directly to your local LPT port. Simply select
File
è
Print. When the
Print screen appears, select the appropriate printer and
options and click
OK.

