Print Server User’s Guide
28
Unix Host Configuration
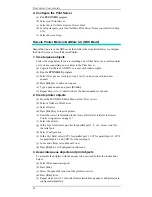
The first step is to give the Print Server an IP Address so that it will be a valid device
on the LAN.
Static IP Address Configuration
1.
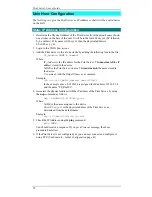
Determine the Physical Address of the Print Server from the
default name shown
on a sticker on the base of the unit. It will be in the form SCxxyyzz (SC followed
by 6 numbers). If its name is SCxxyyzz, then the physical address is
00:c0:02:xx:yy:zz.
2.
Login to the UNIX host as root.
3.
Add the Print Server to the /etc/hosts file by adding the following line to the file:
IP_Address NAME # comment
Where:
IP_Address is the IP address for the Print Server. This must match the IP
address stored in the device.
NAME is the Print Server’s name. This must match the name stored in
the device.
# comment. Add the Default Name as a comment.
Example:
192.10.2.54 PS_Rm203 #Default name SC123456
In the example above, SC123456 is assigned the IP address 192.10.2.54
and the name “PS_Rm203”.
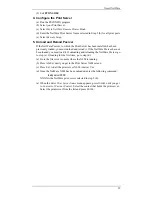
4.
Associate the physical address with the IP address of the Print Server, by using
the
arp
command as follows:
arp -s NAME 00:c0:02:xx:yy:zz
Where:
NAME is the name assigned to the device
00:c0:02:xx:yy:zz is the physical address of the Print Server, as
determined from the default name.
Example:
arp -s PS_Rm203 00:c0:02:12:34:56
5.
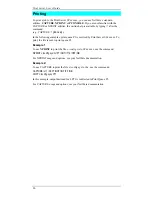
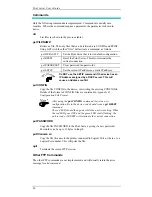
Check the IP Address using the ping command:
ping NAME
You should receive a response. If you get a
Timeout message, the above
procedure has failed.
6.
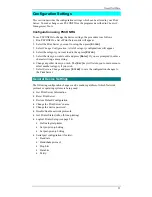
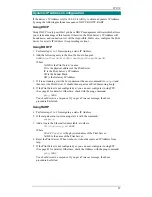
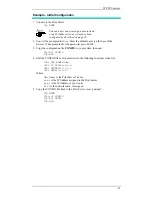
If the Print Server is not configured yet, you can now connect and configure it
using FTP. (See
Example - Initial Configuration page 41).

