background image


INSTALLATION INSTRUCTIONS 

Before Using Your Appliance 


Remove the exterior and interior packing. 


Before connecting the unit to a power source, let it stand for approximately 2 hours. This will 
reduce the possibility of a malfunction in the cooling system from handling during transportation. 


Remove the crisper, drip tray and shelves and clean them and the interior surfaces of the unit 
with lukewarm water using a soft cloth. 


Installing the Refrigerator/Freezer 


Place the unit on a floor that is strong enough to support the appliance when it is fully loaded. To 
level the unit, adjust the two leveling legs at the front. 


Models CT66J, CT66L and CT66B are designed to be free-standing only, and should not be 
recessed or built in.  When installing, allow at least 5 inches of space at the sides and top of the 
unit and 2 inches at the rear, which will allow the proper air circulation to cool the compressor 
and condenser.   


Locate the unit away from direct sunlight and sources of heat (oven, heater, radiator, etc.). Direct 
sunlight may affect the acrylic coating and heat sources may increase electrical consumption. 
Extremely cold ambient temperatures may also affect the unit's performance. 


Avoid locating the unit in moist areas. Too much moisture in the air will cause frost to form 
quickly on the evaporator, requiring more frequent defrosting of the freezer compartment. 


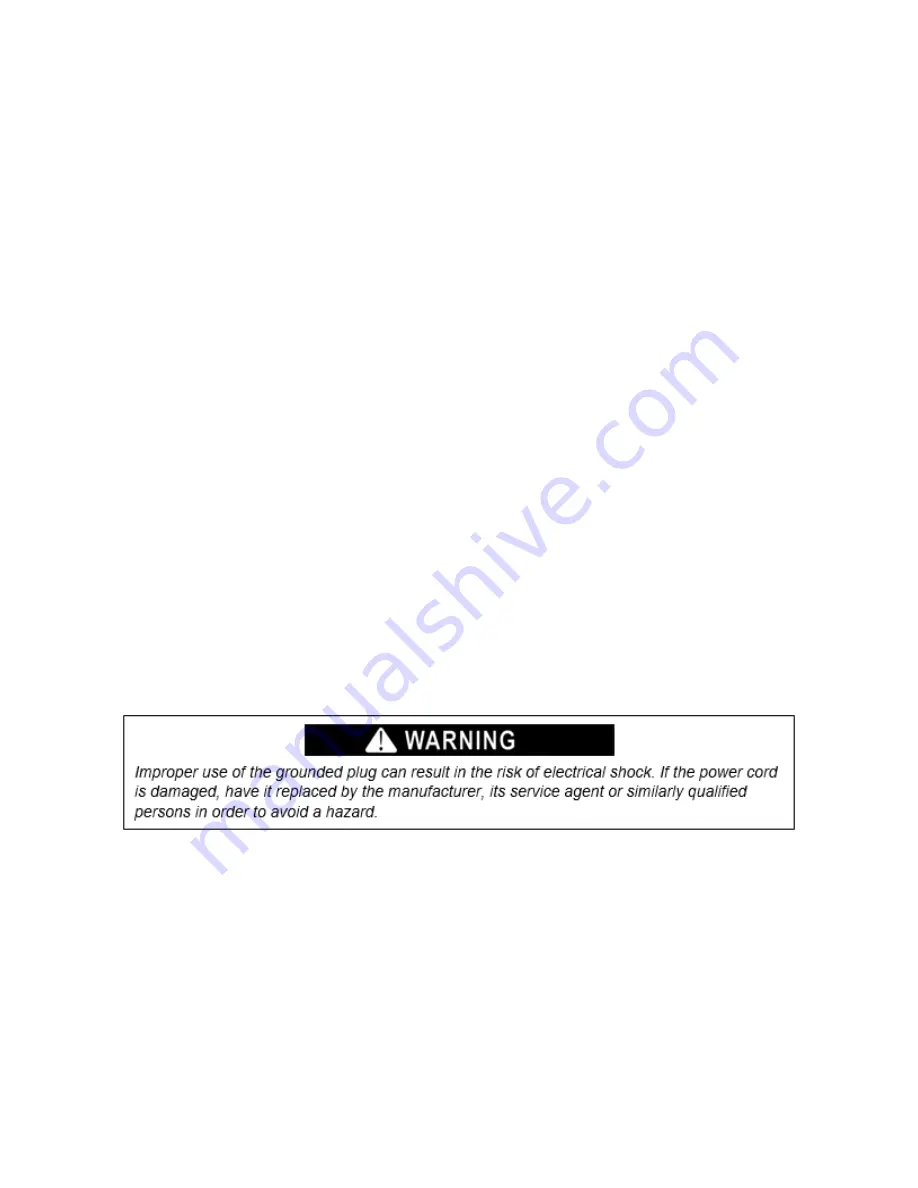
Plug the unit into an exclusive, properly installed and grounded wall outlet. Do not under any 
circumstances cut or remove the third (ground) prong from the power cord. Any questions 
concerning power and/or grounding should be directed toward a certified electrician or 
authorized service center. 
 

Electrical Connection 

This unit should be properly grounded for your safety. The power cord of this unit is equipped with a 
three-prong plug which mates with a standard three-prong wall outlet to minimize the possibility of 
electrical shock. 
 
Do not under any circumstances cut or remove the third ground prong from the power cord supplied. 
For personal safety, this appliance must be properly grounded. 
 
This unit requires a standard 115-volt AC/60Hz electrical outlet with three-prong ground. Have the 
wall outlet and circuit checked by a qualified electrician to make sure the outlet is properly grounded. 
When a standard 2-prong wall outlet is encountered, it is your responsibility and obligation to have it 
replaced with a properly grounded 3-prong wall outlet. 

Summary of Contents for AL650 Series

Page 1: ...0 Series User Manual BEFORE USE PLEASE READ AND FOLLOW ALL SAFETY RULES AND OPERATING INSTRUCTIONS Write Serial Number here Serial No _______________________ Felix Storch Inc An ISO 9001 2015 registered company 770 Garrison Avenue Bronx NY 10474 www summitappliance com ...

Page 2: ...erial All other servicing should be referred to a qualified technician This appliance is CFC and HFC free and contains small quantities of Isobutane R600a which is environmentally friendly but flammable It does not damage the ozone layer nor does it increase the greenhouse effect Care must be taken during transportation and setting up of the appliance that no parts of the cooling system are damage...

Page 3: ...ion WARNING Do not use mechanical devices or other means to accelerate the defrosting process other than those recommended by the manufacturer WARNING Do not damage the refrigerant circuit This will also prevent pollution Do not store explosive substances such as aerosol cans with a flammable propellant in this appliance WARNING This appliance is intended to be used in household and similar applic...

Page 4: ... AC 60Hz Rated Current 1 3A Temperature of Freezer 0 F Refrigerant R134a CT66J CT66L CT66B R600a CT66W CT66LW CT66BK AL650W AL650LW AL652BK Installation Free standing Ship Weight 102 lbs Unit Dimensions W x D x H 23 63 x 23 5 x 33 25 Units with suffix ADA or prefix AL are sized at 32 for use under in ADA compliant applications NOTE This appliance is suitable for general purpose and temperature sen...

Page 5: ...remely cold ambient temperatures may also affect the unit s performance Avoid locating the unit in moist areas Too much moisture in the air will cause frost to form quickly on the evaporator requiring more frequent defrosting of the freezer compartment Plug the unit into an exclusive properly installed and grounded wall outlet Do not under any circumstances cut or remove the third ground prong fro...

Page 6: ...de have already been prepared at the factory This appliance can be opened from either the right side or the left By default the door hinge is on the right side If you prefer it on the left please follow the appropriate instructions For models CT66W and CT66BK 1 Take off the upper hinge cover from the door and remove the screws that hold the top hinge 2 Lift the hinge straight up to free the hinge ...

Page 7: ...ener 5 Fix the lower hinge in the new position 6 Unscrew the handle and place it on the opposite side 7 Some screws are covered with caps Take off these caps before undoing the screws 8 Check the gasket It should not be creased and should seal well Door Handle Installation The door has two screw holes on each side allowing you to install a handle included To do so align the handle with the screw h...

Page 8: ...pty If temperatures are erratic try putting some water bottles or freezer packs inside to create a load for the compressor NOTE If the unit is unplugged has lost power or is turned off you must wait 3 to 5 minutes before restarting the unit If you attempt to restart before this time delay the freezer will not start Defrosting Your Appliance This appliance combines a manual defrost freezer section ...

Page 9: ...ned the appliance reconnect it to the power supply reset the thermostat and return all contents to their place CAUTION Failure to unplug the unit could result in electrical shock or personal injury Power Failure Most power failures are corrected within a few hours and should not affect the temperature of your appliance if you minimize the number of times the door is opened If the power is going to...

Page 10: ... behind the appliance Set the thermostat from higher to lower settings as soon as possible depends on how loaded the appliance is ambient temperature etc Before loading items into the unit be sure they have cooled to ambient temperature A layer of frost and ice increases energy consumption so defrost the freezer as soon as the layer is 1 2 thick For best storage be sure not to over pack and assure...

Page 11: ...he appliance and wipe the dust from the condenser The appliance makes too much noise Cooling in refrigeration appliances is enabled by the refrigerating system with compressor which produces noise How noisy the appliance is dependent on where it is placed how it is used and how old the appliance is During the operation of the compressor the noise of liquid is heard and when the compressor is not o...

Page 12: ...er installation installation not in accordance with electrical or plumbing codes or use of products not approved by warrantor 4 Replacement parts or repair labor costs for units operated outside the United States 5 Repairs to parts or systems resulting from unauthorized modifications made to the appliance 6 The removal and reinstallation of your appliance if it is installed in an inaccessible loca...

Reviews: