24
©2009 Johnson Level & Tool
3. Y-axis calibration
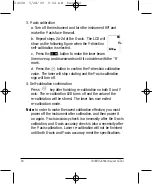
a. Turn off the instrument and turn the instrument 90º and
make the Y-axis face the wall.
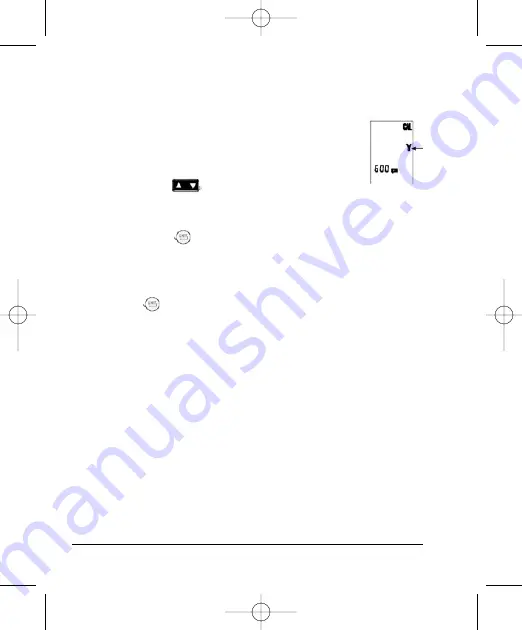
b. Repeat steps 2a-2d of the X-axis. The LCD will
show as the following figure when the Y-direction
self-calibration is selected.
c. Press the button to make the laser beam
line move up and downwards until it coincides with the “h”
mark.
d. Press the button to confirm the Y-direction calibration
value. The laser will stop rotating and the Y-axis calibration
sign will turn off.
4. Self-calibration confirmation
Press key after finishing re-calibration on both X and Y
axis. The re-calibration LED turns off and the value of the
re-calibration will be stored. The laser has now exited
re-calibration mode.
Note:
In order to make the saved calibration effective, you must
power off the instrument after calibration, and then power it
on again. Y-axis accuracy check is a necessity after the X-axis
calibration, and X-axis accuracy check is also a necessity after
the Y-axis calibration. Laser re-calibration will not be finished
until both X-axis and Y-axis accuracy meet the specifications.
2406H 5/28/09 9:04 AM Page 24


