3. Installation
User Guide
Page 3-4
6.
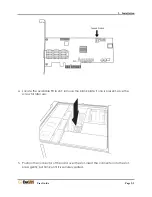
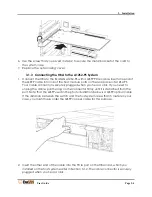
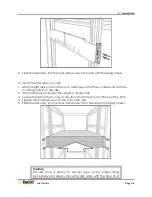
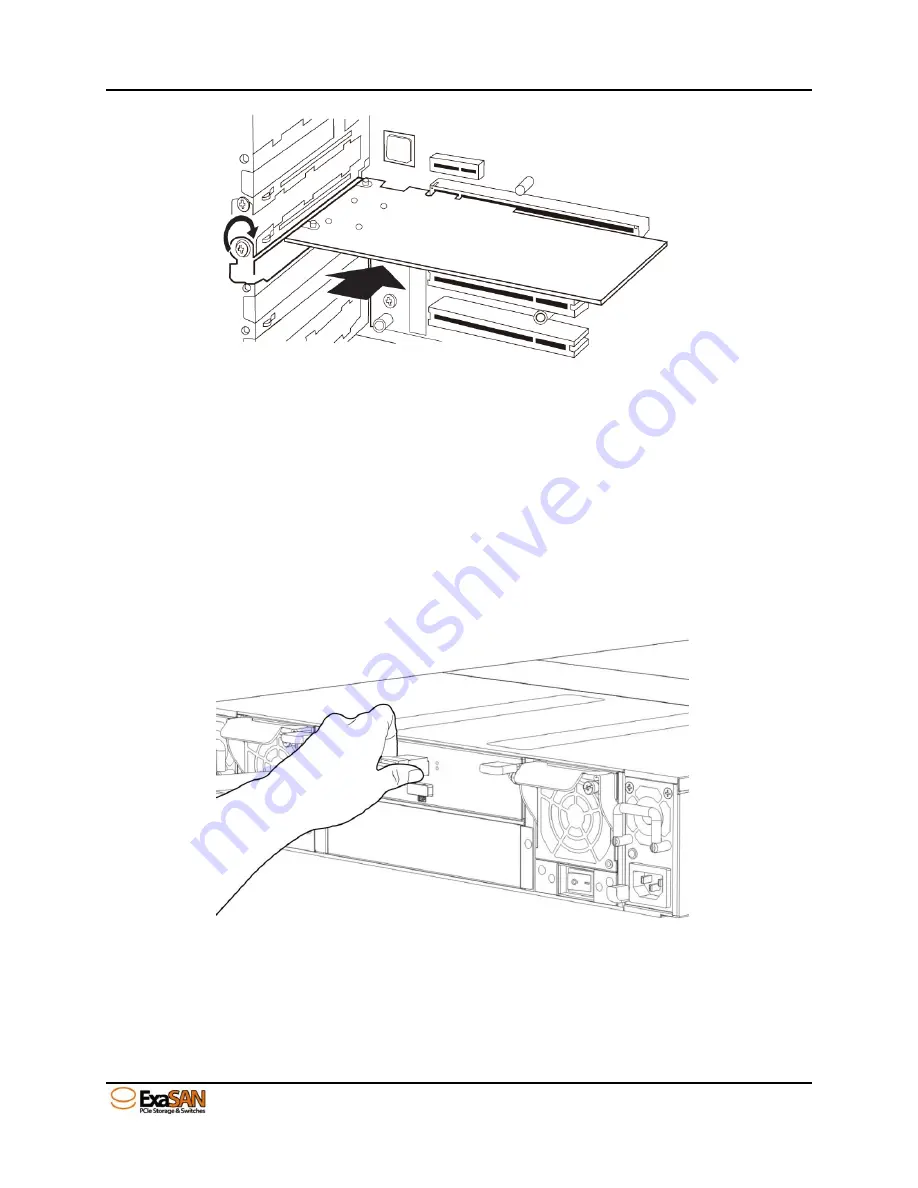
Use the screw that you saved in step 2 to secure the metal bracket of the card to
the system case.
7.
Replace the outer casing cover.
3.1.3
Connecting the HBA to the A12S2-PS System
1.
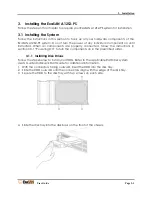
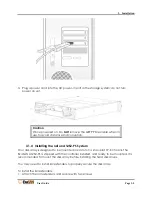
Connect the HBA to the ExaSAN A12S2-PS with a QSFP PCIe cable. Insert one end of
the QSFP cable into one of the host module ports on the rear panel of A12S2-PS.
Your cable connector is securely plugged when you hear a click. If you need to
unplug the cable, pull the ring on the connector firmly until it is detached from the
port. Note that the QSFP used in the photo illustration below is a QSFP optical cable.
If the distance between the switch and the host system is less than 5 meters in your
case, you might have order the QSFP copper cable for this purpose.
2.
Insert the other end of the cable into the PCIe port on the HBA card, which you
installed on the host system earlier in Section 3.1.2. The cable connector is securely
plugged when you hear a click.
Summary of Contents for ExaSAN A12S2-PS
Page 8: ...1 Introduction User Guide 1 Introducing ExaSAN PCIe 2 0 Storage System...
Page 28: ...2 Preparation User Guide 2 Preparing to Install ExaSAN A12S2 PS...
Page 31: ...3 Installation User Guide 3 Installing the ExaSAN A12S2 PS...
Page 47: ...4 How to Use User Guide 4 Using RAIDGuard X...
Page 77: ...4 How to Use User Guide Page 4 30 2 Check the Confirm box and click Unlock Drive...
Page 79: ...5 RAID User Guide 5 RAID Overview...

