3. Installation
User Guide
Page 3-5
3.
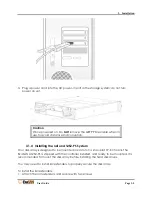
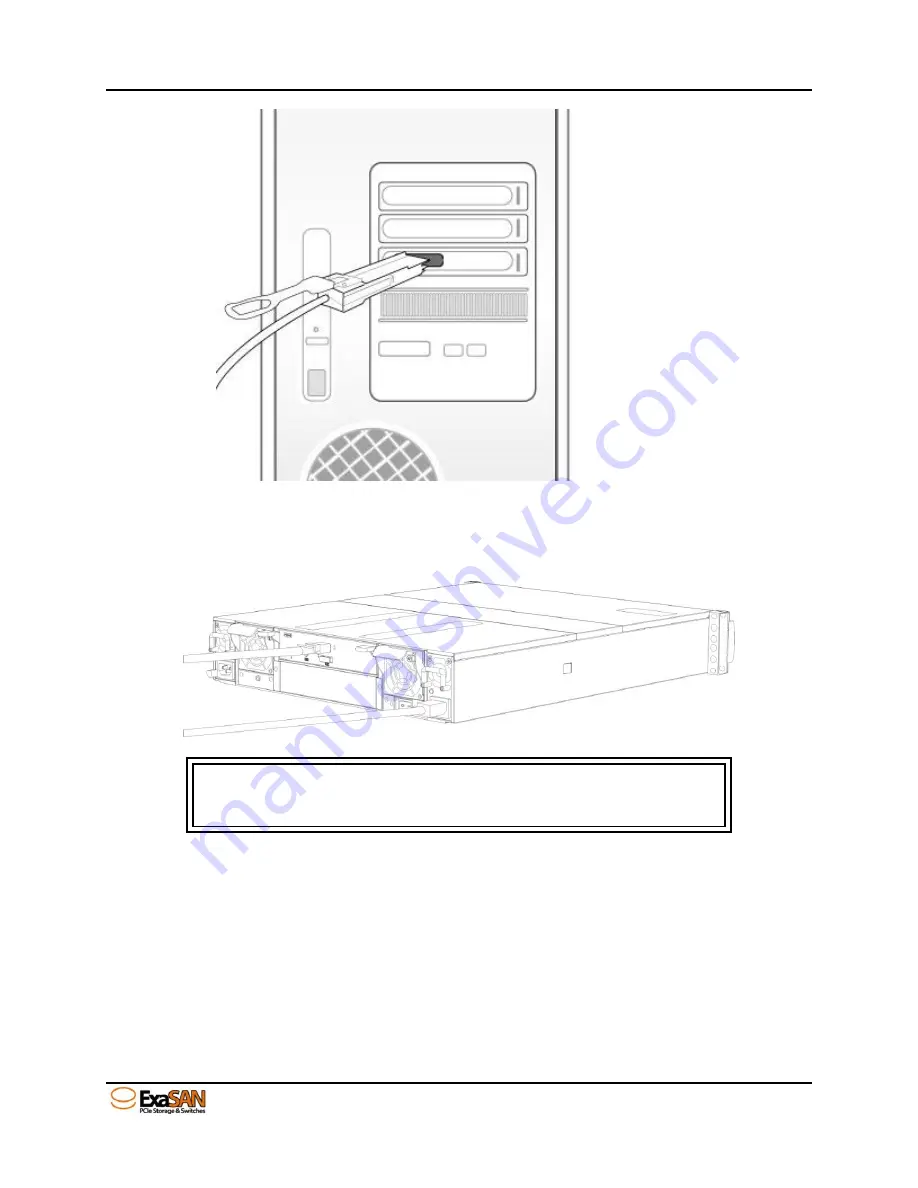
Plug a power cord into the AC power-in port in the storage system; do not turn
power on yet.
Caution
Once powered on, Do
NOT
remove the QSFP PCIe cable when in
use to avoid data loss and corruption.
3.1.4
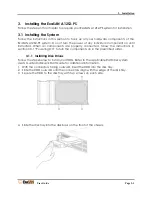
Installing the rail on A12S2-PS System
Your disk array is designed to be mounted in 2U slot on a standard 19-inch rack. The
ExaSAN A12S2-PS is shipped with the controller installed, and ready to be mounted. It is
recommended to mount the disk array before installing the hard disk drives.
You may need to install rail extenders to properly secure the disk array.
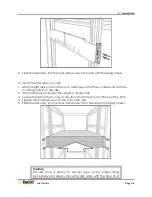
To install the rail extenders:
1.
Attach the rail extenders and secure with two screws.
Summary of Contents for ExaSAN A12S2-PS
Page 8: ...1 Introduction User Guide 1 Introducing ExaSAN PCIe 2 0 Storage System...
Page 28: ...2 Preparation User Guide 2 Preparing to Install ExaSAN A12S2 PS...
Page 31: ...3 Installation User Guide 3 Installing the ExaSAN A12S2 PS...
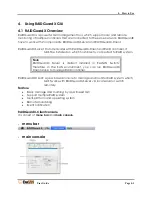
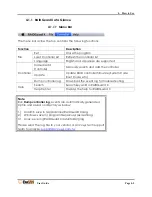
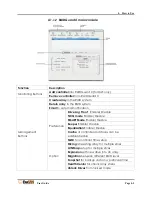
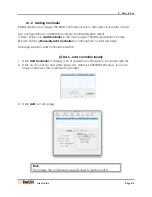
Page 47: ...4 How to Use User Guide 4 Using RAIDGuard X...
Page 77: ...4 How to Use User Guide Page 4 30 2 Check the Confirm box and click Unlock Drive...
Page 79: ...5 RAID User Guide 5 RAID Overview...

