4. How to Use
User Guide
Page 4-13
4.1.6.2
NCQ
NCQ (Native Command Queuing) – This mode is designed for increasing disk drive
access on SCSI and SATA disk drives. It can do this under certain situations by allowing
the individual hard disk to internally optimize the order in which it executes the read
and write requests it receives. This can reduce the amount of unnecessary drive head
movement and resulting in better performance for work loads where multiple
read/write requests and outstanding at the same time.
This situation most often occurs in server-type applications. However, the current
technology actually slows down disk drive access in certain applications, such as video
editing and sequential reads and writes, because of the added latency induced by
NCQ.
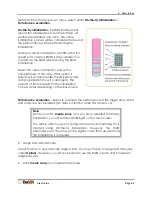
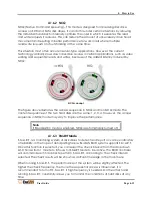
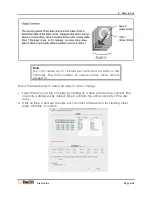
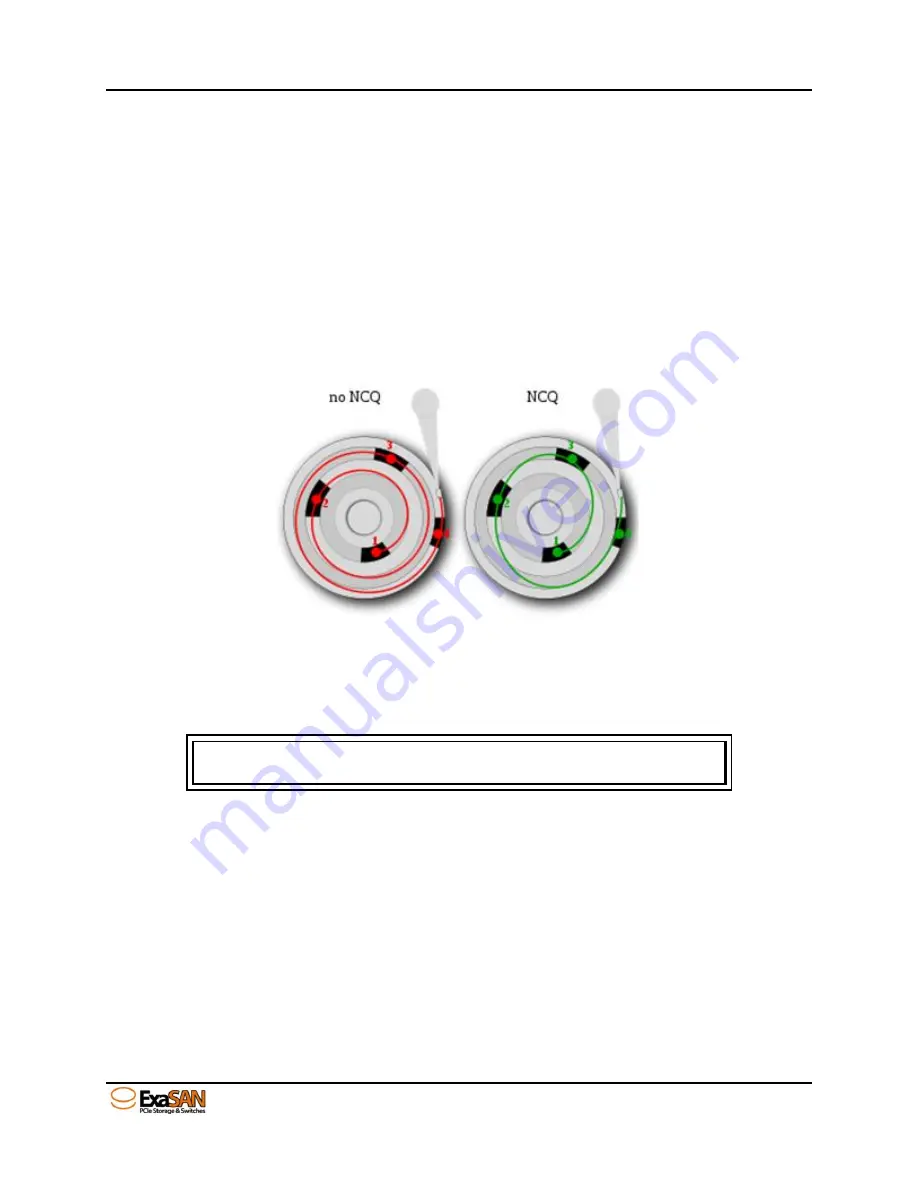
NCQ concept
The figure above illustrates the access sequence in NCQ and non-NCQ mode. The
content sequences of the two hard disks are the same: 1, 2, 3, 4. However, the access
sequence in NCQ mode may vary to improve the performance.
Note
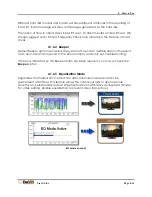
If Equalization mode is enabled, NCQ is automatically turned off.
4.1.6.3
SMART Mode
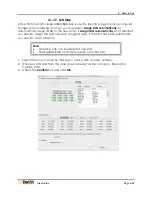
S.M.A.R.T. is a monitoring system of disk drives to detect and report on various indicators
of reliability, in the hope of anticipating failure. ExaSAN RAID system supports S.M.A.R.T.
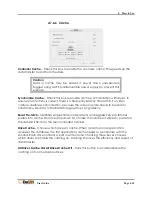
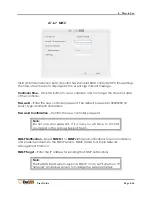
Once this function is selected, you can select the check interval from the drop-down
list. Choose from 1 minute to 8 hours for SMART Mode to be active. The RAID controller
will command each hard disk to perform S.M.A.R.T. according to the check interval
selected. The check results will be shown as an Event message in the main menu.
When running S.M.A.R.T., the performance of the system will be slightly affected. The
higher the check frequency, the more the sequential access is influenced. It is
recommended to turn off S.M.A.R.T. if high frequency is needed. On the other hand,
running S.M.A.R.T. constantly allows you to monitor the conditions of hard disks at any
time.
Summary of Contents for ExaSAN A12S2-PS
Page 8: ...1 Introduction User Guide 1 Introducing ExaSAN PCIe 2 0 Storage System...
Page 28: ...2 Preparation User Guide 2 Preparing to Install ExaSAN A12S2 PS...
Page 31: ...3 Installation User Guide 3 Installing the ExaSAN A12S2 PS...
Page 47: ...4 How to Use User Guide 4 Using RAIDGuard X...
Page 77: ...4 How to Use User Guide Page 4 30 2 Check the Confirm box and click Unlock Drive...
Page 79: ...5 RAID User Guide 5 RAID Overview...


