4. How to Use
User Guide
Page 4-15
4.1.6.6
Cache
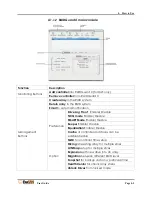
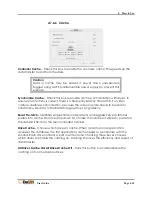
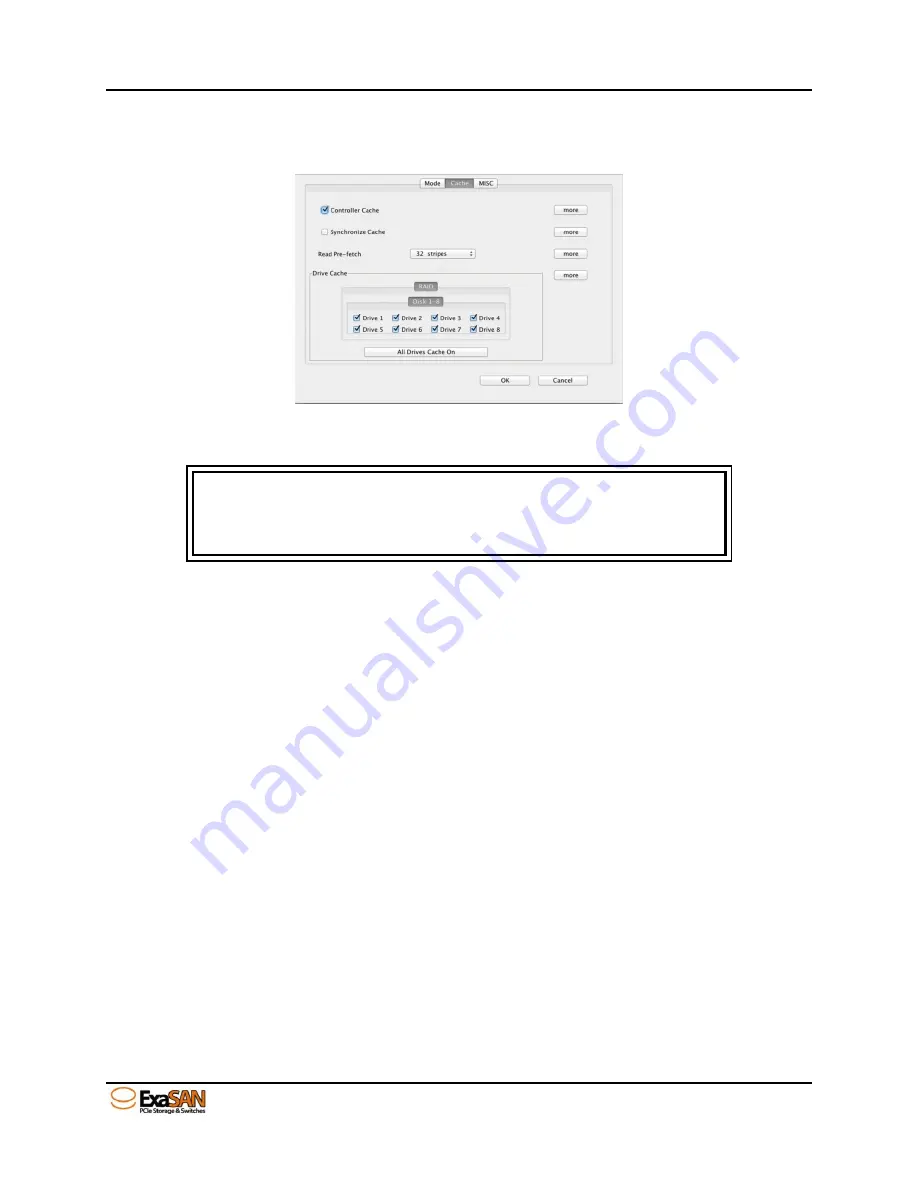
Controller Cache
– Check this box to enable the controller cache. This speeds up the
data transfer to and from the disks.
Caution
Data in cache may be erased if power down unexpected.
Suggest using a UPS (uninterruptible power supply) to prevent this
scenario.
Synchronize Cache
– Check this box to enable cache synchronization with drives, to
ensure all write data is correct, there is a frequently latency time within. For video
capture, disable synchronization, because the video capture needs to be able to
constantly write data to the RAID storage without long latency.
Read Pre-fetch
– Identifies sequential access patterns and aggressively pre-fetches
patters into cache. From the drop down list, choose the number of stripes to pre-fetch.
The default is 32; this is the recommended number.
Drive Cache
– Choose which drives to cache. When more than one application
accesses the database, the first applications cache needs to synchronize with the
second. Each drive contains a built in write cache; checking these boxes chooses
which drives to enable the caching on. Caching improves the efficiency and speed of
data transfer.
All Drives Cache On/All Drives Cache Off
– Click this button to enable/disable the
caching on for all available drives.
Summary of Contents for ExaSAN A12S2-PS
Page 8: ...1 Introduction User Guide 1 Introducing ExaSAN PCIe 2 0 Storage System...
Page 28: ...2 Preparation User Guide 2 Preparing to Install ExaSAN A12S2 PS...
Page 31: ...3 Installation User Guide 3 Installing the ExaSAN A12S2 PS...
Page 47: ...4 How to Use User Guide 4 Using RAIDGuard X...
Page 77: ...4 How to Use User Guide Page 4 30 2 Check the Confirm box and click Unlock Drive...
Page 79: ...5 RAID User Guide 5 RAID Overview...

