4. How to Use
User Guide
Page 4-25
4.1.7.5
Snapshot
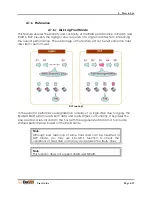
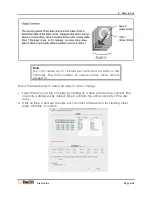
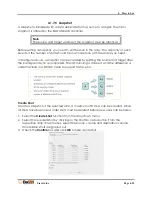
A snapshot is initialized with a data duplicate from a source to a target. The mirror
snapshot is offered by the ExaSAN RAID controller.
Note
The source and target volume of the snapshot must be identical.
Before setting a snapshot, you need to set the slice in the array. The capacity of each
slice and the number of shots should be in accordance with the space you need.
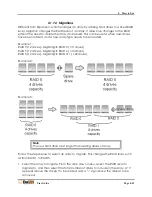
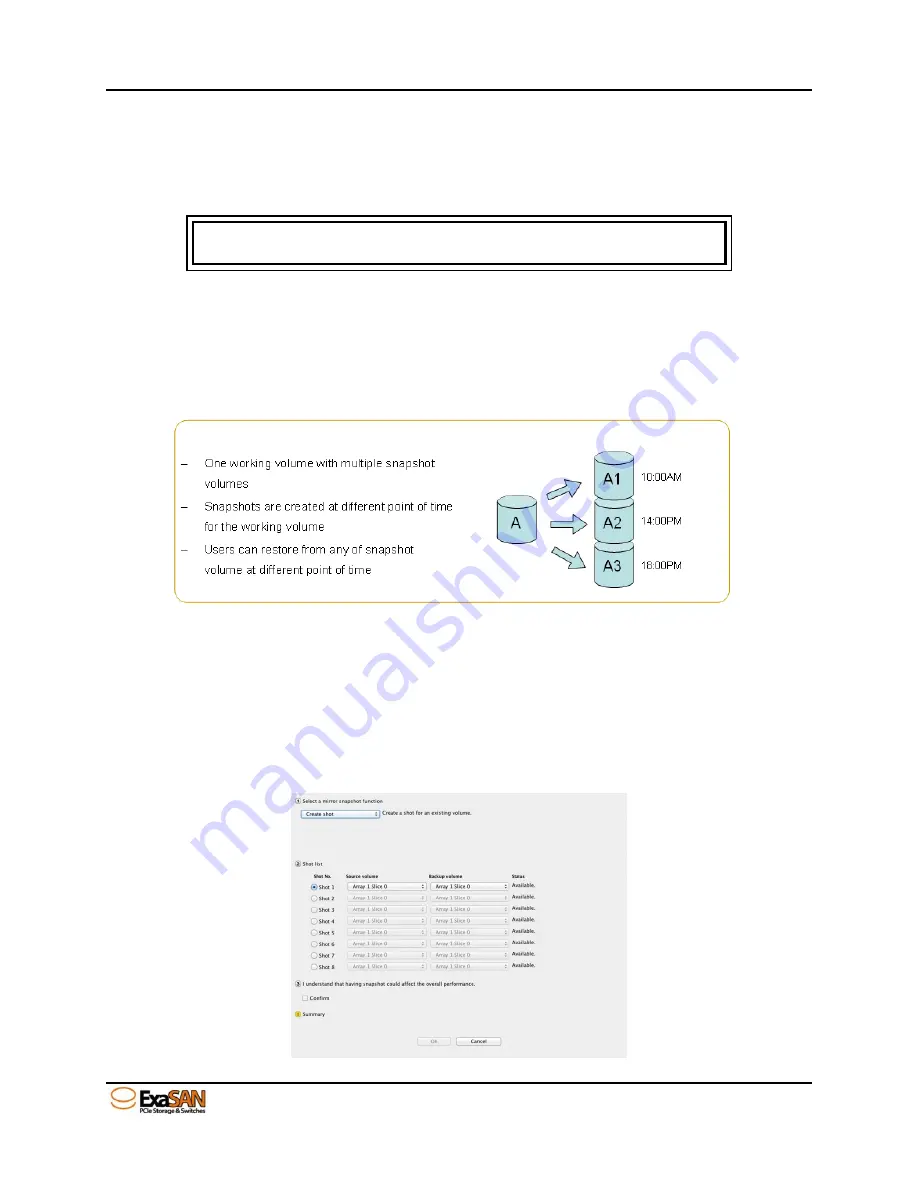
In the figure above, a snapshot can be created by splitting the source and target after
the background sync is completed. The I/O mirroring is stopped, and the difference is
under tracking in a bitmap table to support fast re-sync.
Create Shot
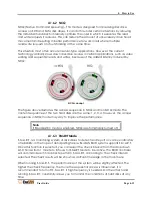
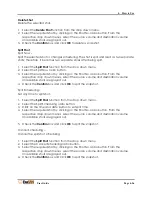
Create a snapshot of the selected slice. A maximum of 8 shots can be created. Once
all shots have been used, older shots must be deleted before new ones can be taken.
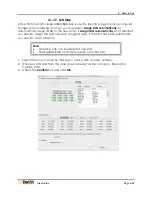
1.
Select the
Create Shot
function from the drop down menu.
2.
Select the required shot by clicking on the Shot No. radio button. From the
respective drop down menus, select the source volume and destination volume.
Unavailable shots are grayed out.
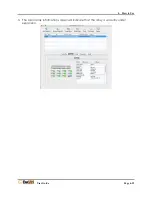
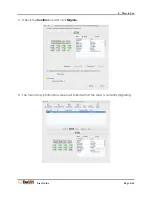
3.
Check the
Confirm
box and click
OK
to take a snapshot.
Summary of Contents for ExaSAN A12S2-PS
Page 8: ...1 Introduction User Guide 1 Introducing ExaSAN PCIe 2 0 Storage System...
Page 28: ...2 Preparation User Guide 2 Preparing to Install ExaSAN A12S2 PS...
Page 31: ...3 Installation User Guide 3 Installing the ExaSAN A12S2 PS...
Page 47: ...4 How to Use User Guide 4 Using RAIDGuard X...
Page 77: ...4 How to Use User Guide Page 4 30 2 Check the Confirm box and click Unlock Drive...
Page 79: ...5 RAID User Guide 5 RAID Overview...

