4. How to Use
User Guide
Page 4-28
4.1.7.6
Health Center
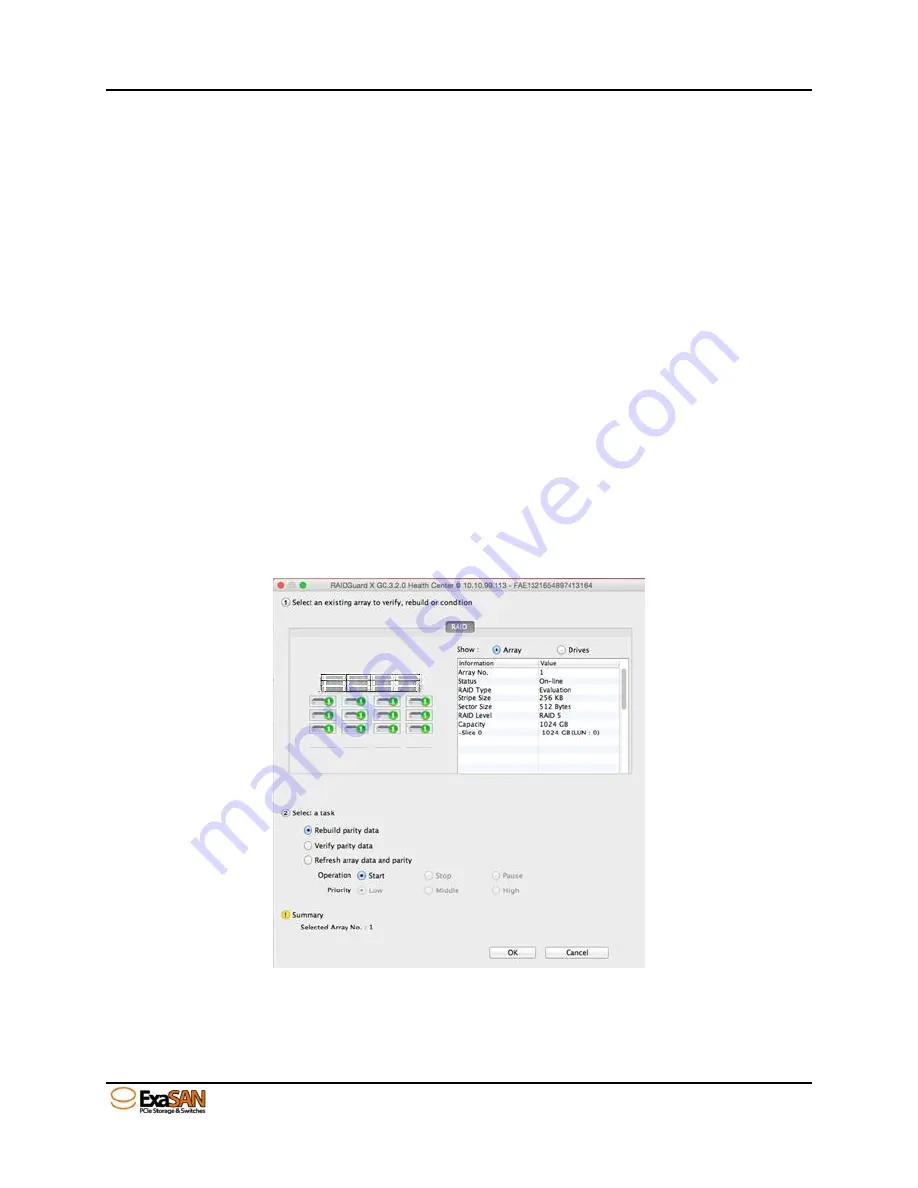
To ensure the accuracy of the RAID parity data, ExaSAN RAID controller offers
Background checking and “Rebuild parity data”. During checking or rebuilding parity,
the performance of the array will be affected. You may check the progress of in the
Main view or in the Health Center.
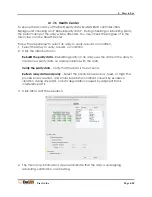
Follow the steps below to select an array to verify, rebuild, or condition.
1.
Select the Array to verify, rebuild, or condition.
2.
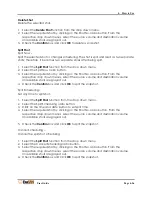
Click the radio button to:
Rebuild the parity data
– Rebuilding parity on an array uses the data on the array to
create new parity data, no repair problems with the data.
Verify the parity data
– Verify that the data is free of errors.
Refresh array data and parity
– Select the priority between Low, Med., or High. This
process scans, rewrites, and scrubs bad data conditions caused by excessive
vibration during drive I/Os, or data degradation caused by Adjacent Track
Interference (ATI).
3.
Click OK to start the operation.
4.
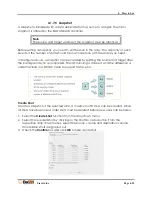
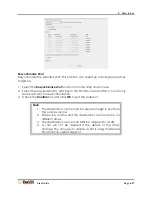
The main array information screen will indicate that the array is undergoing
rebuilding, verification, or refreshing.
Summary of Contents for ExaSAN A12S2-PS
Page 8: ...1 Introduction User Guide 1 Introducing ExaSAN PCIe 2 0 Storage System...
Page 28: ...2 Preparation User Guide 2 Preparing to Install ExaSAN A12S2 PS...
Page 31: ...3 Installation User Guide 3 Installing the ExaSAN A12S2 PS...
Page 47: ...4 How to Use User Guide 4 Using RAIDGuard X...
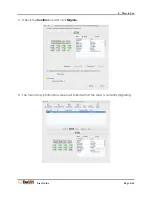
Page 77: ...4 How to Use User Guide Page 4 30 2 Check the Confirm box and click Unlock Drive...
Page 79: ...5 RAID User Guide 5 RAID Overview...

