Installation & Operation Manual - Model AVC6000
C3
Step 3: Configure each AccuValve in the Network (this example is a 4 AccuValve network)
3-1.
Configure the first AccuValve in the network.
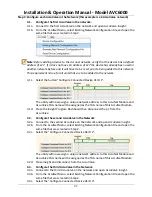
3-1a. Connect to the first AccuValve on the network and open AccuValve Insight.
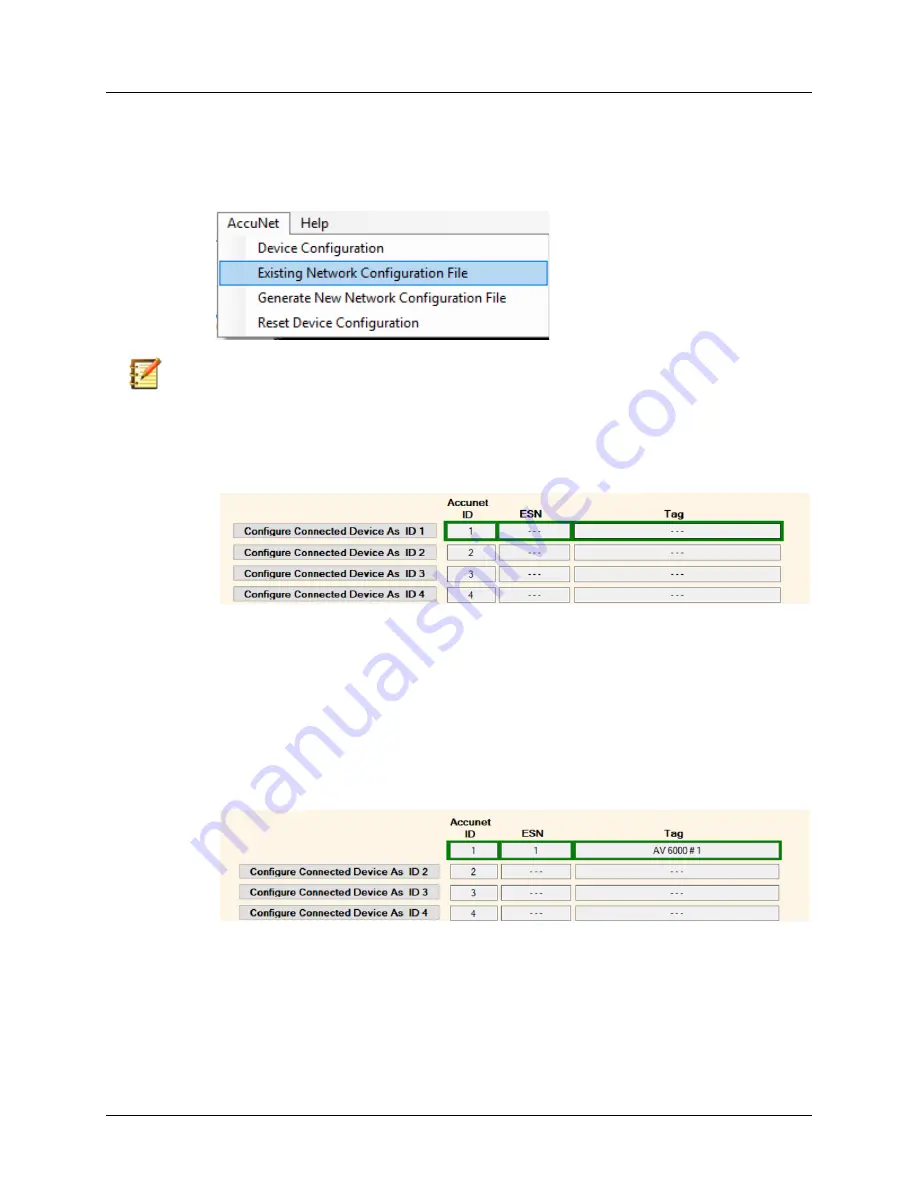
3-1b. From the AccuNet Menu, select Existing Network Configuration File and open the
same file that was created in Step 2.
Note:
Before adding a device to the Accunet network, verify that the device has a default
address of 127. If it does not have an address of 127 the device has already been used in
another network before and it will haver to be reset prior to being added to this network.
This requirement is true for all units that are to be added to the network.
3-1c. Select the button
“Configure Connected Device AS ID 1”.
The utility will now assign a unique network address to this AccuNet Module and
AccuValve TAG name will be assigned as the TAG name of this AccuNet Module.
3-1d. Close the Insight Program Dashboard then disconnect the pc from the
AccuValve.
3-2.
Configure the second AccuValve in the Network
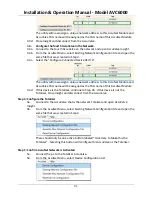
3-2a. Connect to the second AccuValve on the network and open AccuValve Insight.
3-2b. From the AccuNet Menu, select Existing Network Configuration File and open the
same file that was created in Step 2.
3-2c. Select the
“Configure Connected Device AS ID
2
”
.
The utility will now assign a unique network address to this AccuNet Module and
AccuValve TAG name will be assigned as the TAG name of this AccuNet Module.
3-2d. Close Insight and disconnect from the AccuValve.
3-3.
Configure the third AccuValve in the Network.
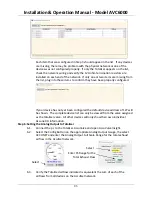
3-3a. Connect to the third AccuValve on the network and open AccuValve Insight.
3-3b. From the AccuNet Menu, select Existing Network Configuration File and open the
same file that was created in Step2.
3-3c.
Select the “Configure Connected
Device AS ID 3”
.


