Disassembly
Removing the Processor 2 - 7
2.Disassembly
Removing the Processor
1.
Turn
off
the computer, remove the battery (
2.
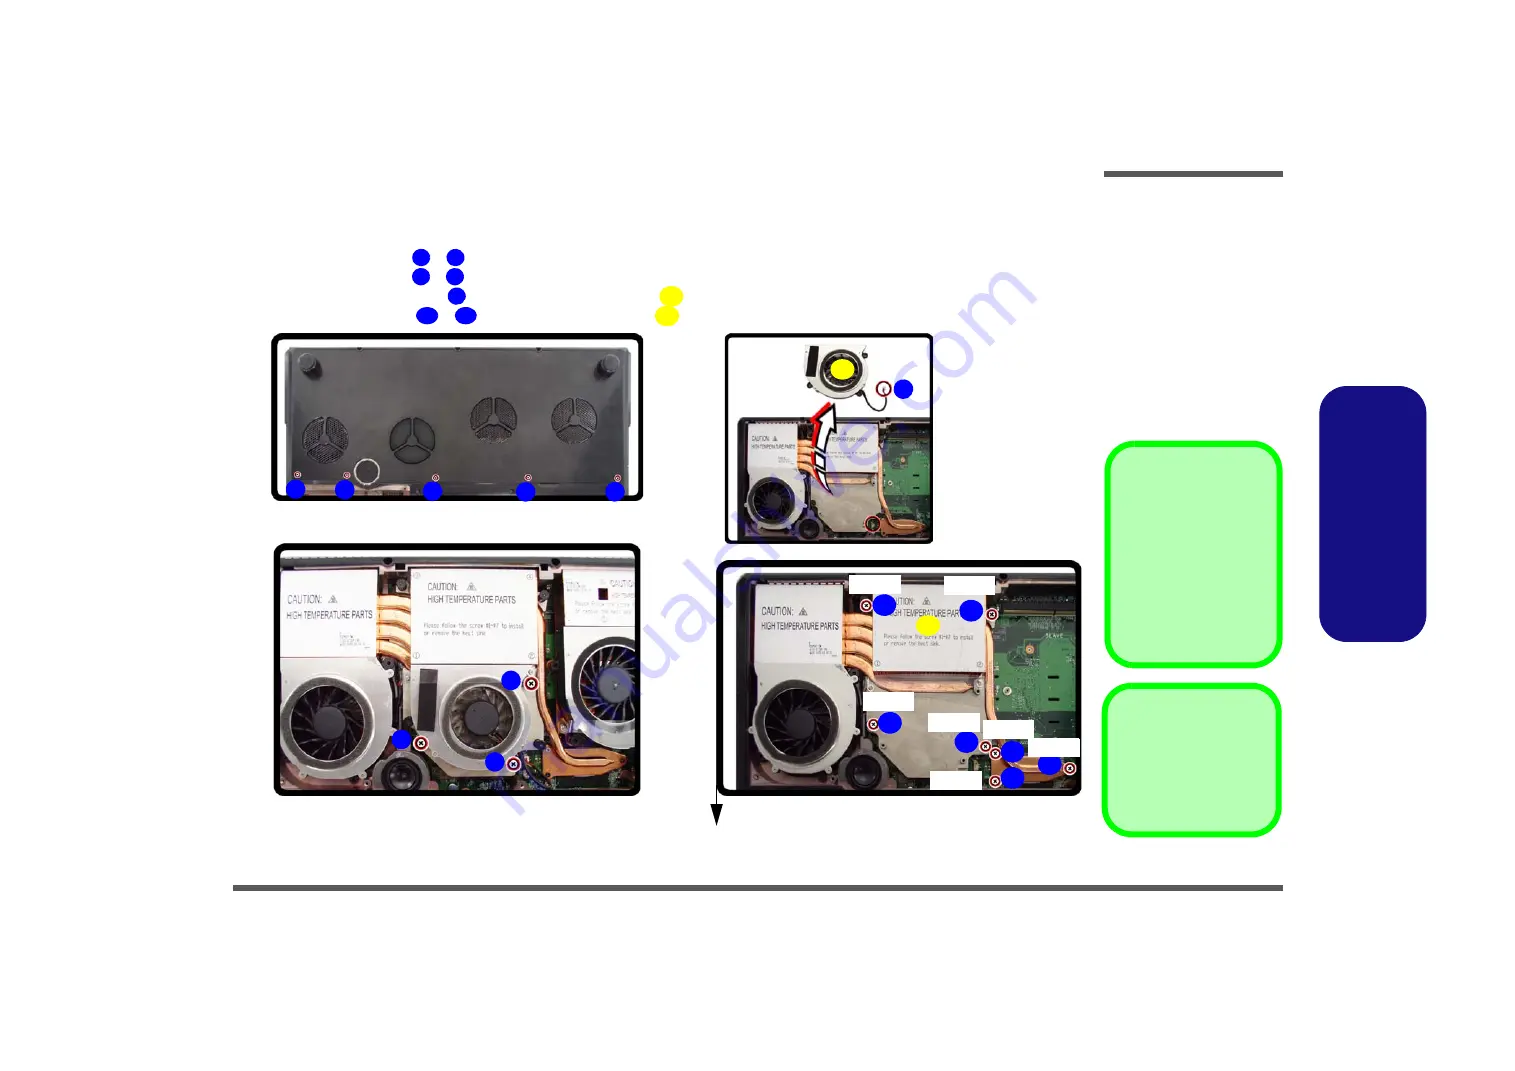
Remove the screws
-
from the component bay cover (
Figure 3a
).
3.
Remove the screws
-
from the CPU fan (
Figure 3b
).
4.
Disconnect the fan cable
and remove the CPU fan
(
Figure 3c
)
.
5.
Remove the screws
-
from the CPU heatsink
(
Figure 3d
).
1
5
6
8
9
10
11
17
18
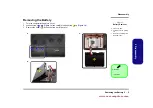
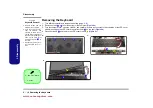
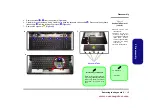
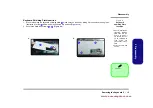
Figure 3
Processor Removal
a. Remove the screws from
the component bay co-
ver.
b. Remove the screws from
the CPU fan.
c. Disconnect the fan cable
and remove the CPU
fan.
d. Remove the screws from
the CPU heatsink.
Heat Sink Screw
Removal and Insertion
Remove the screws from the
heat sink in the order indicat-
ed here:
7-6-5-4-3-2-1
.
When tightening the screws,
make sure that they are tight-
ened in the order:
1-2-3-4-5-
6-7
.
10. CPU Fan
18. CPU Heatsink
•
15 Screws
a.
1
2
3
b.
c.
5
4
6
7
8
9
10
d.
13
12
11
14
15
16
17
Screw 1
Screw 6
Screw 2 Screw 7
Screw 3
Screw 4
Screw 5
18
Heat Sink Screw Removal and Insertion
Remove the screws from the heat sink in the order indicated here:
7-6-5-4-3-2-1
. When
tightening the screws, make sure that they are tightened in the order:
1-2-3-4-5-6-7
.
www.acecomputers.com
Summary of Contents for Mustang W650R
Page 1: ......
Page 60: ...Disassembly 2 28 2 Disassembly www acecomputers com...


