Disassembly and Unit Replacement
3-21
3.7
Disassembling the Display
Follow these steps to disassemble the display:
1.
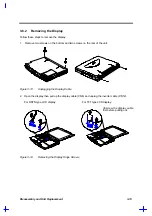
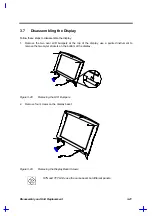
Remove the two oval LCD bumpers at the top of the display; use a pointed instrument to
remove the two mylar stickers on the bottom of the display.
Figure 3-28
Removing the LCD Bumpers
2.
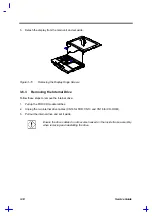
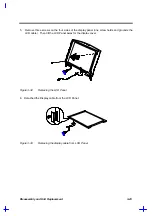
Remove four screws on the display bezel.
Figure 3-29
Removing the Display Bezel Screws
STN and TFT LCDs use the same bezel but different panels.
Summary of Contents for 365 Series
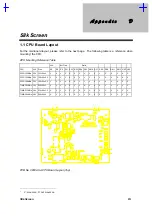
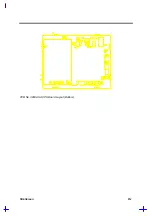
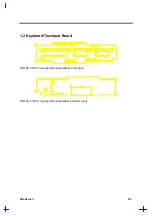
Page 80: ...Silk Screen D 2 PCB No 96532 SA CPU Board Layout Bottom ...
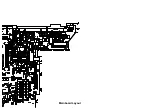
Page 82: ...Mainboard Layout ...
Page 83: ...Bottom ...
Page 95: ... S S S H Q G S H Q G L L Explored View Diagram ...
Page 96: ......
Page 100: ......
Page 101: ......
Page 115: ......
Page 117: ......
Page 120: ......
Page 122: ......
Page 126: ......

