3-12
Service Guide
3.6
Disassembling the Inside Frame Assembly
This section discusses how to disassemble the housing, and during its course, includes removing
and replacing of certain major components like the internal drive (CD-ROM or floppy), CPU and the
main board. Follow these steps:
3.6.1
Removing the Heat Sink Assembly
Follow these steps to remove the heat sink assembly:
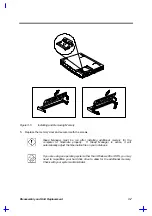
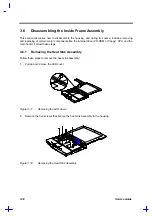
1.
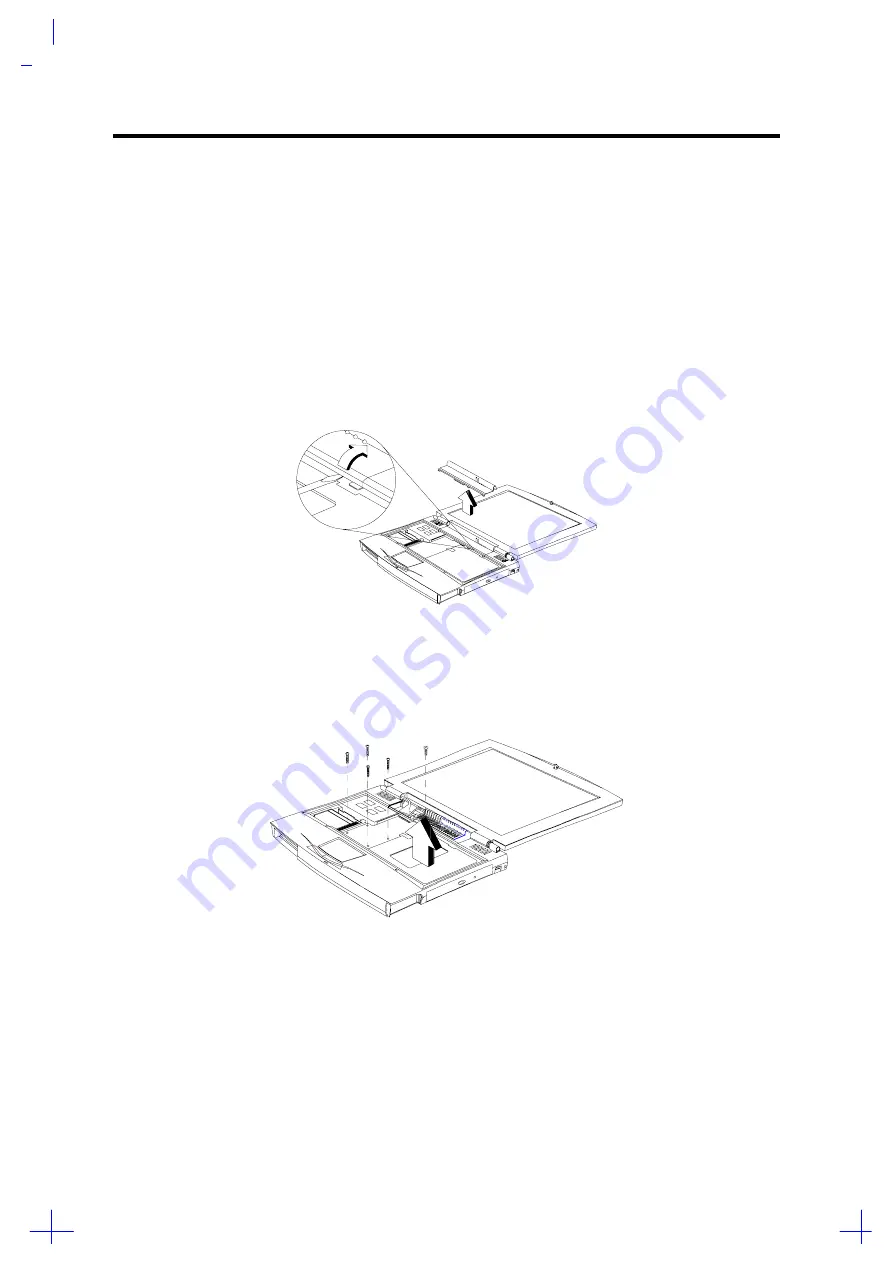
Pull up and remove the LED cover.
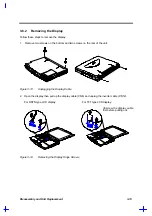
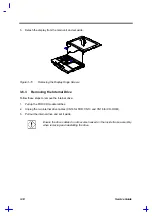
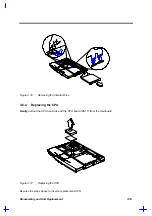
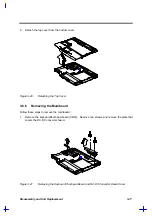
Figure 3-11
Removing the LED Cover
2.
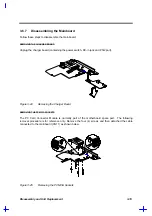
Remove the five screws that secure the heat sink assembly to the housing.
Figure 3-12
Removing the Heat Sink Assembly
Summary of Contents for 365 Series
Page 80: ...Silk Screen D 2 PCB No 96532 SA CPU Board Layout Bottom ...
Page 82: ...Mainboard Layout ...
Page 83: ...Bottom ...
Page 95: ... S S S H Q G S H Q G L L Explored View Diagram ...
Page 96: ......
Page 100: ......
Page 101: ......
Page 115: ......
Page 117: ......
Page 120: ......
Page 122: ......
Page 126: ......

