Chapter 3
65
7.
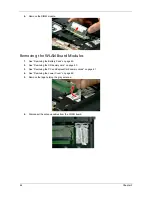
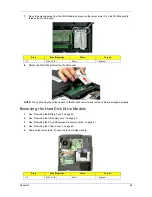
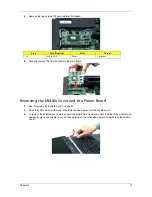
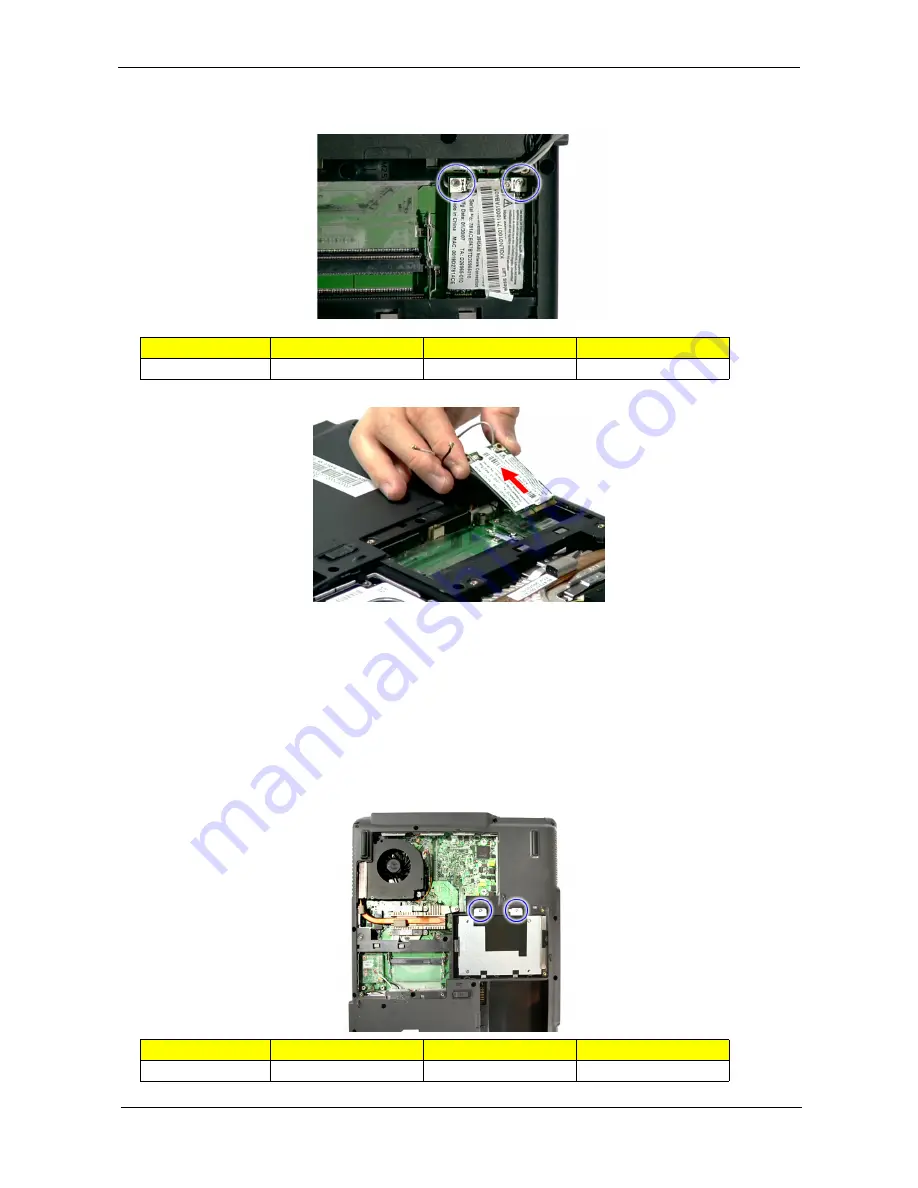
Move the antenna away from the WLAN board and remove the two screws (F) on the WLAN board to
release the WLAN board.
8.
Detach the WLAN board from the WLAN socket.
NOTE: When attaching the antenna back to the WLAN board, make sure the cable are arranged properly.
Removing the Hard Disk Drive Module
1.
See “Removing the Battery Pack” on page 60.
2.
See “Removing the SD dummy card” on page 60.
3.
See “Removing the PC and ExpressCard dummy cards” on page 61.
4.
See “Removing the Lower Cover” on page 62.
5.
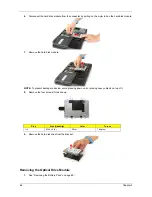
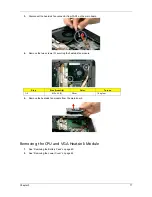
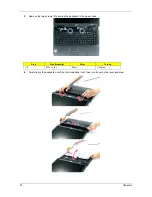
Remove the two screws (C) securing the hard disk module.
Step
Size (Quantity)
Color
Torque
1~2
M2 x L3 (2)
Silver
1.6 kgf-cm
Step
Size (Quantity)
Color
Torque
1~2
M2 x L4 (2)
Silver
1.6 kgf-cm
Summary of Contents for 5520 5929 - TravelMate - Turion 64 X2 2 GHz
Page 6: ...VI ...
Page 10: ...X Table of Contents ...
Page 65: ...Chapter 2 55 ...
Page 66: ...56 Chapter 2 ...
Page 112: ...102 Chapter 3 ...
Page 126: ...116 Chapter 4 F5h Boot to Mini DOS F6h Clear Huge Segment F7h Boot to Full DOS Code Beeps ...
Page 138: ...128 Chapter 5 ...
Page 172: ...Appendix A 162 ...
Page 178: ...168 Appendix C ...

