86
Chapter 3
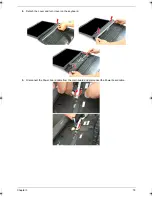
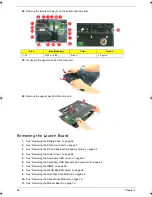
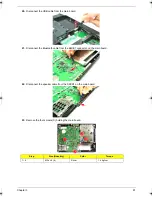
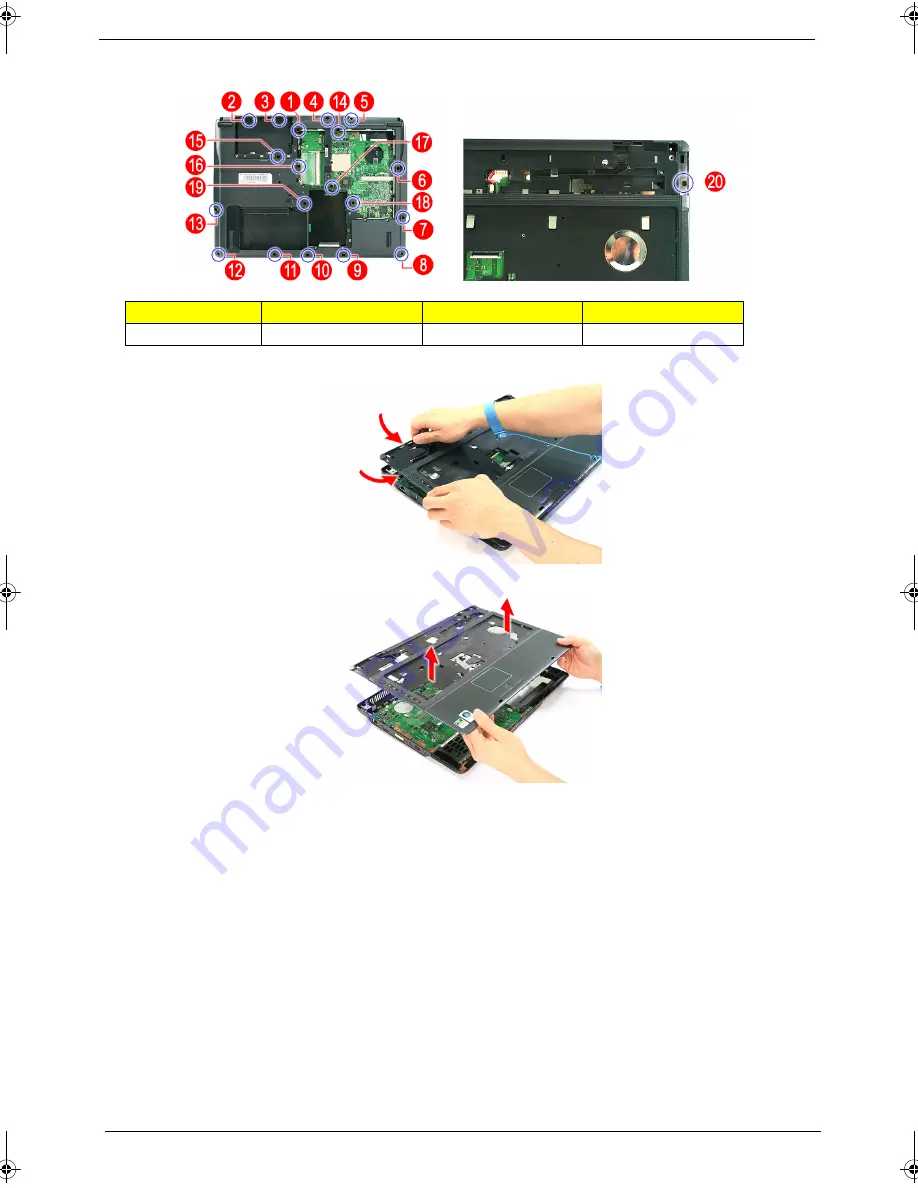
24. Remove the twenty screws (A) on the bottom and top panel.
25. Gently pry the upper case from the main unit.
26. Remove the upper case from the main unit.
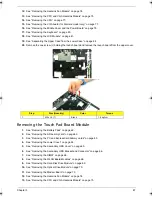
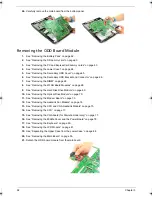
Removing the Launch Board
1.
See “Removing the Battery Pack” on page 62.
2.
See “Removing the SD dummy card” on page 63.
3.
See “Removing the PC and ExpressCard dummy cards” on page 63.
4.
See “Removing the Lower Cover” on page 64.
5.
See “Removing the Secondary HDD Cover” on page 65.
6.
See “Removing the Secondary HDD Bracket and Connector” on page 66.
7.
See “Removing the DIMM” on page 68.
8.
See “Removing the WLAN Board Modules” on page 68.
9.
See “Removing the Hard Disk Drive Module” on page 69.
10. See “Removing the Optical Drive Module” on page 70.
11. See “Removing the Modem Board” on page 73.
Step
Size (Quantity)
Color
Torque
1~20
M2.5 x L6 (20)
Black
3.0 kgf-cm
SG_Tangiz.book Page 86 Tuesday, July 10, 2007 11:01 AM
Summary of Contents for 7720
Page 6: ...VI ...
Page 10: ...X Table of Contents ...
Page 50: ...40 Chapter 1 ...
Page 67: ...Chapter 2 57 ...
Page 68: ...58 Chapter 2 ...
Page 114: ...104 Chapter 3 ...
Page 128: ...118 Chapter 4 F5h Boot to Mini DOS F6h Clear Huge Segment F7h Boot to Full DOS Code Beeps ...
Page 172: ...Appendix A 162 ...
Page 178: ...168 Appendix C ...

