background image


Getting Started

1-1

C h a p t e r   1

Getting Started

Congratulations on your purchase of the AcerNote Light notebook computer.
Guaranteed and backed by Acer’s world-class support, you can be sure of
top-notch performance with your new AcerNote.  This chapter guides you
through the first few steps on setting up your notebook computer.

Summary of Contents for AcerNote Light 370

Page 1: ...on your purchase of the AcerNote Light notebook computer Guaranteed and backed by Acer s world class support you can be sure of top notch performance with your new AcerNote This chapter guides you thr...

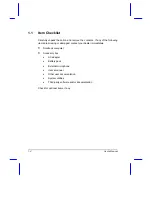
Page 2: ...f any of the following items are missing or damaged contact your dealer immediately Notebook computer Accessory box AC adapter Battery pack External microphone User s manual Other user documentation S...

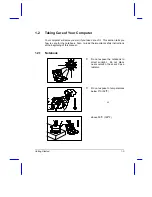
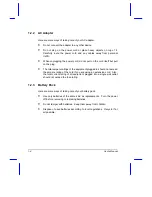
Page 3: ...This section tells you how to care for the notebook Also re read the important safety instructions at the beginning of this manual 1 2 1 Notebook Do not expose the notebook to direct sunlight Do not p...

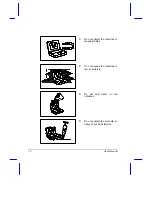
Page 4: ...4 User s Manual Do not subject the notebook to magnetic fields Do not expose the notebook to rain or moisture Do not spill water on the notebook Do not subject the computer to heavy shock and vibratio...

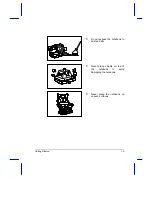
Page 5: ...Getting Started 1 5 Do not expose the notebook to dust and dirt Never place objects on top of the notebook to avoid damaging the notebook Never place the notebook on uneven surfaces...

Page 6: ...ampere ratings of the equipment plugged in should not exceed the ampere rating of the cord if you are using an extension cord Also the total current rating of all equipment plugged into a single wall...

Page 7: ...cian if any of the following occurs Notebook has been dropped or the body has been damaged Liquid has been spilled into the product The notebook does not operate normally See section 7 3 for contact i...

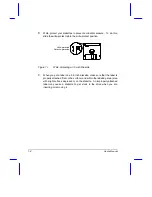
Page 8: ...cting a 3 5 inch Diskette When you put a label on a 3 5 inch diskette make sure that the label is properly attached flat on the surface and within the labelling area area with slight surface depressio...

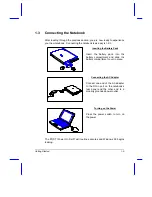
Page 9: ...Pack Insert the battery pack into the battery compartment and slide the battery compartment cover in place Connecting the AC Adapter Connect one end of the AC adapter to the DC in port on the notebook...

Page 10: ...4MB diskettes for backing up Windows 95 and label them accordingly Labels are included with the Windows 95 documentation package After you are through labelling the disks begin the backup process Besi...

Page 11: ...eps to access the online documentation 1 Press the Windows logo button or Click on the Start button 2 Select Programs 3 Click on AcerNote Light 4 Select Online Help The online help is easy to navigate...

Reviews: