


47
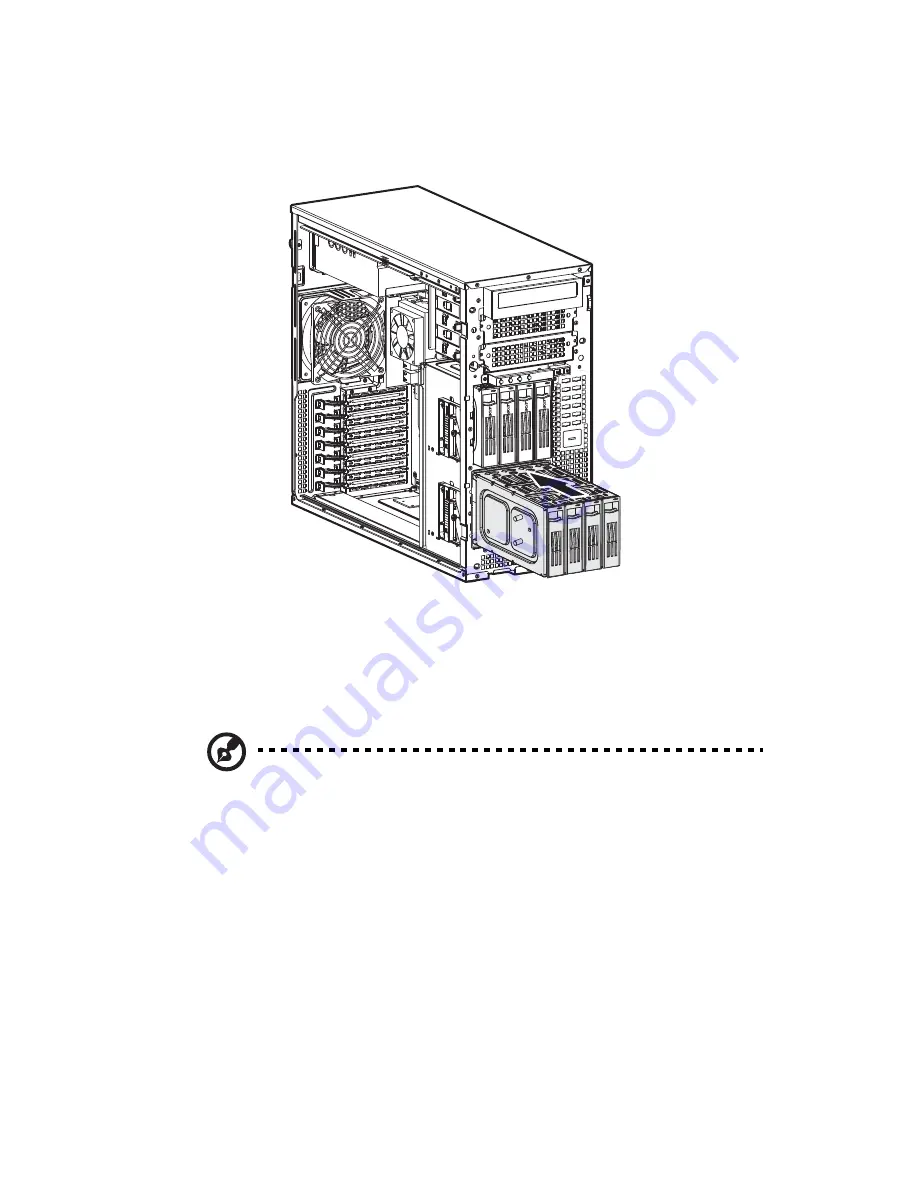
(1) Hold the hot-plug cage with both hands, then slide the cage
into the housing. The cage is locked to the chassis with an
audible click.
5
Connect the following cables to their corresponding connectors on
the SATA RAID backplane, mainboard and adapter:
(1) Attach the SATA data cable to the SATA HDD connector on the
backplane
(1)
, then connect the other end of the cable to the
SATA connector on the SATA RAID controller.
Note:
SATA connectors on the controller are keyed. Make sure the
SATA data cables are properly connected to its corresponding
connectors on the SATA RAID controller.
Summary of Contents for Altos G5350
Page 1: ...Acer Altos G5350 Series User s Guide ...
Page 10: ...x ...
Page 11: ...1 System tour ...
Page 31: ...21 5 4 pin power cable connector 6 I2 C bus interface connector No Code Description ...
Page 32: ...1 System tour 22 ...
Page 33: ...2 System setup ...
Page 43: ...3 System upgrade ...
Page 88: ...3 System upgrade 78 ...
Page 89: ...4 BIOS setup ...
Page 123: ...113 Save Changes Saves changes made in the BIOS setup Parameter Description ...
Page 124: ...4 BIOS setup 114 ...
Page 125: ...5 Troubleshooting ...
Page 136: ...5 Troubleshooting 126 ...
Page 137: ...Appendix A System management utility ...
Page 144: ...Appendix A System management utility 134 ...
Page 145: ...Appendix B Acer Altos G5350 rack installation guide ...
Page 146: ...This appendix shows you how to set up the Altos G5350 server in a rack mount configuration ...
Page 161: ...Appendix C SCSI RAID configuration ...
Page 162: ...This appendix shows you how to create a RAID volume in your SCSI drives ...


