


4 Configuring the system
38
the power supply. Use caution not to pinch or disengate cables
that may be near or under the air duct.
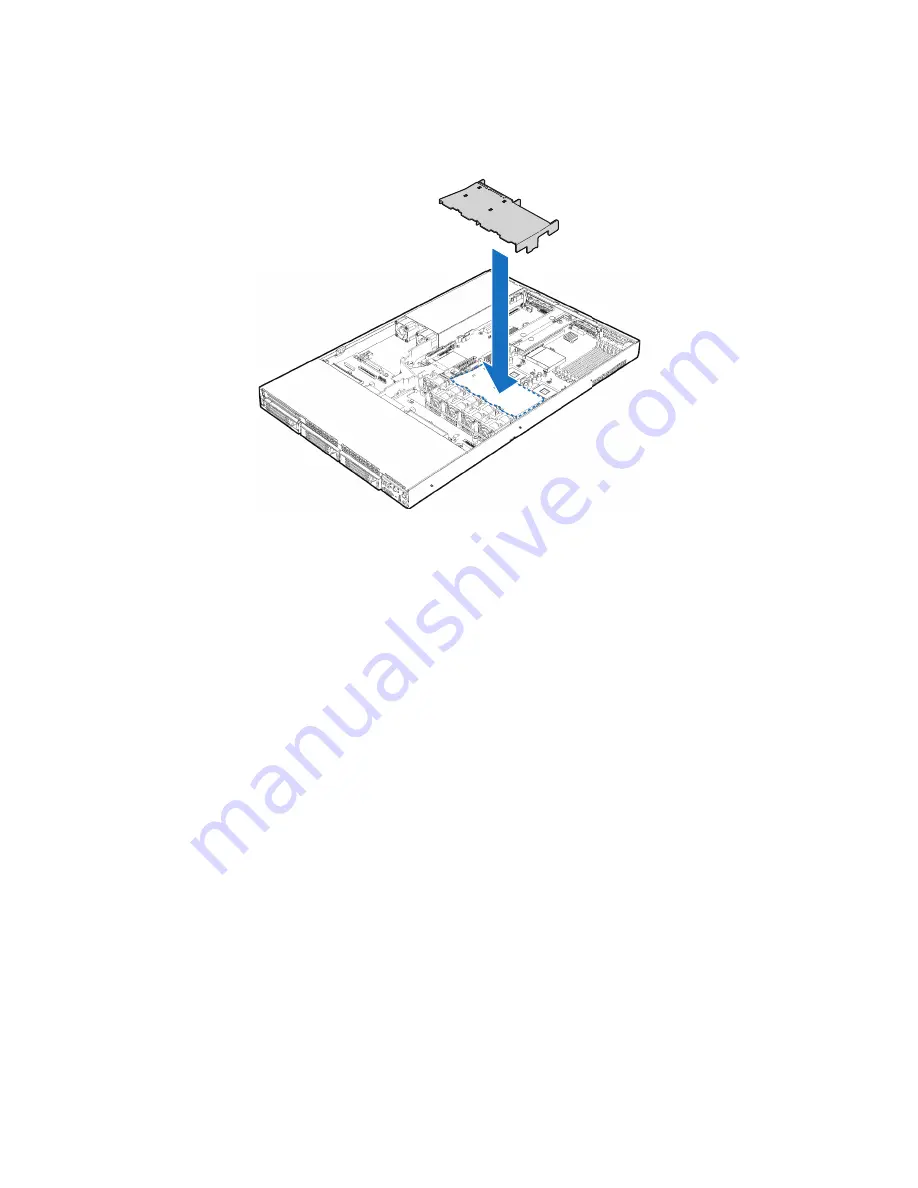
Removing and Installing the Air Baffle
Some installation processes will require that you remove the air baffle
that is placed behind the hard drive bays, next to the fan module near
the front of your server. The steps below describe how to remove and
then install the air baffle. Use these steps only when it is indicated as
necessary for a component installation process.
Always operate your R510 chassis with the air baffle in place. The air
baffle is required for proper airflow within the chassis.
Removing the Air Baffle
1
Observe the safety and ESD precautions at the beginning of this
book. See “Safety Information.”
2
Power down the server and unplug all peripheral devices and the
AC power cable.
3
Remove the chassis cover. For instructions, see “Removing the
Chassis Cover.”
4
Note how the cables are routed over and under the air baffle. You
will need to re-route these cables.
Summary of Contents for Altos R510
Page 1: ...Acer Altos R510 User s Guide ...
Page 12: ......
Page 13: ...1 System information ...
Page 19: ...2 System tour ...
Page 35: ...3 Getting Started ...
Page 36: ...This chapter gives information on setting up and starting to use your system ...
Page 40: ...3 Getting Started 28 ...
Page 41: ...4 Configuring the system ...
Page 104: ...4 Configuring the system 92 ...
Page 105: ...5 BIOS setup ...
Page 154: ...5 BIOS setup 142 ...
Page 155: ...6 Troubleshooting ...
Page 168: ...6 Troubleshooting 156 ...
Page 169: ...Appendix A Management software installation ...
Page 170: ...This appendix shows you how to install the ASM software packages ...
Page 174: ...Appendix A Management software installation 162 ...
Page 175: ...Appendix B Tool less rail kit installation ...
Page 187: ...Appendix C Sensor Table ...
Page 188: ...This appendix shows you the Altos R510 sensor table details ...
Page 191: ...Appendix D SATA RAID Configuration ...
Page 192: ...This appendix shows you how to create SATA RAID ...
Page 196: ...Appendix D SATA RAID Configuration 184 ...
Page 198: ...186 ...


