

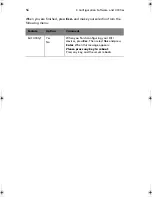

4 Configuration Software and Utilities
60
Alternatively, if you have a workstation with the Microsoft Windows
operating system, you can insert the CD into that system and create the
diskettes on that system.
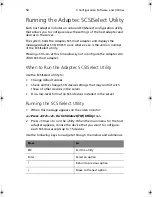
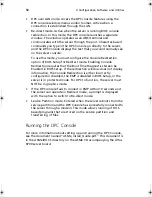
Running the SSU
When the SSU starts in the default local execution mode, the SSU
accepts input from the keyboard or mouse. The SSU presents a VGA-
based GUI on the primary monitor.
If you run the SSU from read-only media, such as the CD-ROM, you
cannot save user preference settings (such as screen colors).
The SSU supports ROM-DOS version 6.22. The SSU will not operate
from a “DOS box” running under an operating system such as
Windows.
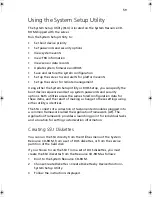
Start the SSU using one of the following methods:
•
From diskettes: Insert the first SSU diskette in drive A and boot the
server from the diskette.
You are prompted to insert the second diskette. After loading
completes the SSU starts automatically.
•
From the System Resource or ASMe CD-ROM: Boot the server to
the System Resource CD and start the SSU from the Utilities menu.
•
From the Service Partition: Boot the server to the Service Partition
and execute the following DOS commands:
C:\> cd ssu
C:\SSU> ssu.bat
The mouse driver loads if it is available; press
Enter
to continue.
When the SSU title appears on the screen, press
Enter
to continue.
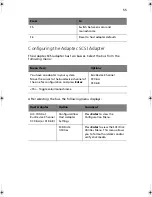
Working with the SSU Interface
You can access features of the SSU interface using the mouse or
keyboard:
•
Mouse
-Click once to choose menu items and buttons or to select
items in a list, such as the Available Tasks list. To run a list item,
such as one of from the Available Tasks list, select the item and
click OK or double-click the item.
BS811.f/cppl!!Qbhf!71!!Uvftebz-!Opwfncfs!37-!3113!!21;19!BN
Summary of Contents for Altos R700 Series
Page 1: ...Altos R700 Series User s guide ...
Page 10: ...x ...
Page 11: ...1 Description ...
Page 37: ...2 Installation Procedures ...
Page 43: ...33 8 Press one end of the clip down 2 9 Press the other end of the clip down 3 ...
Page 48: ...2 Installation Procedures 38 ...
Page 49: ...3 Upgrading ...
Page 54: ...3 Upgrading 44 ...
Page 55: ...4 Configuration Software and Utilities ...
Page 56: ...4 Configuration Software and Utilities 46 ...
Page 63: ...53 4 Press Enter 5 The boot process continues When finished a system prompt displays ...
Page 90: ...4 Configuration Software and Utilities 80 ...
Page 91: ...5 Solving Problems ...
Page 94: ...5 Solving Problems 84 hardware and operating system list on the Acer Customer Support website ...
Page 105: ...6 Technical Reference ...
Page 106: ...6 Technical Reference 96 ...
Page 124: ...6 Technical Reference 114 ...
Page 125: ...Appendix A Equipment Log and Power Consumption Worksheets ...
Page 127: ...117 Hard Disk Drive 5 Item Manufacturer Name and Model Name Serial Number Date Installed ...
Page 132: ...Appendix A Equipment Log and Power Consumption Worksheets 122 ...


