24
Chapter 2
Advanced
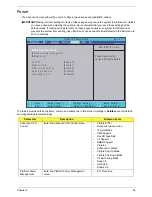
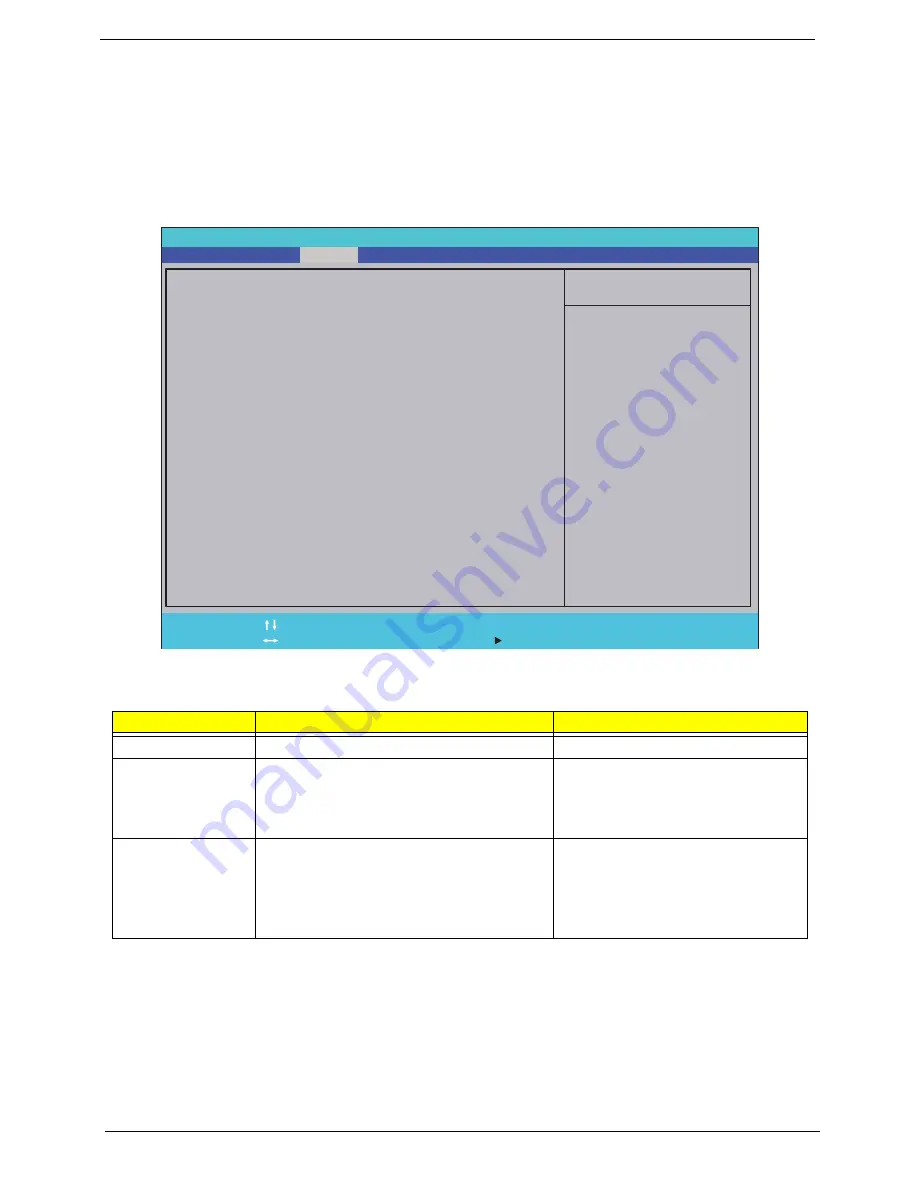
The Advanced screen allows the user to configure the various advanced BIOS options.
IMPORTANT:
Making incorrect settings to items on these pages may cause the system to malfunction. Unless
you have experience adjusting these items, we recommend that you leave these settings at the
default values. If making settings to items on these pages causes your system to malfunction or
prevents the system from booting, open BIOS and choose Load Optimal Defaults in the Exit menu to
boot up normally.
The table below describes the items, menus, and submenus in this screen. Settings in
boldface
are the default
and suggested parameter settings.
Parameter
Description
Submenu Items
Boot Configuration
Enter the Boot Configuration menu.
•
Numlock
Peripheral
Configuration
Enter the Peripheral Configuration menu.
•
Serial Port A
•
Infrared Port
•
Azalia
•
Lan
IDE Configuration
Enter the IDE Configuration menu.
•
IDE Controller
•
HDC Configure as
•
AHCI Option ROM Support
•
SATA Port 0, 1, 4, 5 HotPlug
•
Channel 1 to 4 Master and Slave
I t e m S p e c i f i c H e l p
C o n f i g u r e s B o o t
S e t t i n g s .
F 1
E S C
H e l p
E x i t
S e l e c t I t e m
S e l e c t M e n u
C h a n g e Va l u e s
S e l e c t
S u b M e n u
E n t e r
F 9
F 1 0
S e t u p D e f a u l t
S a v e a n d E x i t
[ D i s a b l e d ]
[ D i s a b l e d ]
X
B o o t C o n f i g u r a t i o n
X
P e r i p h e r a l C o n f i g u r a t i o n
X
I D E C o n f i g u r a t i o n
X
T h e r m a l C o n f i g u r a t i o n
X
V i d e o C o n f i g u r a t i o n
X
U S B C o n f i g u r a t i o n
X
C h i p s e t C o n f i g u r a t i o n
X
A C P I T a b l e / F e a t u r e s C o n t r o l
E x p r e s s C a r d
X
P C I E x p r e s s C o n f i g u r a t i o n
X
A S F C o n f i g u r a t i o n
X
B o o t C o n f i g u r a t i o n
X
P e r i p h e r a l C o n f i g u r a t i o n
X
I D E C o n f i g u r a t i o n
X
T h e r m a l C o n f i g u r a t i o n
X
V i d e o C o n f i g u r a t i o n
X
U S B C o n f i g u r a t i o n
X
C h i p s e t C o n f i g u r a t i o n
X
A C P I T a b l e / F e a t u r e s C o n t r o l
E x p r e s s C a r d
X
P C I E x p r e s s C o n f i g u r a t i o n
X
A S F C o n f i g u r a t i o n
F 5 / F 6
I n s y d e H 2 0 S e t u p U t i l i t y R e v . 3 . 5
Boot
Exit
Security
Information
Advanced
Power
Main
Summary of Contents for AS7315-302G25Mn
Page 6: ...VI ...
Page 10: ...X Table of Contents ...
Page 13: ...Chapter 1 3 System Block Diagram ...
Page 30: ...20 Chapter 1 ...
Page 52: ...42 Chapter 2 ...
Page 74: ...64 Chapter 3 4 Disconnect the following four cables from the Mainboard A B C D ...
Page 87: ...Chapter 3 77 4 Using both hands lift the Thermal Module clear of the Mainboard ...
Page 89: ...Chapter 3 79 4 Lift the CPU Fan clear of the Mainboard as shown ...
Page 95: ...Chapter 3 85 5 Lift the LCD Panel clear of the module ...
Page 103: ...Chapter 3 93 9 The Antennas and cables appear as shown when correctly installed ...
Page 108: ...98 Chapter 3 2 Replace the four screws and screw caps provided ...
Page 113: ...Chapter 3 103 5 Replace the FFC and press down as indicated to secure it to the Upper Cover ...
Page 124: ...114 Chapter 3 17 Replace the two screws securing the LCD Module to the Lower Cover ...
Page 132: ...122 Chapter 3 ...
Page 164: ...154 Chapter 6 Rear Assembly No Description Acer P N 1 HDD Cover 2 3 RAM Cover 4 5 1 2 3 4 5 ...
Page 174: ...Appendix A 164 Model Definition and Configuration Appendix A ...
Page 196: ...186 Appendix C ...
Page 200: ...190 ...


