Acer Aspire 1642 Disassembly Guide
Contents
Introduction ................................................................................................................................................ 3
What you will need ................................................................................................................................. 3
Removing/Replacing the CD Tray................................................................................................................ 4
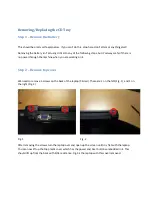
Step 1 – Remove the Battery .................................................................................................................. 4
Step 2 – Remove top cover ..................................................................................................................... 4
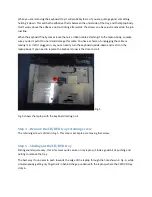
Step 3 – Removing the Keyboard ............................................................................................................ 5
Step 4 – Remove the CD/DVD tray retaining screw ................................................................................ 6
Step 5 – Sliding out the CD/DVD tray ...................................................................................................... 6
Step 6 – Removing CD/DVD tray support ................................................................................................ 7
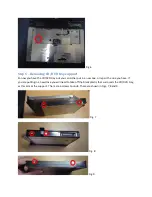
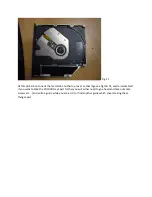
Step 7 -Taking the CD/DVD tray apart..................................................................................................... 8
Cleaning the Cooling Fan .......................................................................................................................... 10
Step 1 – Undo 2 screws, and remove a third ........................................................................................ 10
Step 2 – Remove Cover ......................................................................................................................... 10
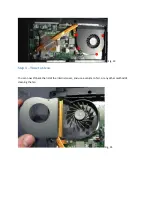
Step 3 –Remove fan cover screws ........................................................................................................ 10
Step 4 – Time to Clean .......................................................................................................................... 11
Accessing the Wireless Module ................................................................................................................ 12
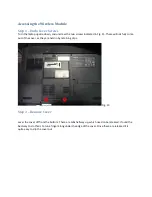
Step 1 – Undo Cover Screws ................................................................................................................. 12
Step 2 – Remove Cover ......................................................................................................................... 12
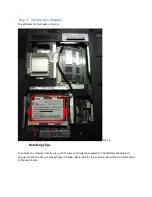
Step 3 – The Wireless Module .............................................................................................................. 13
Changing The RAM .................................................................................................................................... 14
Step 1 – Undo Cover Screws ................................................................................................................. 14
Step 2 – Remove Cover ......................................................................................................................... 14
Step 3 – Under the Cover ...................................................................................................................... 15


