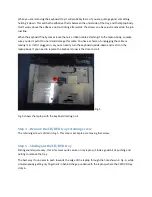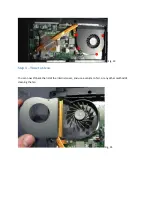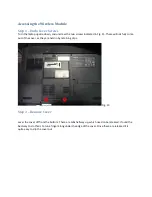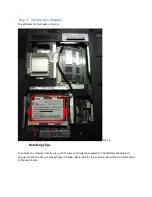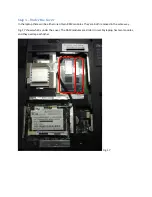
While you are removing the keyboard tray it will probably feel as if you are pulling against something
holding it down. This will be the adhesive that is between the underside of the tray and the laptop body.
Don’t worry about the adhesive not re-sticking afterwards, the screws you have just removed do the job
just fine.
When the keyboard finally comes loose there is a ribbon cable attaching it to the laptop body, so make
sure you don’t pull it too hard and damage this cable. You have a choice of unplugging the cable or
leaving it in. I left it plugged in, as you can easily turn the keyboard upside-down and rest it on the
laptop body. If you need to replace the keyboard, now is the time to do it.
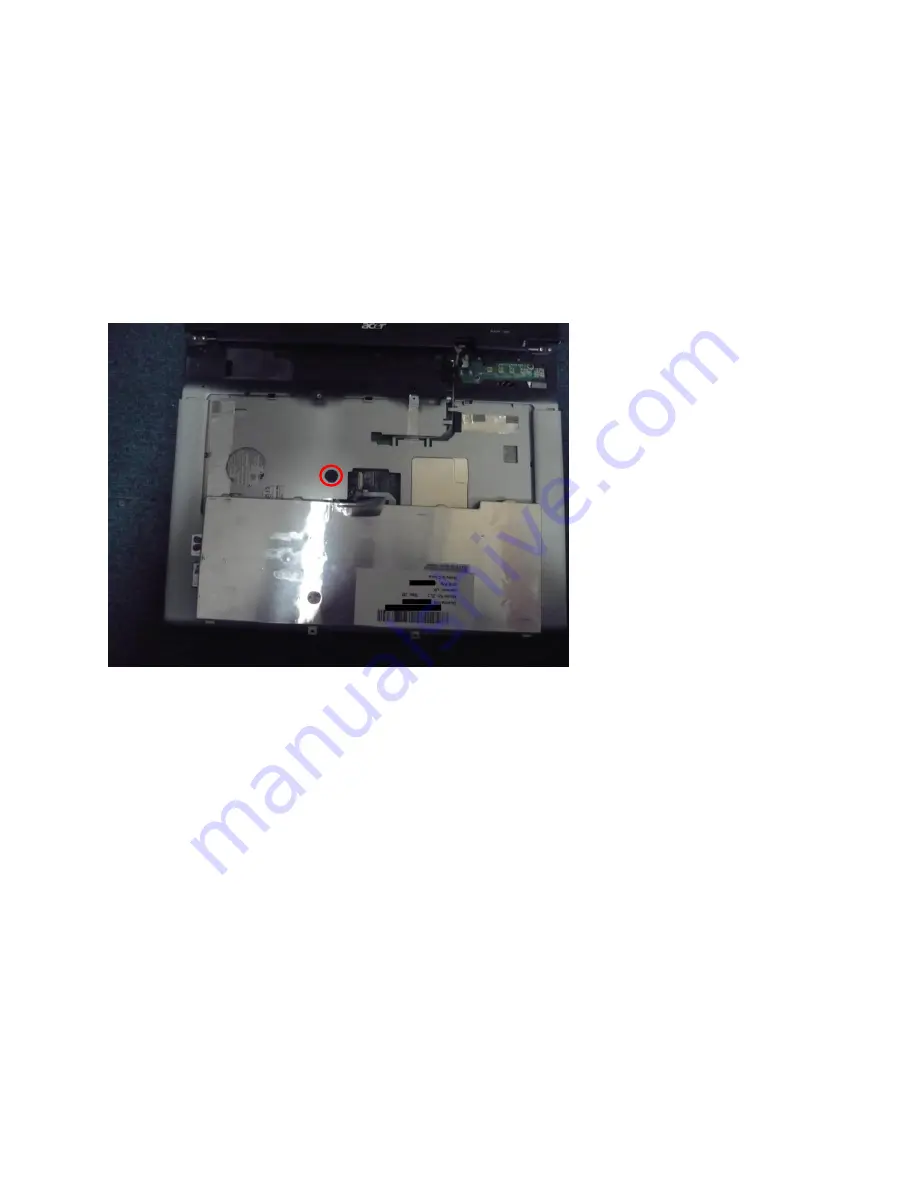
Fig. 5
Fig. 5 shows the laptop with the keyboard resting on it.
Step 4 – Remove the CD/DVD tray retaining screw
The retaining screw is circled in Fig.5. This step is as simple as removing that screw.
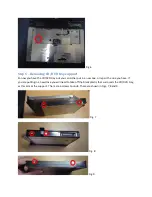
Step 5 – Sliding out the CD/DVD tray
Sliding sounds quite easy, this in fact was quite secure on my laptop. It took a good bit of pushing and
pulling to remove the tray.
The best way I found was to push towards the edge of the laptop through the hole shown in Fig. 6, while
simultaneously getting my fingernails in behind the gap underneath the laptop, where the CD/DVD tray
slots in.


