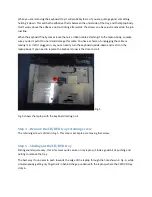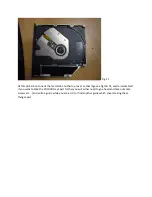
The two screws in Fig. 8 are larger than the other four, so be sure to keep them separate.
Once this is off you can take off the front “bezel”. This is the plastic cover on the part of the tray that
slides out. This is just held on with clips, so you can lever it off from either end.
If you are replacing your drive with a new one, you can now attach the plastic support and bezel to the
new tray, and follow the steps backwards.
If you want to take the drive apart further, read on.
Step 7 -Taking the CD/DVD tray apart
I decided to take mine apart to have a look.
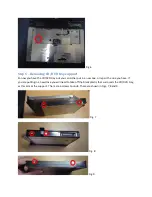
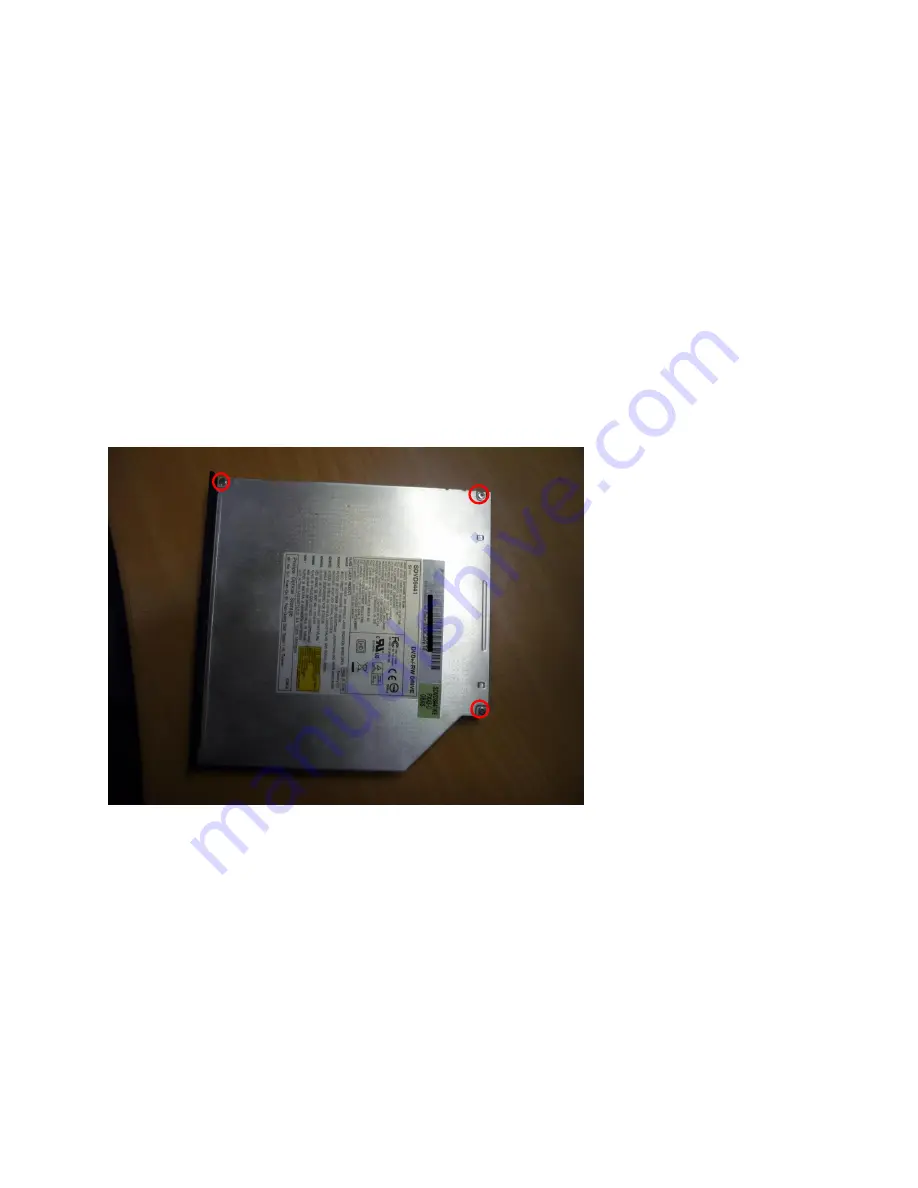
First remove the 3 screws shown in Fig. 10.
Fig. 10
Next you slide the top metal cover to the right slightly (about 5mm), and then hinge the top metal cover
up from the top edge (where the two screws where). This should release it. Fig. 11 shows what is
underneath.


