Chapter 2
41
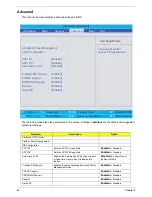
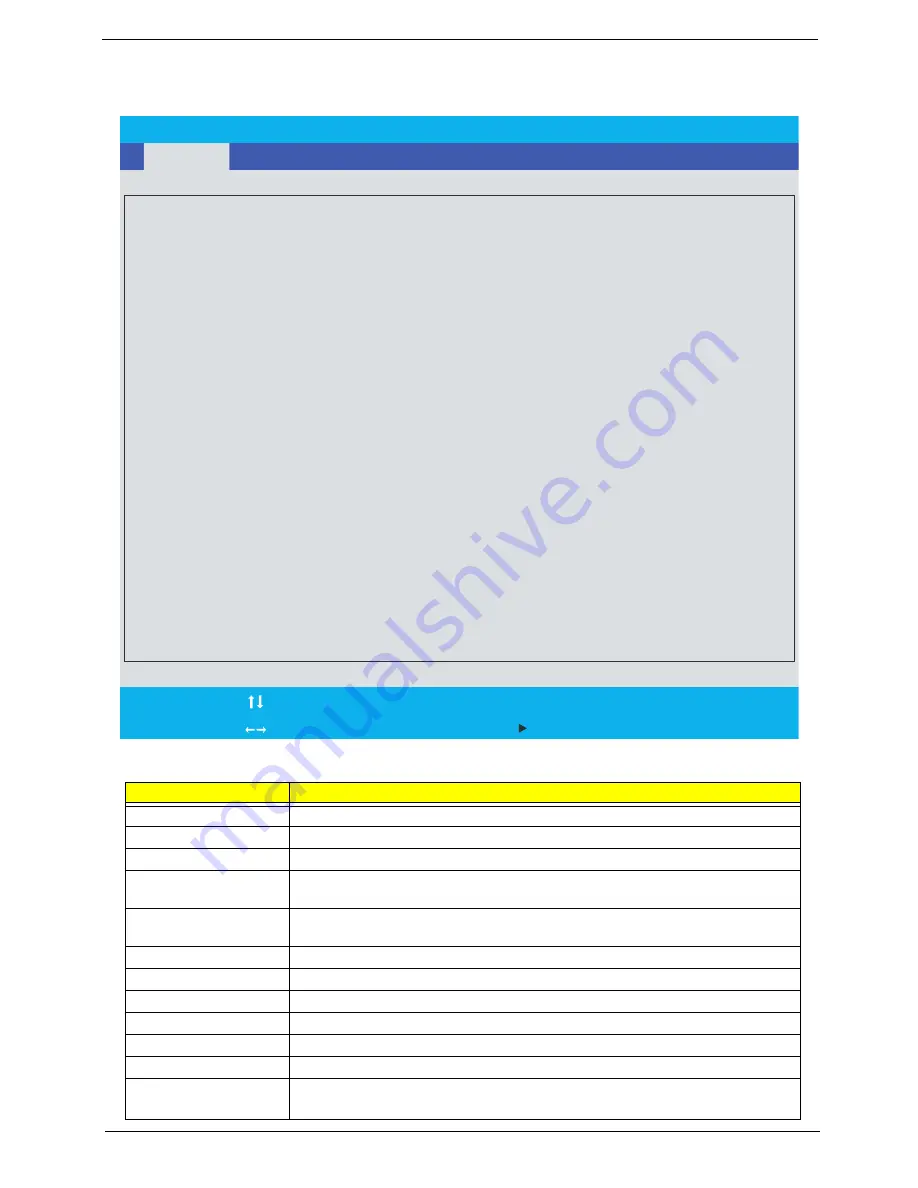
Information
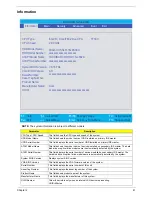
NOTE: The system information is subject to different models.
Parameter
Description
CPU Type / CPU Speed
This field shows the CPU type and speed of the system.
HDD Model Name
This field shows the model name of HDD installed on primary IDE master.
HDD Serial Number
This field displays the serial number of HDD installed on primary IDE master.
ATAPI Model Name
This field shows the model name of devices installed on secondary IDE master. The hard
disk drive or optical drive model name is automatically detected by the system.
ATAPI Serial Number
This field displays the serial number of devices installed on secondary IDE master. The
hard disk drive or optical drive model name is automatically detected by the system.
System BIOS Version
Displays system BIOS version.
VGA BIOS Version
This field displays the VGA firmware version of the system.
Serial Number
This field displays the serial number of this unit.
Asset Tag Number
This field displays the asset tag number of the system.
Product Name
This field shows product name of the system.
Manufacturer Name
This field displays the manufacturer of this system.
UUID Number
This will be visible only when an internal LAN device is presenting.
UUID=32bytes
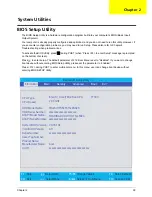
InsydeH2O Setup Utility
CPU Type :
Intel (R) Core(TM)2 Duo CPU T7300
CPU Speed :
System BIOS Version: V0.18.T04
VGA BIOS Version:
ATI
Serial Number:
xxxxxxxxxxxxxxxxxxxxxx
Asset Tag Number:
Product Name:
Manufacturer Name:
Acer
UUID:
xxxxxxxxxxxxxxxxxxxxxxxxxxxxxxxx
F1
Help
Select Item
F5/F6
Change Values
F9
Setup Defaults
Esc
Exit
Select Menu
Enter
Select
Sub-Menu
F10
Save and Exit
HDD Model Name :
Hitachi HTS541616J9SA00
ATAPI Model Name :
TOSHIBA DVDW/HD TS-L802A
HDD Serial Number :
xxxxxxxxxxxxxxxxxxxxxx
2.00 GHz
Information
Main
Security
Boot
Exit
Advanced
ATAPI Serial Number: xxxxxxxxxxxxxxxxxxxxxx
Summary of Contents for Aspire 5320
Page 6: ...VI ...
Page 10: ...4 Chapter 1 System Block Diagram ...
Page 29: ...Chapter 1 23 ...
Page 44: ...38 Chapter 1 ...
Page 58: ...52 Chapter 2 ...
Page 68: ...62 Chapter 3 10 Detach the LCD module from the main unit ...
Page 74: ...68 Chapter 3 ...
Page 76: ...70 Chapter 3 ...
Page 108: ...102 Chapter 6 ...

