48
Chapter 3
3.
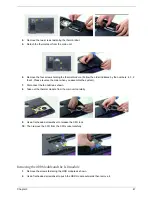
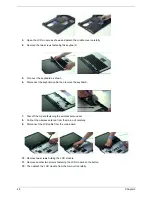
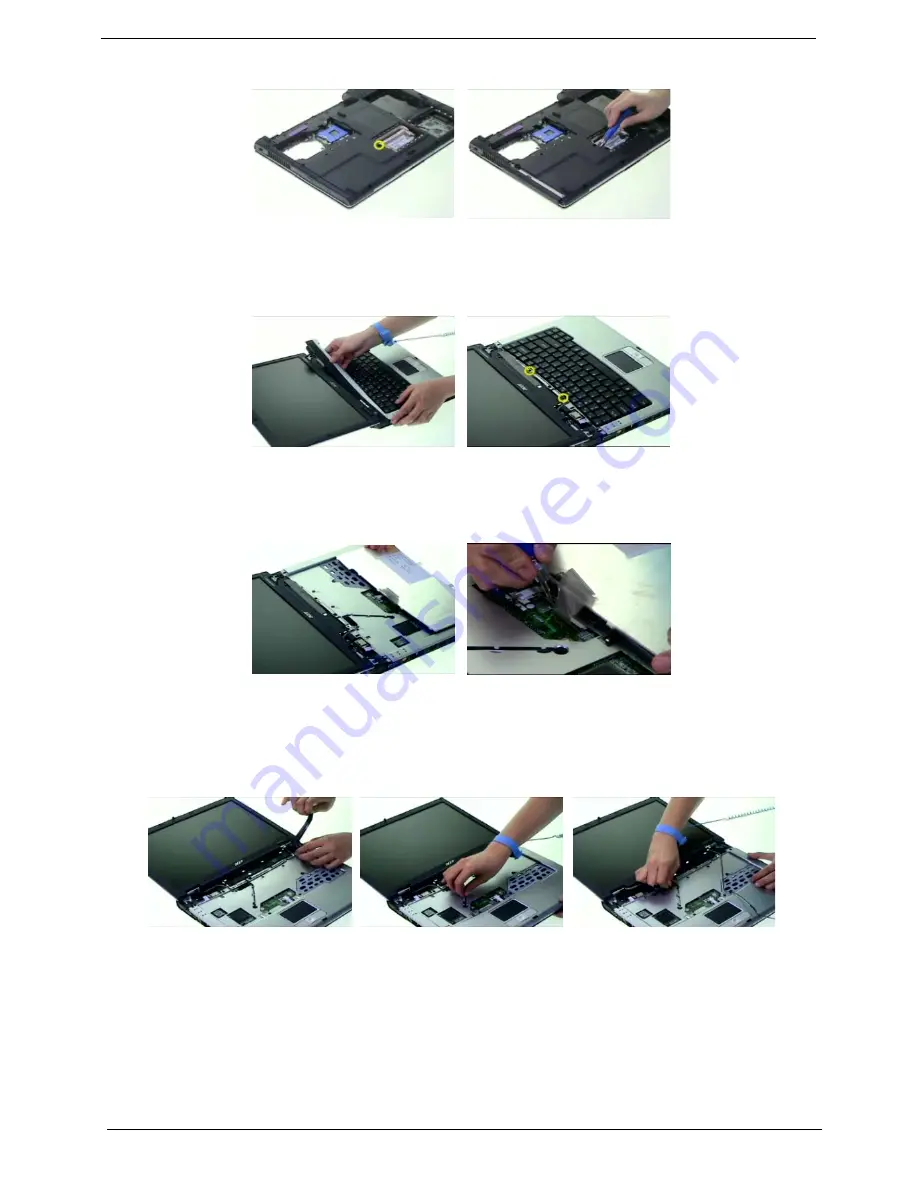
Open the LCD module as shown and detach the middle cover carefully.
4.
Remove the two screws fastening the keyboard.
5.
Turn over the keyboard as shown.
6.
Disconnect the keyboard cable then remove the keyboard.
7.
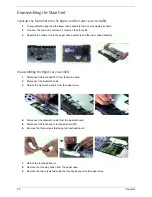
Tear off the mylard festening the wireless antenna set.
8.
Pull out the wireless antenna from the main unit carefully.
9.
Disconnect the LCD cable from the main board.
10.
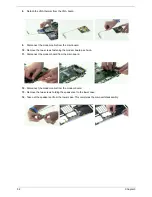
Remove two screws holding the LCD module.
11.
Remove another two screws fastening the LCD module on the botton.
12.
Then detach the LCD module from the main unit carefully.
Summary of Contents for Aspire 5500Z Series
Page 6: ...VI ...
Page 14: ...6 Chapter 1 JP23 Modem Cable Connector JP39 ODD Connector ...
Page 36: ...28 Chapter 1 ...
Page 48: ...40 Chapter 2 ...
Page 57: ...Chapter 3 49 ...
Page 81: ...Chapter 5 73 JP19 RJ11 RJ45 JP31 DDR2 Socket JP23 Modem Cable Connector JP39 ODD Connector ...
Page 82: ...74 Chapter 5 ...
Page 84: ...76 Chapter 6 Exploded Diagram The System 011 012 013 ...
Page 85: ...Chapter 6 77 Upper Case Assembly ...
Page 86: ...78 Chapter 6 Lower Case Assembly ...
Page 87: ...Chapter 6 79 LCD Module ...
Page 88: ...80 Chapter 6 HDD Module ODD Module ...
Page 103: ...Index 104 ...


