Chapter 6
167
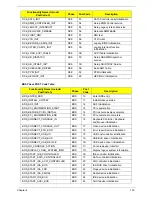
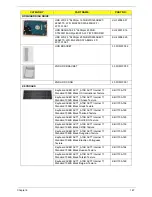
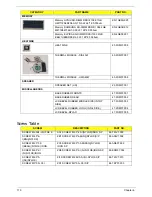
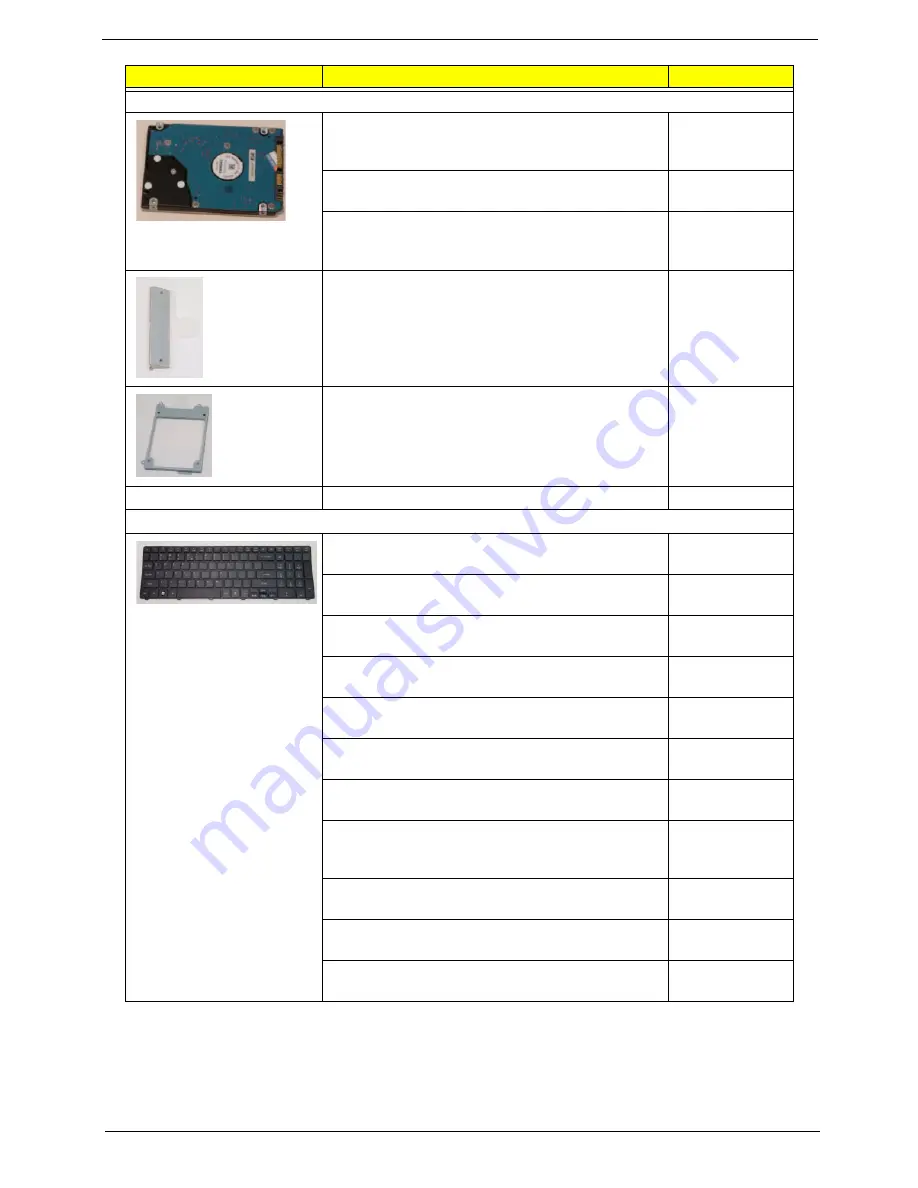
HDD/HARD DISK DRIVE
HDD WD 2.5" 5400rpm 160GB WD1600BEVT-
22A23T0 , WD, ML320S SATA 8MB LF F/
W:01.01A01
KH.16008.027
HDD SEAGATE 2.5" 5400rpm 250GB
ST9250315AS Wyatt SATA LF F/W:0001SDM1
KH.25001.016
HDD WD 2.5" 5400rpm 250GB WD2500BEVT-
22A23T0, WD, ML320S SATA 8MB LF F/
W:01.01A01.
KH.25008.025
HDD BRACKET
33.PUM07.002
2ND HDD BRACKET
33.PUM07.003
2ND HDD CONN
20.PUM07.001
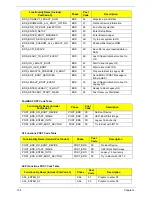
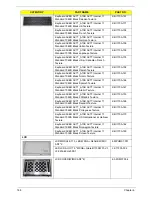
KEYBOARD
Keyboard ACER AC7T_A10B AC7T Internal 17
Standard 103KS Black US International Texture
KB.I170A.172
Keyboard ACER AC7T_A10B AC7T Internal 17
Standard 103KS Black Chinese Texture
KB.I170A.151
Keyboard ACER AC7T_A10B AC7T Internal 17
Standard 103KS Black Greek Texture
KB.I170A.156
Keyboard ACER AC7T_A10B AC7T Internal 17
Standard 103KS Black Thailand Texture
KB.I170A.169
Keyboard ACER AC7T_A10B AC7T Internal 17
Standard 104KS Black SLO/CRO Texture
KB.I170A.165
Keyboard ACER AC7T_A10B AC7T Internal 17
Standard 104KS Black CZ/SK Texture
KB.I170A.150
Keyboard ACER AC7T_A10B AC7T Internal 17
Standard 104KS Black Hungarian Texture
KB.I170A.157
Keyboard ACER AC7T_A10B AC7T Internal 17
Standard 104KS Black Brazilian Portuguese
Texture
KB.I170A.149
Keyboard ACER AC7T_A10B AC7T Internal 17
Standard 103KS Black Russian Texture
KB.I170A.164
Keyboard ACER AC7T_A10B AC7T Internal 17
Standard 104KS Black Turkish Texture
KB.I170A.170
Keyboard ACER AC7T_A10B AC7T Internal 17
Standard 104KS Black Belgium Texture
KB.I170A.148
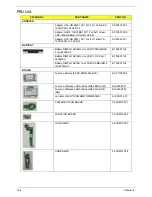
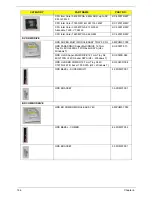
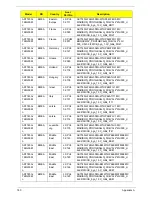
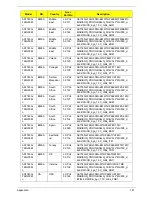
CATEGORY
PART NAME
PART NO.
Summary of Contents for ASPIRE 7745
Page 6: ...VI ...
Page 10: ...X Table of Contents ...
Page 40: ...30 Chapter 1 ...
Page 56: ...46 Chapter 2 ...
Page 68: ...58 Chapter 3 5 Pull the WLAN module out and away ...
Page 73: ...Chapter 3 63 5 Remove the ODD bracket 6 Pry the ODD bezel off of the ODD module ...
Page 83: ...Chapter 3 73 5 Detach the Bluetooth module cable from the module ...
Page 91: ...Chapter 3 81 4 Lift the thermal module away from the main board ...
Page 96: ...86 Chapter 3 4 Unlock and disconnect the switch board FFC ...
Page 101: ...Chapter 3 91 4 Remove the bezel from the LCD module ...
Page 108: ...98 Chapter 3 5 Pry the right antenna from the casing ...
Page 111: ...Chapter 3 101 3 Lay the cables around the module edge ...
Page 115: ...Chapter 3 105 10 Place the LVDS cable into cable guides ...
Page 118: ...108 Chapter 3 4 Replace the two 2 bezel screws ...
Page 129: ...Chapter 3 119 4 Connect the Bluetooth module cable to the main board ...
Page 136: ...126 Chapter 3 6 Connect and lock the Power board FFC ...
Page 143: ...Chapter 3 133 4 Grasp the tab and slide the HDD firmly into the docking connector ...
Page 145: ...Chapter 3 135 4 Push the ODD completely into the bay until flush with the lower cover ...
Page 148: ...138 Chapter 3 ...
Page 166: ...156 Chapter 4 ...
Page 288: ...278 Appendix B ...
Page 290: ...280 ...

