98
Chapter 3
Removing the Antennas
NOTE:
These disassembly procedures feature the 3G model only, therefore there are four antenna cables (white,
black, yellow, and blue) addressed during the procedure. If 3G is not supported, only the WLAN antennas (white
and black) need to be removed.
1.
See “Removing the LCD Panel” on page 94.
2.
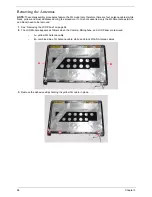
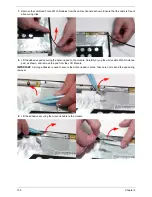
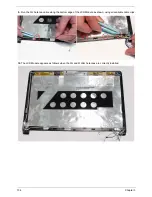
The LCD Module appears as follows when the Camera, Microphone, and LCD Panel are removed.
•
A—yellow 3G Antenna cable
•
B—combined blue 3G Antenna cable, white and black WLAN Antenna cables
3.
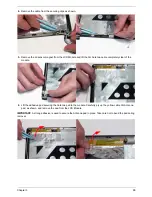
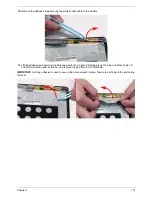
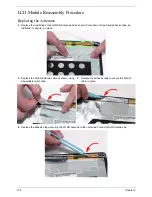
Remove the adhesive strips holding the yellow 3G cable in place.
A
B
Summary of Contents for Aspire One AO531h
Page 6: ...VI ...
Page 10: ...X Table of Contents ...
Page 30: ...20 Chapter 1 ...
Page 48: ...38 Chapter 2 ...
Page 63: ...Chapter 3 53 8 Disconnect the FFC and remove the Keyboard ...
Page 69: ...Chapter 3 59 4 Remove the board from the Upper Cover ...
Page 82: ...72 Chapter 3 5 Disconnect the Bluetooth cable from the module ...
Page 89: ...Chapter 3 79 4 Lift the CPU Fan clear of the Mainboard ...
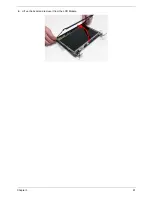
Page 101: ...Chapter 3 91 4 Lift up the bezel and remove it from the LCD Module ...
Page 107: ...Chapter 3 97 7 Disconnect the cable from the LCD panel as shown ...
Page 138: ...128 Chapter 3 6 Insert the FFC in to the Button Board and close the locking latch ...
Page 202: ...192 Appendix B ...
Page 204: ...194 Appendix C ...
Page 208: ...198 ...

