Chapter 1
7
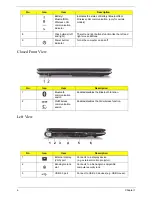
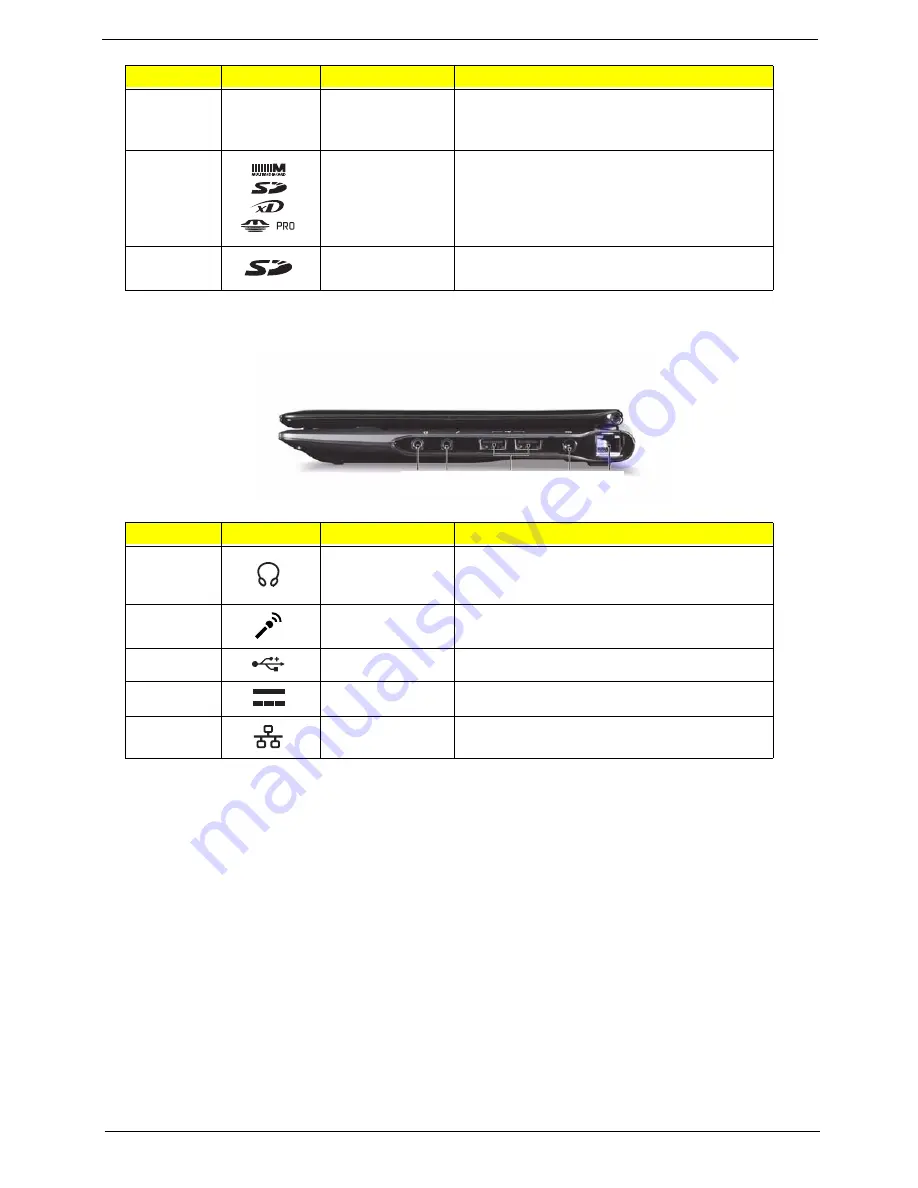
Right View
4
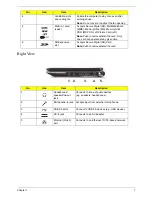
Ventilation slots
and cooling fan
Enable the computer to stay cool, even after
prolonged use.
Note:
Do not cover or obstruct the fan opening.
5
Multi-in-1 card
reader
Accepts Secure Digital (SD), MultiMediaCard
(MMC), Memory Stick (MS), Memory Stick
PRO (MS PRO), xD-Picture Card (xD).
Note:
Push to remove/install the card. Only
one card can operate at any given time.
6
SD Expansion
slot
Accepts Secure Digital (SD) Card.
Note:
Push to remove/install the card.
No.
Icon
Item
Description
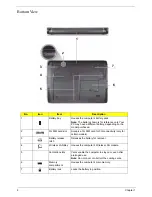
1
Headphones/
speaker/line-out
jack
Connects to line-out audio devices
(e.g. speakers, headphones).
2
Microphone-in jack
Accepts input from external microphones.
3
USB 2.0 ports
Connect to USB 2.0 devices (e.g. USB mouse).
4
DC-in jack
Connects to an AC adapter
5
Ethernet (RJ-45)
port
Connects to an Ethernet 10/100-based network.
No.
Icon
Item
Description
1
2
3
4
5
Summary of Contents for Aspire One AO531h
Page 6: ...VI ...
Page 10: ...X Table of Contents ...
Page 30: ...20 Chapter 1 ...
Page 48: ...38 Chapter 2 ...
Page 63: ...Chapter 3 53 8 Disconnect the FFC and remove the Keyboard ...
Page 69: ...Chapter 3 59 4 Remove the board from the Upper Cover ...
Page 82: ...72 Chapter 3 5 Disconnect the Bluetooth cable from the module ...
Page 89: ...Chapter 3 79 4 Lift the CPU Fan clear of the Mainboard ...
Page 101: ...Chapter 3 91 4 Lift up the bezel and remove it from the LCD Module ...
Page 107: ...Chapter 3 97 7 Disconnect the cable from the LCD panel as shown ...
Page 138: ...128 Chapter 3 6 Insert the FFC in to the Button Board and close the locking latch ...
Page 202: ...192 Appendix B ...
Page 204: ...194 Appendix C ...
Page 208: ...198 ...

