Chapter 1
13
Hardware Specifications and Configurations
Processor
Processor Specifications
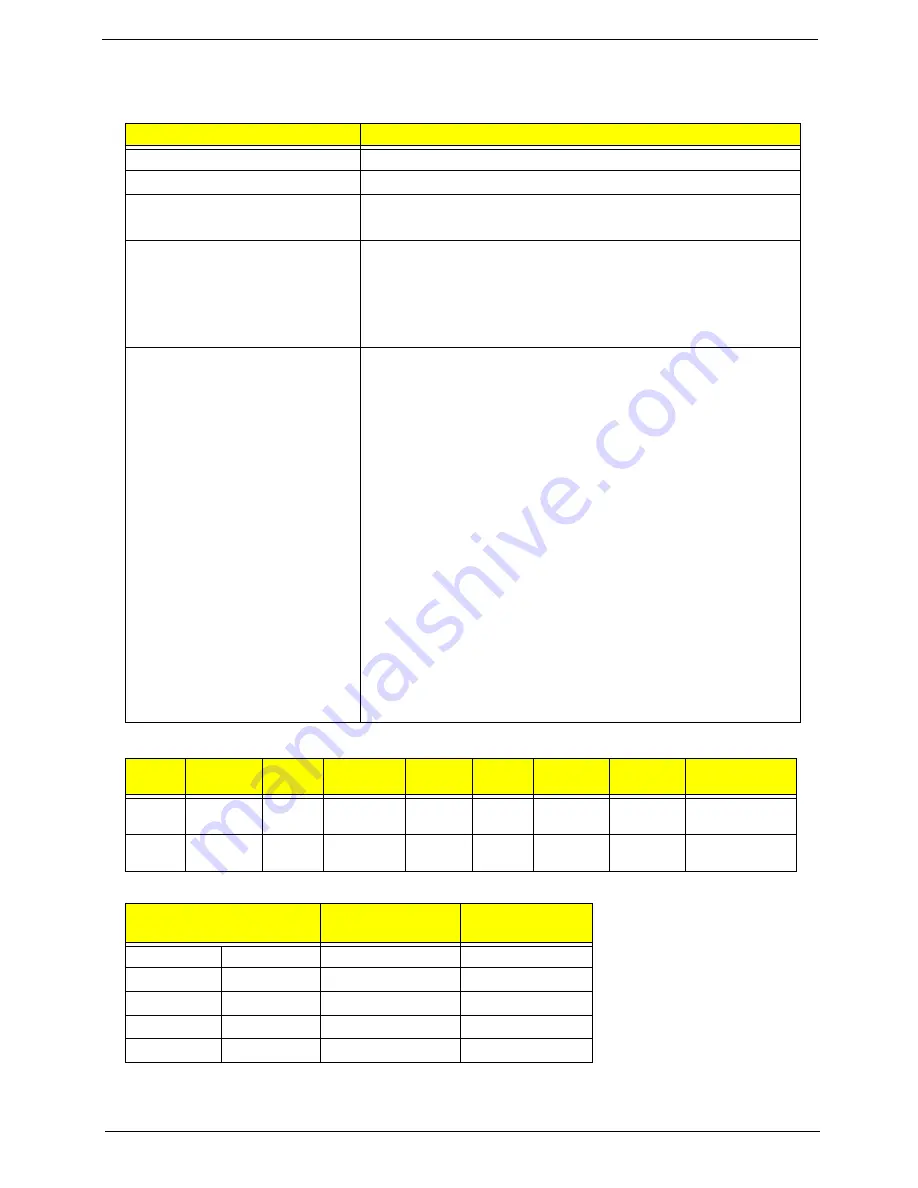
CPU Fan Tru Value Table
•
Throttling 50%: On= 85°C; OFF=75°C
•
EC shut down at 90°C; H/W shut down(PH1) at 82°C
Item
Specification
CPU type
Intel Atom N270 1.6G 512K 533 2.5W
CPU package
Micro-FCBGA8 packaging, 437-pin
Core Logic
•
Intel CS QG82945GSE MM#897840
•
ICH7M
Chipset
•
ENE KB926 for Keyboard Controller, Battery management
Unit, and RTC.
•
Integrated VGA solution for Intel 945GSE.
•
Realtek ALC272X-GR for High Definition Audio Codec.
•
Atheros AR8114A for 10/100 LAN
Features
•
On-die, primary 32-kB instructions cache and 24-kB write-back
data cache
•
533-MHz source-synchronous front side bus (FSB)
•
2-Threads support
•
On-die 512-kB, 8-way L2 cache
•
Support for IA 32-bit architecture
•
Intel® Streaming SIMD Extensions-2 and -3 (Intel® SSE2 and
Intel® SSE3) support and Supplemental Streaming SIMD
Extension 3 (SSSE3) support
•
Micro-FCBGA8 packaging technologies
•
Thermal management support via Intel® Thermal Monitor 1
and Intel Thermal Monitor 2
•
FSB Lane Reversal for flexible routing
•
Supports C0/C1(e)/C2(e)/C4(e)
•
L2 Dynamic Cache Sizing
•
Advanced power management features including Enhanced
Intel SpeedStep® Technology
•
Execute Disable Bit support for enhanced security
Item
CPU
Speed
Cores
Bus
Speed
Mfg
Tech
Cache
Size
Package
Core
Voltage
Acer P/N
N270
1.6 GHz
1
533 MHz
45 nm
512
KB
Micro-
FCBGA8
KC.ANB01.270
N280
1.66 GHz
1
667 MHz
45 nm
512
KB
Micro-
FCBGA8
KC.ANB01.280
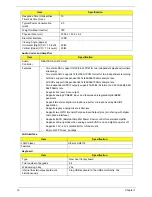
CPU Temperature of
Diode
Fan Speed (RPM)
SPL Spec (dBA)
--
40
0
0
35
50
4300
26
45
65
5000
29
60
85
5400
31
75
90
5400
31
Summary of Contents for Aspire One AOD150
Page 6: ...VI ...
Page 10: ...X Table of Contents ...
Page 28: ...18 Chapter 1 ...
Page 42: ...32 Chapter 2 5 Flash is complete when the message Flash programming complete displays ...
Page 55: ...Chapter 3 45 4 Lift the Memory cover up to remove 5 Lift the WLAN cover up to remove ...
Page 67: ...Chapter 3 57 7 Lift the Upper Cover clear of the computer ...
Page 78: ...68 Chapter 3 4 Lift the USB Board clear of the computer rear edge first ...
Page 80: ...70 Chapter 3 4 Turn the Bluetooth Module over and disconnect the Bluetooth cable ...
Page 83: ...Chapter 3 73 9 Turn the Mainboard over and disconnect the Power Cable ...
Page 85: ...Chapter 3 75 5 Remove the Speaker Module from the Lower Cover ...
Page 110: ...100 Chapter 3 4 Secure the Speaker Module cable in place with the adhesive strips ...
Page 220: ...Appendix A 210 ...
Page 228: ...218 Appendix C ...


