50
Chapter 3
Upper Cover Disassembly Process
IMPORTANT:
The procedures outlined use the
SDD model
.
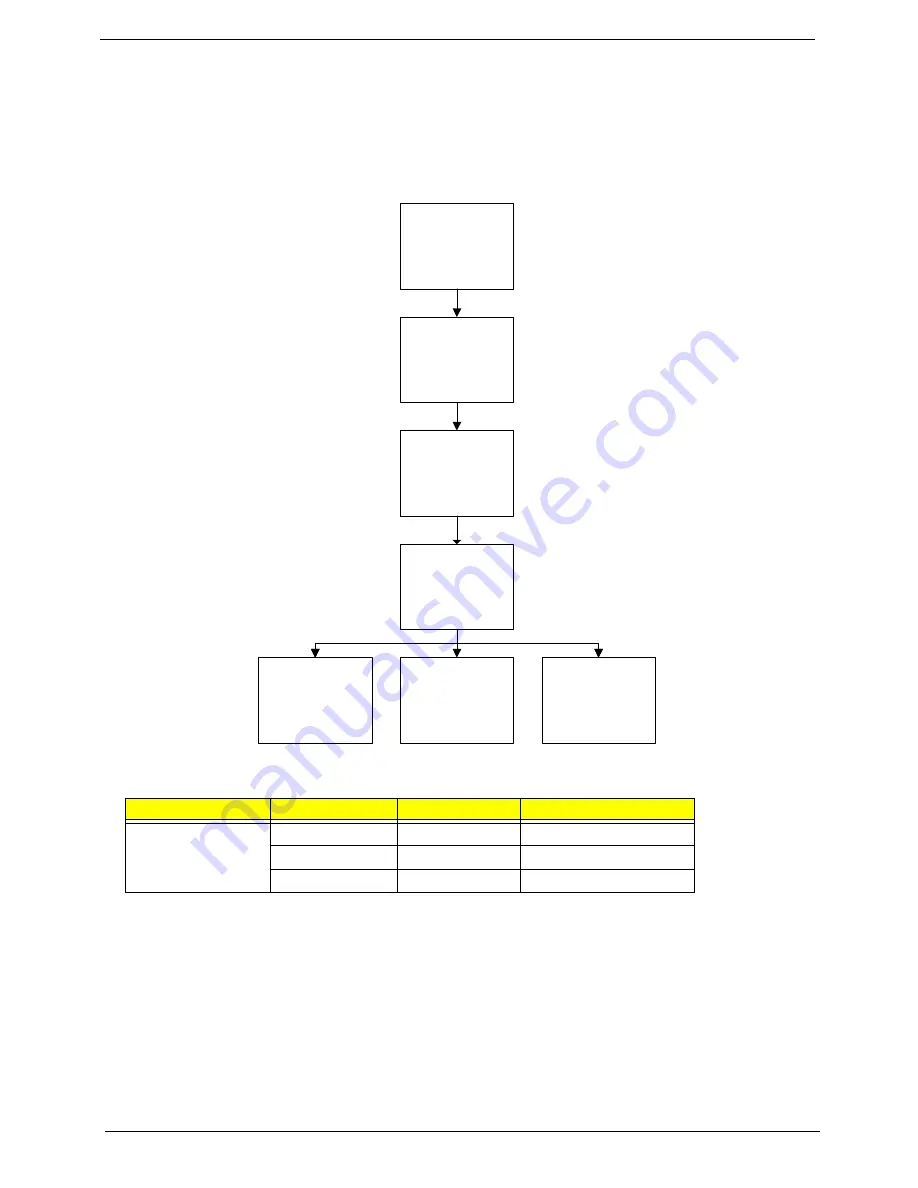
Upper Cover Disassembly Flowchart
Screw List
Step
Screw
Quantity
Part No.
Upper Cover
Lower Cover
M2*4
5
MA0000069G0
M2*3
1
MA0000060G0
M2*4
6
MA0000069G0
Re
m
ove Extern
a
l
Modules be
f
ore
proceedin
g
Re
m
ove
Keyboard
Re
m
ove
Upper Cover
Re
m
ove
TouchPad FCC
Re
m
ove
Power Switch
pcb
Re
m
ove
Bluetooth Module
Re
m
ove
Mainboard
Cables
Summary of Contents for Aspire One AOP531h
Page 6: ...VI ...
Page 10: ...X Table of Contents ...
Page 41: ...Chapter 2 31 Clear User or Supervisor Password 1 Open the RAM door 2 Short RTC_RST ...
Page 83: ...Chapter 3 73 Pull the cable completely away from the bezel ...
Page 95: ...Chapter 3 85 4 Replace the four screws and screw caps ...
Page 107: ...Chapter 3 97 The upper cover is now ready to attach to the bottom cover ...
Page 109: ...Chapter 3 99 Turn the unit over and affix the five screws in the top cover ...
Page 115: ...Chapter 3 105 Replacing the SIMM Card Insert the SIMM Card into the slot ...
Page 130: ...120 Chapter 4 ...
Page 138: ...128 Chapter 4 ...
Page 152: ...142 Chapter 6 ...
Page 153: ...Chapter 6 143 ...
Page 267: ...257 Appendix A ...
Page 268: ...Appendix A 258 ...
Page 274: ...264 Appendix B ...
Page 276: ...266 Appendix C ...
Page 280: ...270 ...


