Chapter 3
45
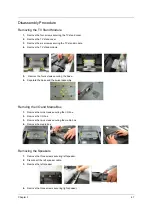
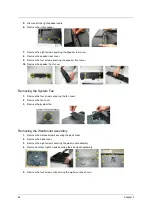
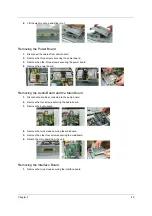
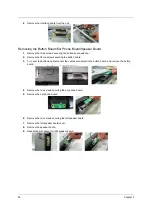
This chapter contains step-by-step procedures on how to disassemble the LCD TV for maintenance and
troubleshooting.
To disassemble the TV, you need the following tools:
T
Wrist grounding strap and conductive mat for preventing electrostatic discharge
T
Small Philips screw driver
T
Philips screwdriver
T
Plastic flat head screw driver
T
Tweezers
NOTE:
The screws for the different components vary in size. During the disassembly process, group the
screws with the corresponding components to avoid mismatch when putting back the components.
When you remove the stripe cover, please be careful not to scrape the cover.
Chapter 3
Machine Disassembly and Replacement
Summary of Contents for AT3201W
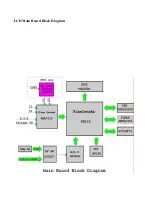
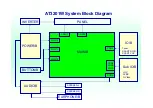
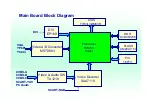
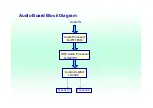
Page 4: ...LCD Main Board Block Diagram ...
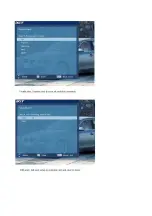
Page 8: ...OSD On Screen Display Scanning the channels First step Ask user to select the language of OSD ...
Page 9: ......
Page 10: ......
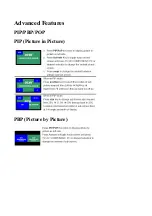
Page 11: ...Advanced Features PIP PBP POP PIP Picture in Picture PBP Picture by Picture ...
Page 12: ...POP Picture on Picture ...
Page 23: ...52 Chapter 3 ...
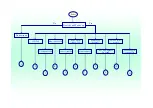
Page 24: ...AT3201W Troubleshooting Guideline ...
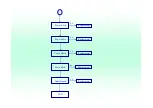
Page 32: ...3 3 Button Board I O Board Main Board END Replacement Replacement Replacement N G N G N G ...
Page 33: ...4 Main Board END Replacement N G ...
Page 34: ...5 5 IR Cable IR board Main Board END Replacement Replacement Replacement N G N G N G ...
Page 35: ...6 IO Board Main Board END Replacement Replacement N G N G ...
Page 36: ...7 7 Button Cable Button Board Main Board END Replacement Replacement Replacement N G N G N G ...
Page 37: ...8 Power Board Main Board END Replacement Replacement N G N G ...

