59
5
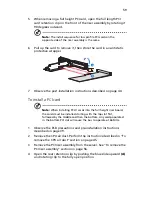
When removing a full height PCI card, open the full length PCI
card retention clip on the front of the riser assembly by rotating it
90 degrees outward.
Note:
The install sequence for low profile PCI cards on the
opposite side of the riser assembly is the same.
6
Pull up the card to remove it, then store the card in an antistatic
protective wrapper.
7
Observe the post-installation instructions described on page 40.
To install a PCI card:
Note:
When installing PCI-X cards into the full height riser board,
the cards must be installed starting with the top slot first,
followed by the middle and then the bottom. Any card populated
in the bottom PCI slot will cause the bus to operate at 66 MHz.
1
Observe the ESD precautions and pre-installation instructions
described on page 39.
2
Remove the CPU air duct. Perform the instructions described in “To
remove the CPU air duct” section on page 45.
3
Remove the PCI riser assembly from the server. See “To remove the
PCI riser assembly” section on page 56.
4
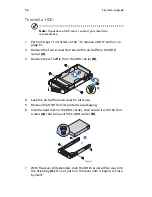
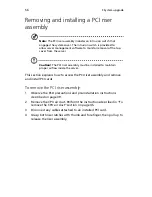
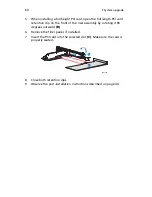
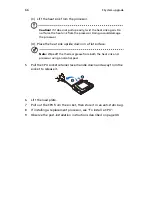
Open the rear retention clip by pushing the blue slide upward
(A)
and rotating clip to the fully open position.
TP02241
A
B
Summary of Contents for Network Device Altos R520
Page 1: ...Acer Altos R520 Series User s Guide...
Page 10: ...x...
Page 11: ...1 System tour...
Page 38: ...1 System tour 28...
Page 39: ...2 System setup...
Page 47: ...3 System upgrade...
Page 99: ...4 BIOS setup...
Page 136: ...4 BIOS setup 126...
Page 137: ...5 Troubleshooting...
Page 158: ...5 Troubleshooting 148...
Page 159: ...Appendix A Acer Altos R520 rack installation guide...
Page 160: ...This appendix shows you how to set up the Acer Altos R520 server in a rack mount configuration...
Page 172: ...Appendix A Acer Altos R520 rack installation guide 162...
Page 173: ...Appendix B RAID configuration...
Page 184: ...174...

