Chapter 2
33
4.
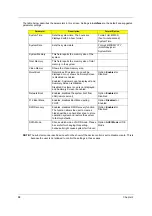
If desired, you can opt to enable the Password on boot parameter.
5.
When you are done, press
u
to save the changes and exit the BIOS Setup Utility.
Removing a Password
Follow these steps:
1.
Use the
w
and
y
keys to highlight the Set Supervisor Password parameter and press the
e
key. The Set
Password box appears:
2.
Type the current password in the Enter Current Password field and press
e
.
3.
Press e twice
without
typing anything in the Enter New Password and Confirm New Password fields. The
computer then sets the Supervisor Password parameter to “
Clear
”.
4.
When you have changed the settings, press
u
to save the changes and exit the BIOS Setup Utility.
Changing a Password
1.
Use the
w
and
y
keys to highlight the Set Supervisor Password parameter and press the
e
key. The Set
Password box appears:
2.
Type the current password in the Enter Current Password field and press
e
.
3.
Type a password in the Enter New Password field. Retype the password in the Confirm New Password
field.
4.
Press
e
. After setting the password, the computer sets the User Password parameter to “
Set
”.
5.
If desired, you can enable the Password on boot parameter.
6.
When you are done, press
u
to save the changes and exit the BIOS Setup Utility.
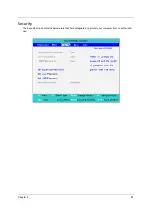
If the verification is OK, the screen will display as following.
The password setting is complete after the user presses
u
.
Summary of Contents for TravelMate 8471 Series
Page 6: ...6 ...
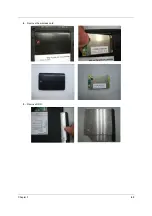
Page 51: ...Chapter 3 43 4 Remove the wireless card 5 Remove ODD ...
Page 55: ...Chapter 3 47 2 Remove Power board ...
Page 58: ...50 Chapter 3 8 Remove the cable of LCD and Connector of Fan 9 Remove the mainboard ...
Page 61: ...Chapter 3 53 5 Remove LCM cable on the back of panel ...
Page 85: ...Chapter 6 77 ...
Page 86: ...78 Chapter 6 ...
Page 98: ...90 Chapter 6 ...

